


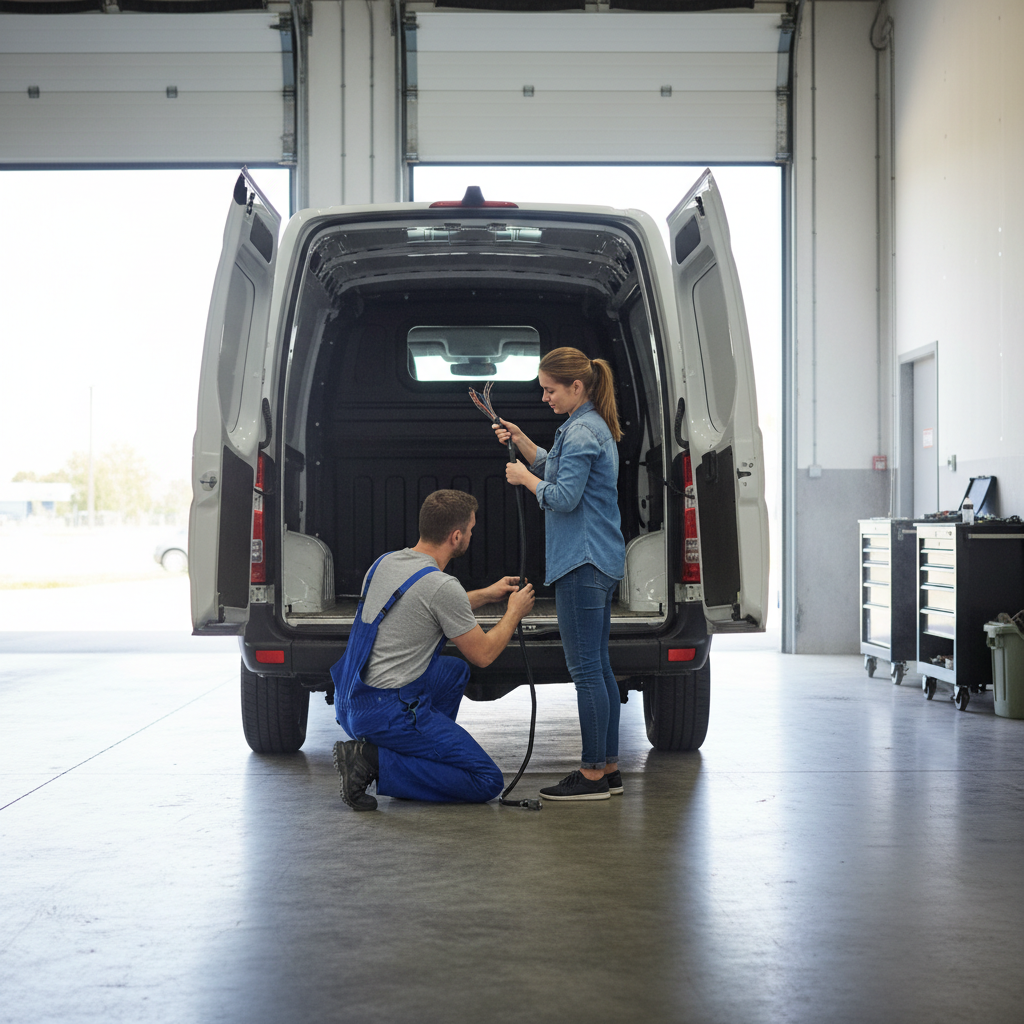
An auto electrician will size up your van's rear panel before touching a single wire, and there's a reason for that: the distance between your camera mounting point and your receiver unit determines whether the image you see is actually useful or just a blurry postage stamp of what's behind you. Installing a backup camera and parking sensors in a van isn't complicated, but it's unforgiving when you get the sequencing wrong. Most passenger car guides skip the van-specific details entirely, so you end up with a camera mounted too high to read depth, or sensors spaced for a sedan bumper that's eight inches narrower than yours.
Three variables drive every decision here: your van's body length and rear door configuration, whether you're wiring to a factory head unit or an aftermarket display, and how you plan to route the cable run from bumper to cab. None of those are small details. Get the sensor spacing wrong on a full-size van and you'll get false positives every time you're within two feet of a loading dock.
The tension worth acknowledging upfront: a camera alone gives you a picture, but no alert. Sensors alone give you a beep, but no context. Running both together sounds redundant until the first time a low bollard sits exactly in the sensor's dead zone but appears clearly on camera. That gap between what each system covers is why the combo install requires a specific wiring sequence, not just two separate installs bolted together.
What You Need Before You Start
Pull your van's rear bumper dimensions before ordering anything. Full-size vans like the Ford Transit and Ram ProMaster have rear bumper widths that typically run between 72 and 78 inches depending on trim, and sensor kits sized for standard passenger cars (usually 56 to 60 inches) won't cover the full detection arc. That gap at each corner is exactly where dock posts and low barriers live.
For the camera, you need to decide between a license-plate-mount unit and a surface-mount unit. License plate mounts are easier to install and work well on vans with a swing-out or flip-up rear door. Surface-mount cameras give you more angle control and are the better call on barn-door configurations where the license plate sits off-center or at an awkward height. I'd start with a surface-mount camera if your van has barn doors: the adjustability matters more than the cleaner install of a plate mount.
Your core parts list: a reverse camera rated for at least 120-degree horizontal field of view, a four-to-eight sensor parking sensor kit (eight sensors if you're covering both front and rear), a dedicated rear-view monitor or an aftermarket head unit with camera input, and enough RCA video cable plus power wire to run your specific van length. On a long-wheelbase Transit, that cable run from bumper to cab can exceed 20 feet. Buy 25 feet and cut to fit rather than splice under the van.
Tools you'll actually use: a drill with step-bit set for sensor holes (typically 7/8 inch for standard sensors), wire stripper, posi-tap connectors or solder and heat shrink, a trim removal kit, and a multimeter. The multimeter isn't optional. You need to confirm you're tapping a wire that only goes live in reverse, not a constant 12V line that keeps your display on all day.
Sensor Placement: Where the Math Actually Matters
Parking sensor accuracy depends on even arc coverage, and that means spacing sensors at equal intervals across the bumper. On a rear bumper running 74 inches wide with four sensors, you're placing sensors at roughly 12, 27, 47, and 62 inches from the driver's side edge. That puts each sensor's detection cone overlapping its neighbor's by a few inches, eliminating blind columns. Unequal spacing is the most common install mistake, and it creates a column of dead space that the controller can't detect.
Sensor height matters almost as much. A common guideline used by aftermarket sensor manufacturers is 18 to 24 inches from the ground, measured to the center of the sensor face. Too low and the sensor reads road surface on inclines. Too high and it misses a low trailer tongue or a bollard cut off at knee height. On vans with step bumpers that sit higher than standard, you may need to drill into the bumper fascia rather than the face to hit this height window.
Or rather: height is necessary but not sufficient. Angle matters too. Sensors should be mounted parallel to the ground, not angled downward. An angled sensor on a high bumper will read its own detection zone as an obstacle on steep downward slopes, triggering false alarms every time you pull into a sloped parking garage. Check that each sensor face is level with a small torpedo level before finalizing the hole positions.
Front sensor placement follows the same spacing logic if you're doing an eight-sensor kit. The front bumper on most full-size vans is narrower than the rear, so recheck the math. Don't assume front and rear are symmetrical.
Camera Mounting and Wiring the Video Signal
Camera height on a van should sit between 36 and 48 inches from the ground, aimed slightly downward at roughly 10 to 15 degrees below horizontal. That angle gives you both close-range ground coverage (critical for backing to a dock or parking space edge) and enough mid-range depth to judge distance to a vehicle ten feet back. Higher than 48 inches and you lose the close-range ground plane. Lower than 36 inches and mud, spray, and low obstacles obscure the lens constantly.
The video cable run is where installs go wrong most often. Run the RCA cable along the van's existing wiring harness path, secured with zip ties every 12 to 18 inches. Do not run it across the floor under cargo. Compression damage from heavy loads will degrade the signal and create video noise over time. Route along the roof line or under the trim panels along the cargo wall instead.
At the cab end, the camera's red trigger wire connects to the reverse light circuit. Finding that circuit is straightforward: use your multimeter in DC voltage mode, probe the two wires going to the driver's side reverse bulb socket with the ignition on, and shift into reverse. The wire that jumps to 12V is your trigger. Tap into it with a posi-tap connector rather than cutting the factory wire. If you cut the factory wire and the connection fails later, you're tracing a broken reverse light circuit in addition to a dead camera.
What this article won't cover: integrating a camera into a factory OEM display system on newer Transit or Sprinter models with CAN-bus controlled screens. Those installs require an interface module specific to the vehicle's bus protocol, and the process differs enough by model year that it warrants its own treatment. If your van has a factory screen, confirm whether your head unit supports camera input before purchasing anything.
Wiring the Sensor Controller and Connecting Both Systems
The parking sensor controller box is the brain of the sensor system. It needs four connections: constant 12V (fused at 5A), ground, a reverse trigger wire (same circuit as your camera trigger), and individual wires to each sensor. Most aftermarket kits use color-coded sensor wires, but confirm with the included diagram before you connect anything. A sensor wired to the wrong controller port won't destroy hardware, but the audible alert pattern will be wrong and you won't know which corner is reading the obstacle.
Running both the camera and the sensors from the same reverse trigger is intentional and correct. Both systems should activate simultaneously when you shift into reverse. If you wire them to separate trigger points and one has a slightly longer activation delay, you'll get a moment of sensor alert with no camera image, which is disorienting in a tight space. One trigger wire, split with a posi-tap, feeds both.
Power for the display monitor should come from a switched accessory circuit, not the reverse trigger. The display needs a moment to initialize before the camera image appears. If you power it only from the reverse trigger, some monitors take two to three seconds to boot, and you're already moving before you have an image. A switched accessory circuit keeps the monitor in standby, so it's ready the instant you shift into reverse.
Check the sensor kit's buzzer placement. The audible alert should be mounted somewhere in the cab you'll actually hear at highway-adjacent speeds. Under a seat or inside a door panel kills the volume. Dashboard or A-pillar is the practical location. Some kits include a display unit that combines the beep function with a visual distance bar: that combination is worth the modest price premium over a buzzer-only kit because you get spatial context, not just urgency.
If you skip this wiring sequence and wire the sensors and camera to independent circuits with no shared trigger, you'll likely end up with a camera that activates but sensors that don't, or vice versa, because the reverse signal won't reach both controllers simultaneously. Chasing that kind of intermittent fault under a van bumper is a genuine pain.
Testing, Calibration, and When This Setup Isn't Enough
Before buttoning up any trim panels, run a full function test in a controlled space. Back toward a known obstacle at a measured distance and confirm the sensor alert begins at roughly 5 to 6 feet (the typical maximum detection range for aftermarket ultrasonic sensors) and increases in frequency as you close to about 12 inches. If the alert is constant from the moment you engage reverse, a sensor is misaligned or picking up its own mounting bracket.
Camera image check: look for the parking guidelines overlay, if your monitor supports it. Those guidelines are only accurate if the camera is mounted at the height and angle the monitor's calibration assumes, usually 36 to 40 inches. If your camera sits higher because your van's door configuration forced it, the guidelines will show a narrower lane than your van actually occupies. Use them as directional reference only, not for precise distance judgment, and note that in your own head so it doesn't mislead you later.
The better question is whether this setup is right for commercial use. If you're operating the van commercially with employees driving it, backup camera regulations for commercial vehicles in the US fall under FMCSA jurisdiction for vehicles over 10,000 lbs GVWR. The National Highway Traffic Safety Administration (NHTSA) mandated rear visibility systems meeting specific field-of-view standards for new vehicles under Federal Motor Vehicle Safety Standard No. 111, but aftermarket installs on existing vehicles aren't validated against that standard. For personal use, an aftermarket install is entirely workable. For a commercial fleet, consult your fleet safety officer or an FMCSA-compliant installer before treating a DIY kit as a compliance solution.
Ignore the full testing sequence and drive on your first install without verifying sensor range: you'll discover the miscalibration the hard way, probably against a bollard you were sure you'd cleared. That's not a hypothetical.
The Right Conclusion for Your Van
If your van has barn doors and a bumper wider than 68 inches, start with an eight-sensor kit and a surface-mount camera before you look at anything else. That combination covers the geometry that plate-mount cameras and four-sensor kits miss on full-size vans, and missing it is the reason aftermarket backup systems get blamed for failures that are really installation errors.
If your van is a compact or mid-size with a single swing-up rear door, a four-sensor kit and a license plate camera is a legitimate and simpler install. Don't over-engineer a Metris or an NV200 with an eight-sensor setup sized for a Transit.
If you're running this commercially in a vehicle over 10,000 lbs GVWR, get a professional installer who understands FMCSA context. The DIY route works; it just doesn't produce documentation, and documentation matters when safety compliance is on the line.