
Van campers will tell you to sort out your cooking situation before you worry about the bed platform, and there's a reason for that. Cooking inside a van and cooking outside are not interchangeable options you pick based on mood. The choice shapes your stove type, your fuel storage, your ventilation plan, and on a rainy weekend in the Pacific Northwest, your entire trip experience.
The core tension is this: cooking inside a van offers convenience and weather protection, but confined combustion in a small metal box creates real carbon monoxide and moisture hazards that outdoor cooking sidesteps entirely. Neither setup is universally better. Which one you should use depends on your van's ventilation capacity, your stove fuel type, how long you're parked, and the weather you're cooking in.
This article won't cover full-time van life builds with dedicated diesel heaters, shore power, or fixed induction cooktops. That's a different problem. Weekend trip cooking, where you're working with portable stoves and limited infrastructure, is where the tradeoffs get sharp and where getting the setup wrong actually hurts you.
Why the Inside/Outside Decision Isn't Just About Comfort
The appeal of cooking inside your van is obvious. Bad weather, cold temperatures, stealth camping in an urban area where a visible camp stove draws attention: there are plenty of weekends when ducking inside feels like the right call. But the appeal obscures a mechanical reality that matters.
Combustion stoves, whether running on propane, butane, or white gas, consume oxygen and produce carbon monoxide as a byproduct. In a small enclosed van, even a brief cooking session can raise CO levels faster than most people expect. The CDC notes that CO poisoning symptoms, including headache, dizziness, and confusion, can appear before you recognize the source. A van's interior volume typically runs between 150 and 250 cubic feet, depending on build. That's not much buffer. Or rather: it's almost no buffer at all if you're running a two-burner propane stove with the doors shut and the fan off.
Moisture compounds the problem. A pot of boiling water releases significant water vapor into the air. In an unventilated van in January, that moisture condenses on every metal surface, accelerating rust, soaking insulation, and breeding mold in fabric and wood components. Weekend trippers who cook inside consistently without a ventilation plan tend to notice the damage after a season, not after a single trip, which makes it easy to underestimate until it's expensive.
Outdoor cooking skips both problems. Fresh air is unlimited. CO dissipates instantly. Moisture goes into the atmosphere instead of your ceiling panels. The tradeoff is wind, rain, cold, and the occasional unwanted attention from a campground neighbor or, in urban settings, a passing stranger.
Ventilation: The Variable That Changes Everything
If there's a single factor that determines whether inside cooking is safe and tolerable or genuinely dangerous, it's ventilation capacity. This is the part most weekend trippers either skip or handle badly.
A properly ventilated van for cooking needs active airflow, not just a cracked window. A roof fan, specifically one sized for your van's cubic footage and set to exhaust mode, is the baseline. The Maxxair and Fan-Tastic families of roof vents are the most commonly installed options in the US van build community, and both offer variable speed with a reverse function that pulls air out rather than pushing it in. Running the fan on high exhaust with a rear window cracked on the opposite end of the van creates a cross-draft that removes combustion byproducts and moisture simultaneously.
That framing misses something. Even a functioning roof fan doesn't fully compensate for a large or long-running burner. The CO risk isn't binary: it doesn't flip from safe to dangerous at a single threshold. It accumulates. A CO detector mounted at sleeping height (CO is roughly the same density as air, so placement isn't as critical as with propane, which sinks) gives you real-time feedback that no amount of eyeballing the windows can replace. Under $30 at any hardware store. Non-negotiable if you cook inside.
Vans without a roof fan should not cook combustion stoves inside. Full stop. A window screen and a crack is not ventilation for this purpose. If your current setup lacks a roof exhaust fan, cook outside or invest in the fan before your next trip.
Stove Types and Where They Belong
Not all stoves belong inside a van, and not all outdoor stoves perform well in wind. Matching fuel type to location is where most first-time van campers make their first expensive mistake.
The comparison below covers the four stove types most common for US weekend van trips.
Stove type determines not just safety but performance in the conditions each location produces.
| Stove Type | Safe Inside? | Wind Resistance | Best Use Case |
|---|---|---|---|
| Propane (canister) | With fan, CO detector, short sessions only | Low: canister stoves tip and lose pressure in cold | Quick inside meals in mild weather |
| Butane (single burner) | Same caveats as propane; not for extended cooking | Very low: butane loses pressure below 32°F | Short indoor use; poor in cold climates |
| White gas (liquid fuel) | Not recommended indoors: higher CO output, spillage risk | High: performs in cold and wind reliably | Outdoor use in mountain or winter conditions |
| Electric (induction/resistance) | Yes: no combustion, no CO, minimal moisture | N/A: indoor only | Best inside option if you have shore power or adequate battery |
The practical upshot: if your van has a house battery and an inverter capable of running 1,000 - 1,800 watts continuously, an induction cooktop is the cleanest inside cooking option available. No combustion means no CO risk and no ventilation requirement beyond basic comfort. If you're on a simple battery setup without that capacity, propane with a roof fan and a CO detector is workable for short sessions. White gas is for outside only on weekend trips.
And butane below freezing is a waste of time. The canister's vapor pressure drops enough that you'll be staring at a blue flame the size of a birthday candle. Buy propane instead if you're camping in shoulder seasons.
When Outside Cooking Is the Smarter Default
There's an honest case for treating outdoor cooking as the default and moving inside only when conditions force it. Outdoor cooking keeps combustion products, moisture, grease, and smell entirely out of your van. That matters more than people admit.
Grease vapor settles on surfaces. Cook bacon or stir-fry vegetables inside a van regularly and you'll notice a film on every surface within a couple of months. On insulation and soft goods, that film is essentially permanent without aggressive cleaning. Outside, the smell dissipates and the grease goes into the air or onto a surface you don't live in.
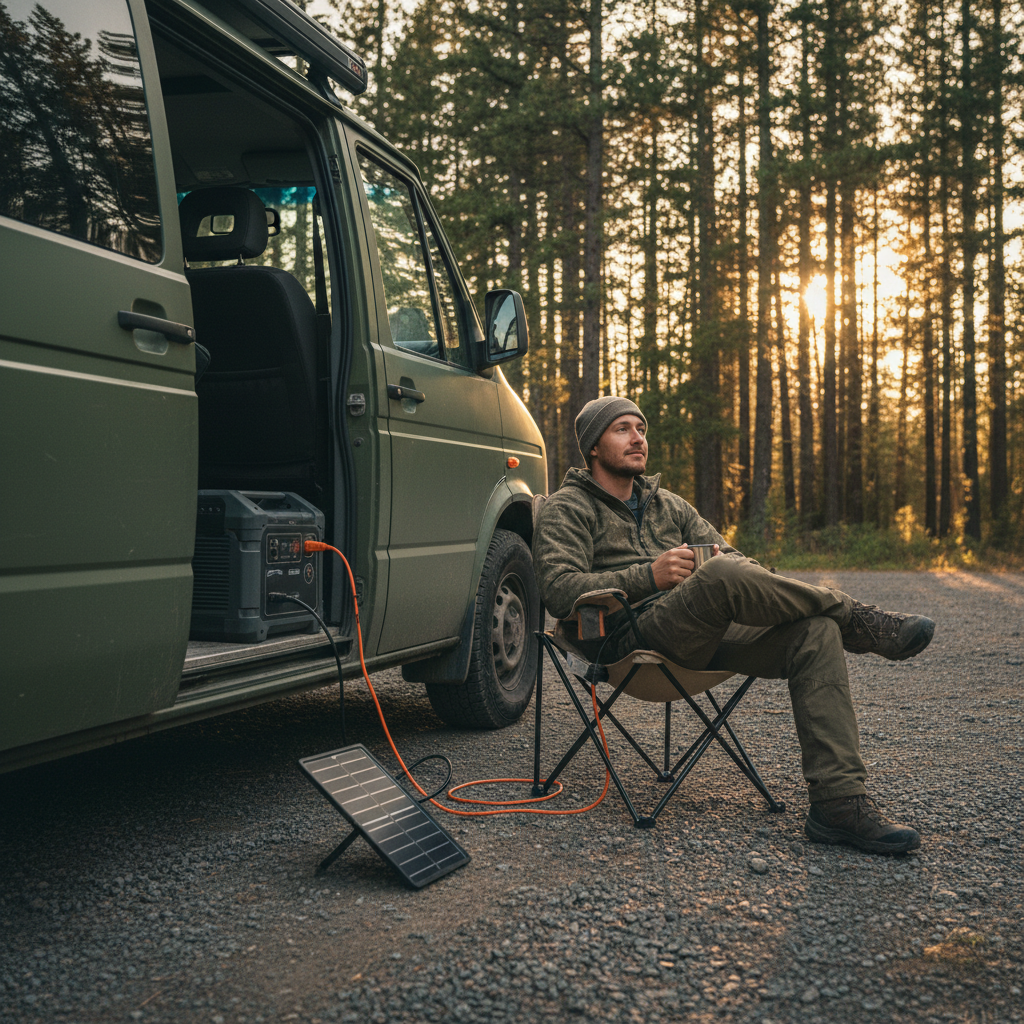
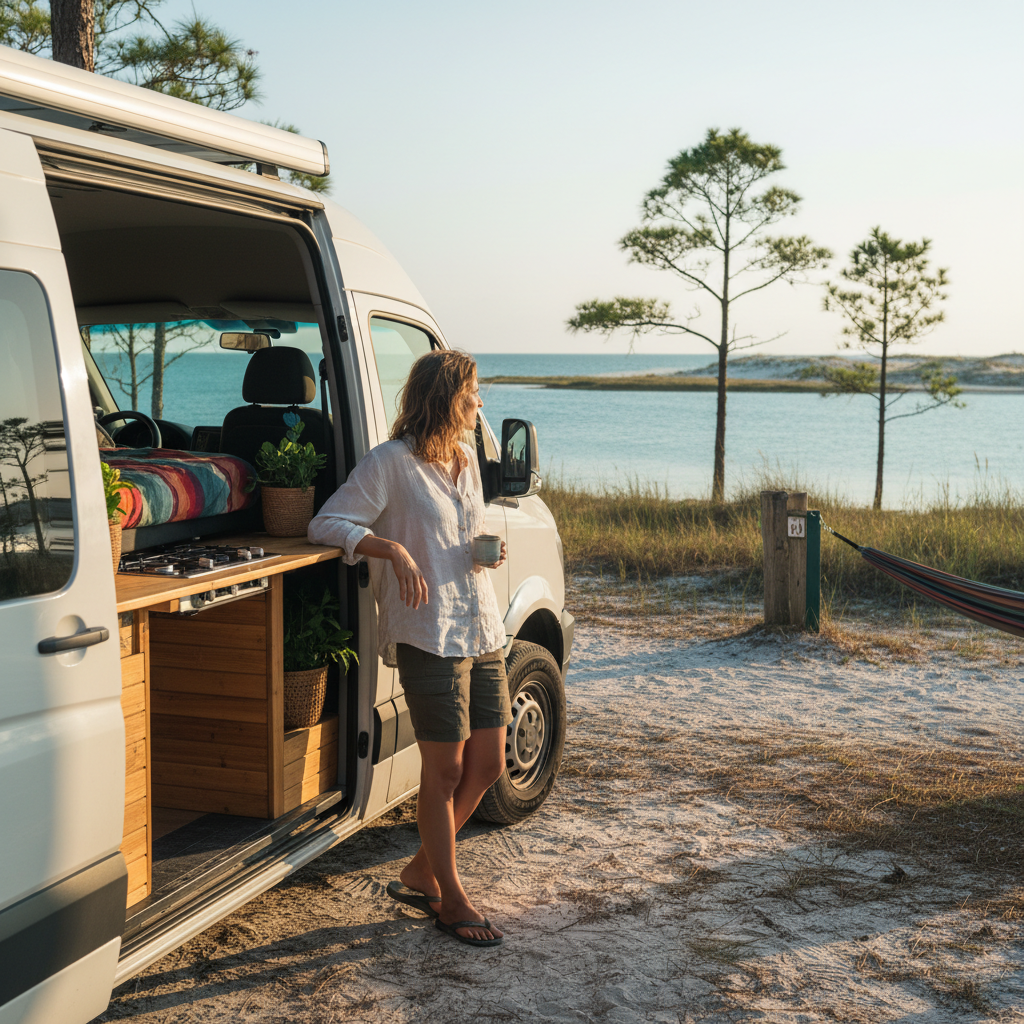
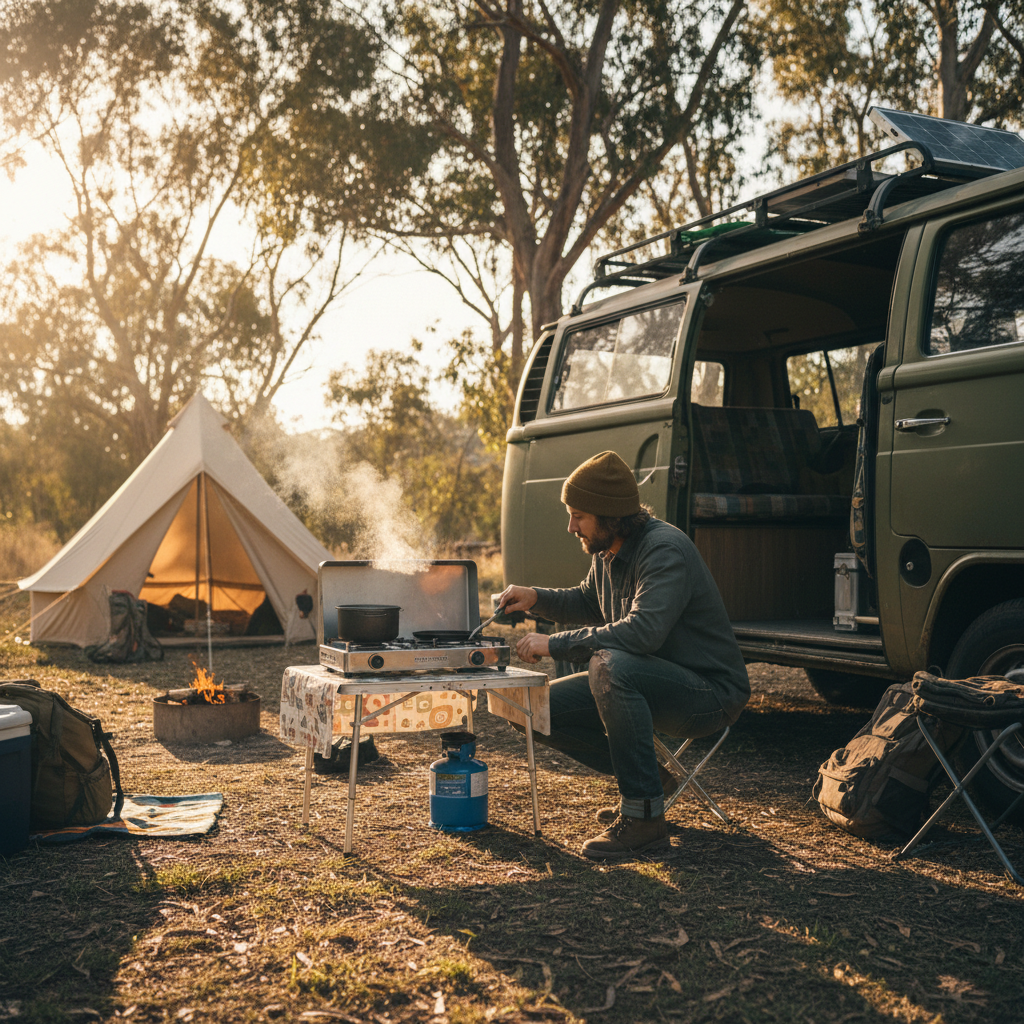
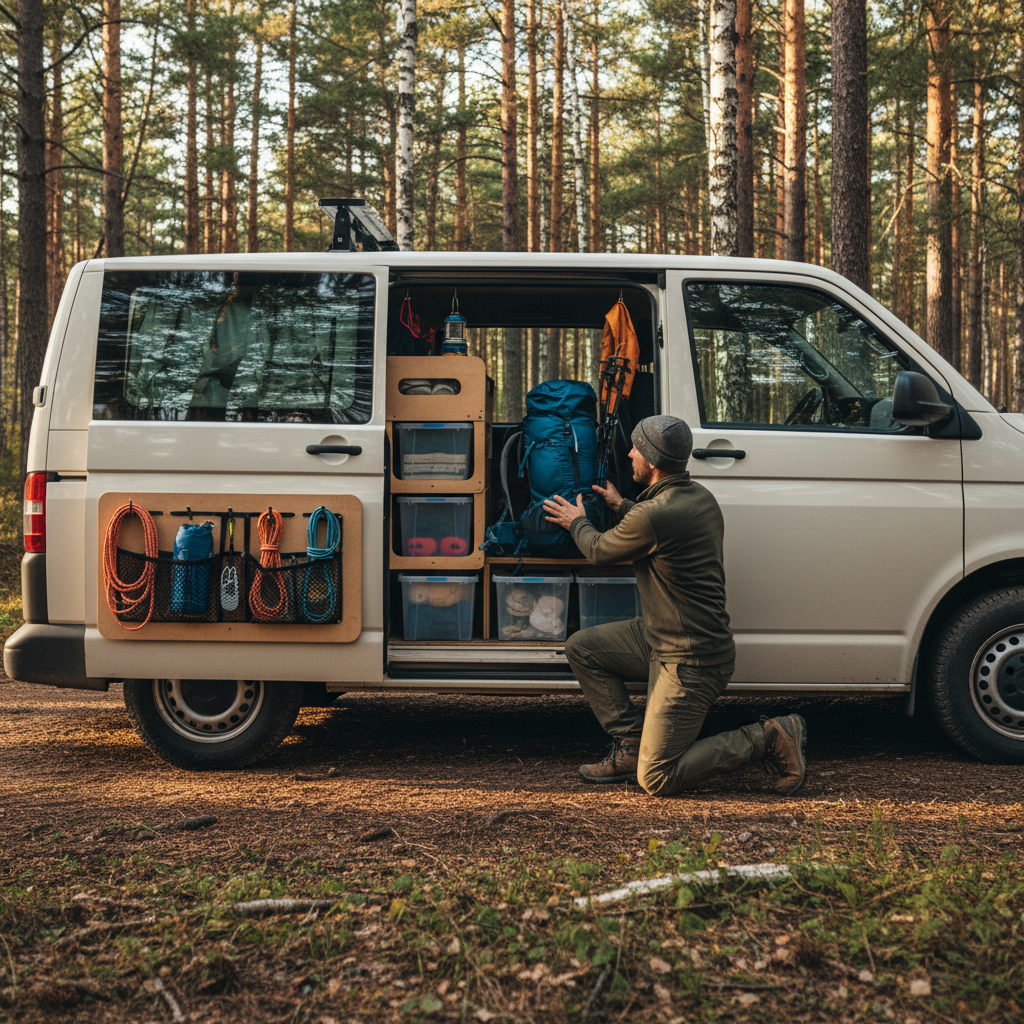
A good outdoor cooking setup for weekend trips doesn't require much: a two-burner propane stove on a folding table, a windscreen, and a cook kit that nests compactly. The GSI Outdoors and MSR lines both produce cook systems that fit this use case well. Adding a simple tarp or tailgate awning handles all but the worst rain conditions. Plenty of van campers in the US Southwest, Southeast, and Midwest run this setup year-round without meaningful inconvenience.
Where outdoor cooking genuinely struggles is the Pacific Northwest and upper Midwest in October through March, sustained wind above 20 mph at exposed sites, and any stealth camping context where a visible camp kitchen is a problem. Those aren't small caveats. If you camp in those conditions regularly, a proper inside ventilation setup isn't optional, it's the entire design requirement.
The best camp stove for van camping often turns out to be two stoves: a compact single-burner propane setup for inside use during bad weather, and a more capable two-burner propane or liquid fuel stove for outside when conditions allow. It's not complicated gear. It's just having the right tool for the location.
Building a Setup That Works in Both Directions
The practical goal is a cooking setup flexible enough to move between inside and outside depending on conditions, without requiring you to pack and unpack different systems each time.
I'd start with this sequence: roof fan first, CO detector second, then decide on stoves. Getting the ventilation infrastructure right before buying cooking gear means you're not retrofitting safety around a stove you already own.
For a weekend-trip van that needs to handle both inside and outside cooking, the core checklist is straightforward: roof exhaust fan rated for your van's cubic footage, CO detector at sleeping height, a single-burner propane stove for inside quick meals, and a two-burner camp stove that stays outside. That covers roughly 90% of weekend trip cooking scenarios without overbuilding.
The induction path is worth mentioning separately. If your van has a 200Ah lithium battery bank and a 2,000-watt-capable inverter, an induction cooktop changes the inside cooking equation entirely. No combustion, no CO concern, no ventilation overhead. A 12-inch induction cooktop capable of 1,800 watts draws roughly 150 amps per hour at 12V, so you're limited to short sessions on even a well-sized battery bank unless you're connected to shore power. But for weekend trips where you pull into camp Friday night and leave Sunday, the math often works. That understates it, actually: for anyone already investing in a capable electrical system, induction should probably be the first inside cooking option evaluated, not the last.
If you cook inside and skip the CO detector because it seems like overkill: you're gambling on a risk you can't sense until you're already symptomatic. That's not a trade worth making for $25.
Making the Call at the Trailhead
Before you light a stove Friday evening after the drive, the decision comes down to four quick checks: Is the weather cooperative for outdoor cooking? Is the site exposed enough that wind is a real problem? Does your van have a functional roof fan and a CO detector? Is your stove fuel type appropriate for the temperature?
If weather is fine and the site isn't exposed, cook outside. It's simpler and cleaner. If rain or cold pushes you inside, run the exhaust fan on high, crack a window on the opposite end, verify the CO detector is working, and keep sessions short. White gas stays outside regardless. Induction is inside-only and the cleanest option if you have the electrical capacity to support it.
Weekend van cooking doesn't require a complicated system. But the one failure mode worth taking seriously, carbon monoxide accumulation in an enclosed space, is serious enough that a $25 detector and a basic ventilation plan are the non-negotiable baseline before any inside combustion cooking. Get those in place first, then everything else is logistics.