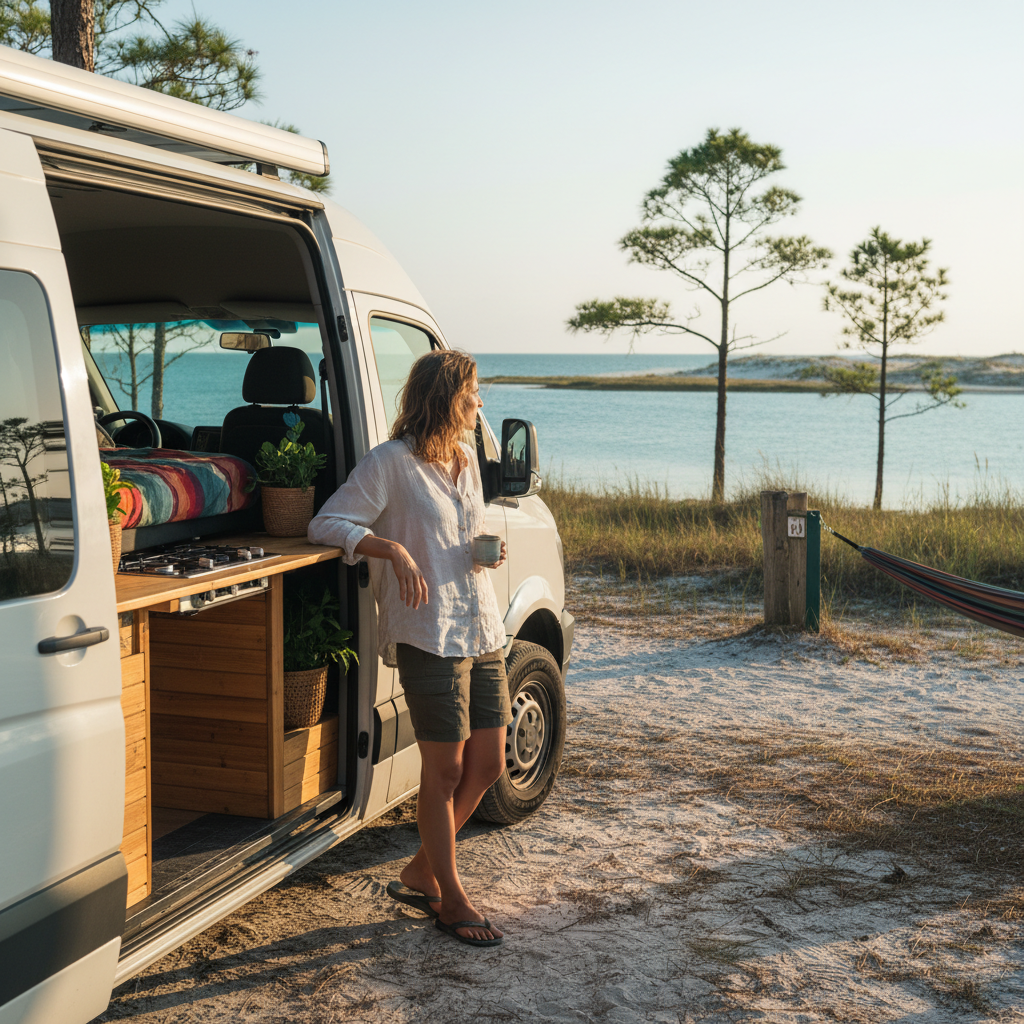
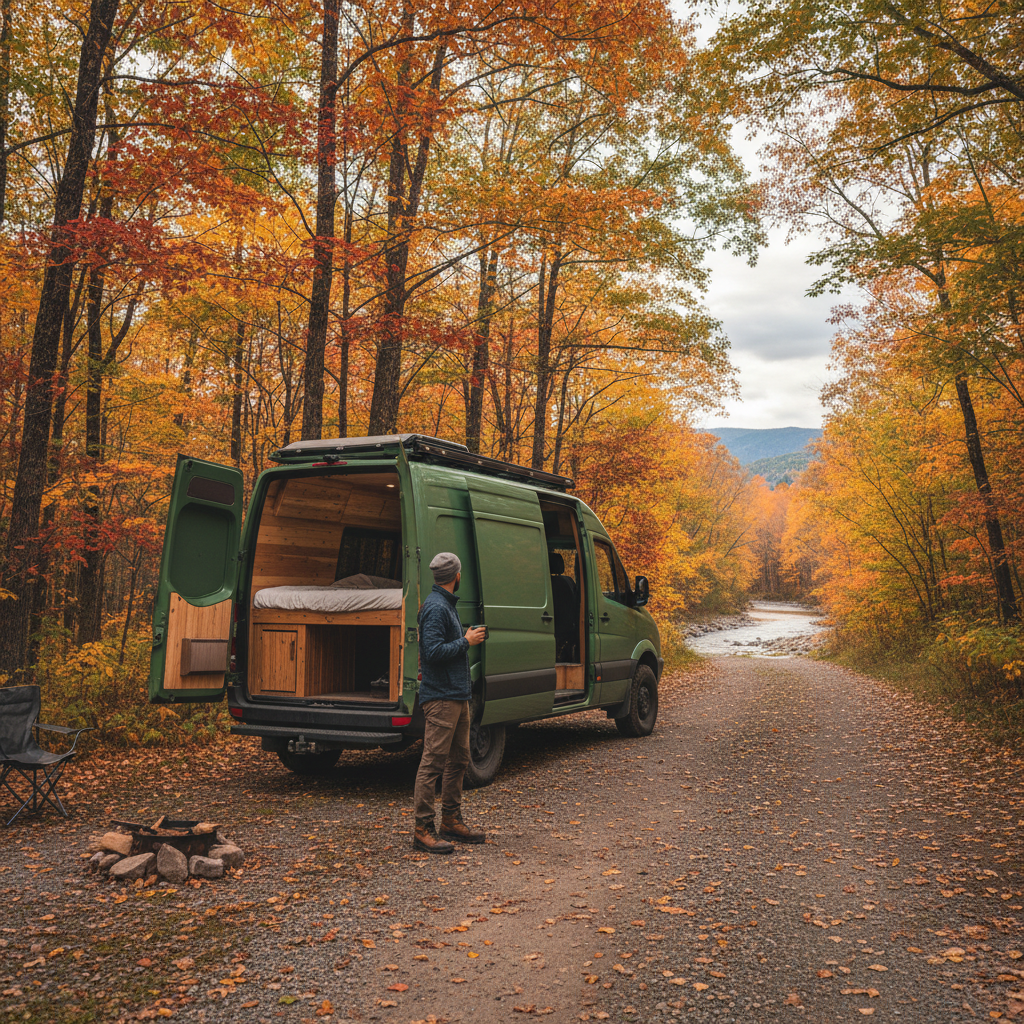
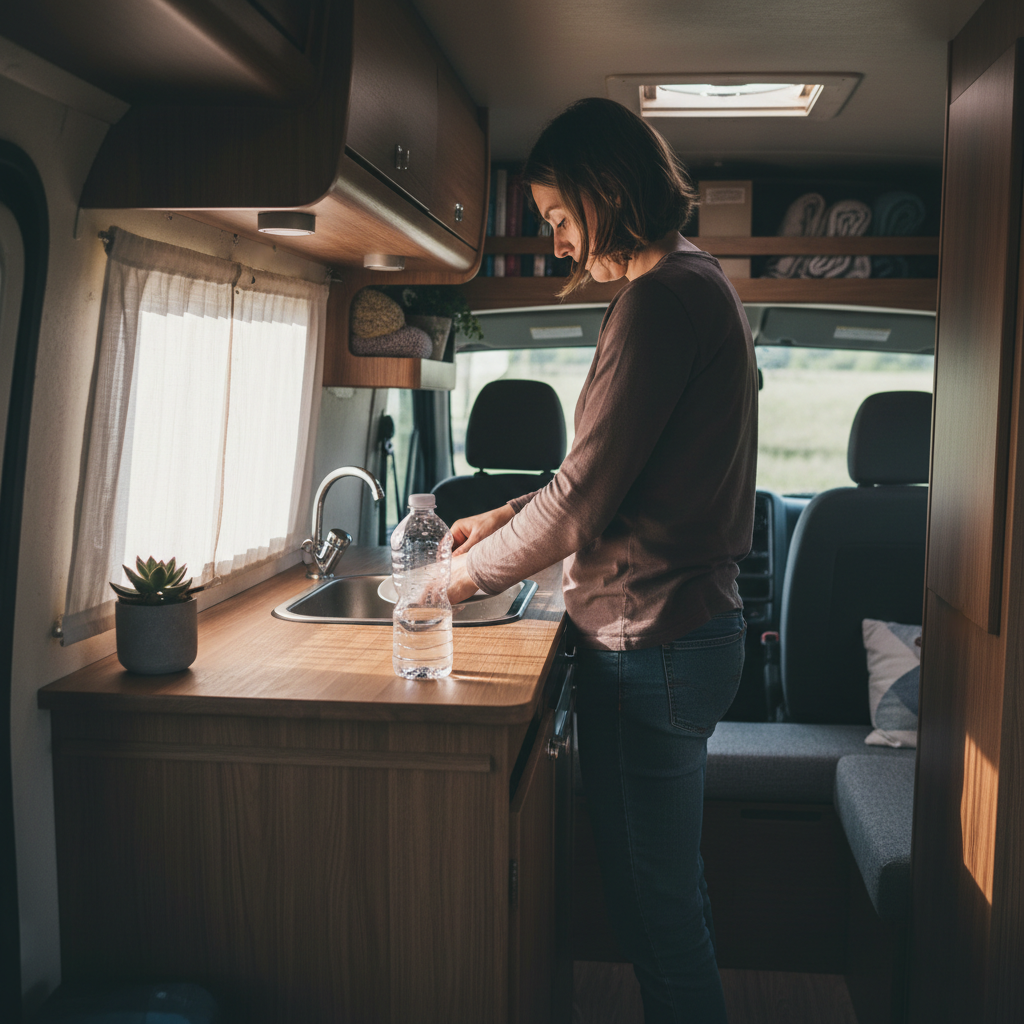
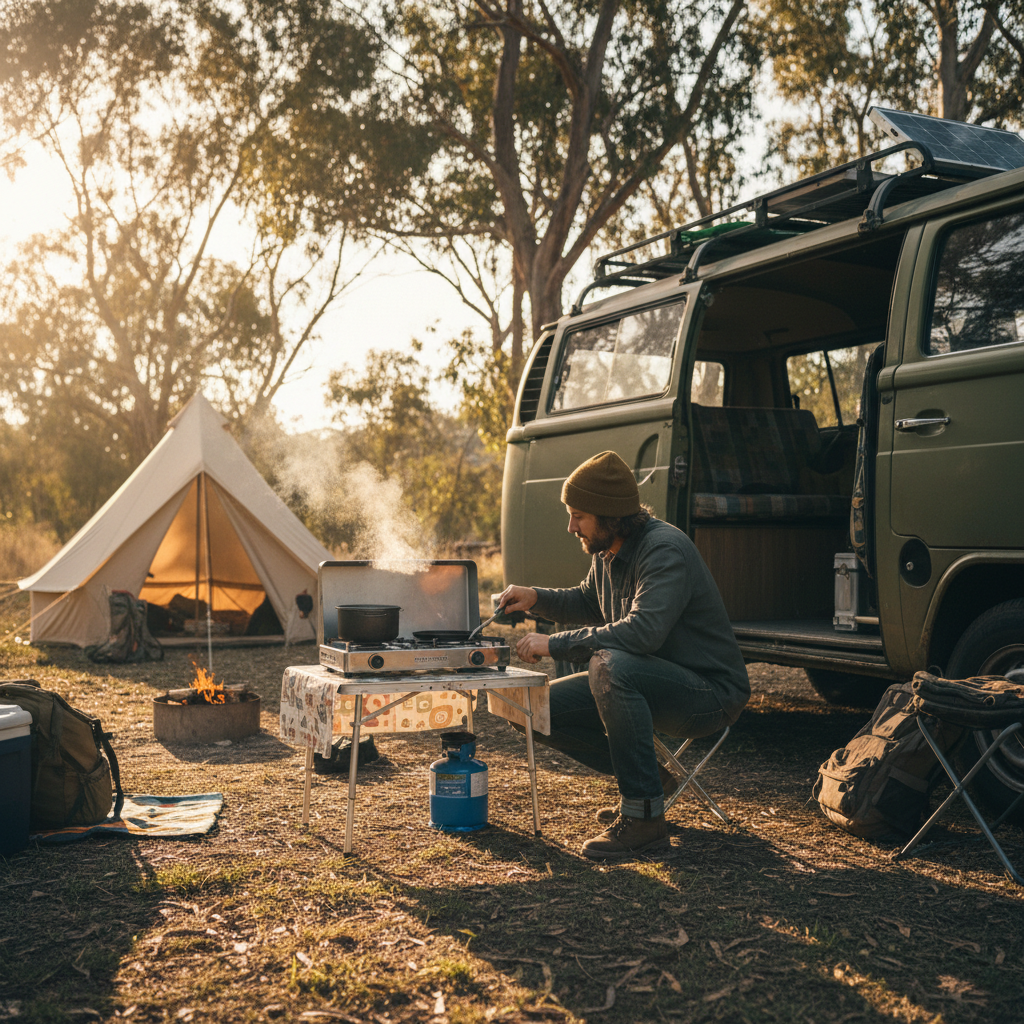
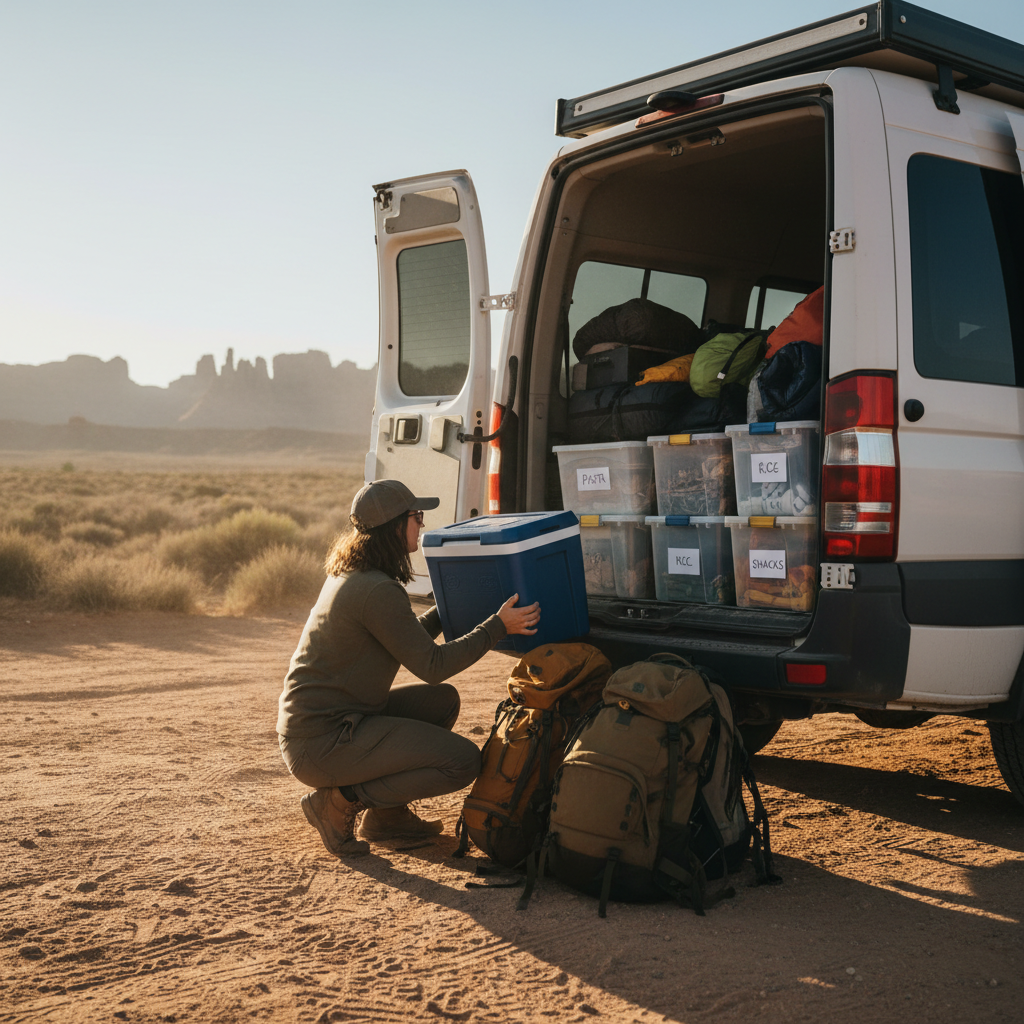

Camp cooks will tell you the cooler is the engine of your weekend van trip before they mention recipes, and there's a reason for that. Meal prep for a van trip isn't like batch cooking for the work week. You're working against a heat source you can't control, storage that doesn't restock, and a two-burner setup (if you're lucky) that rewards simplicity over ambition.
How well your food holds up depends on three things most people underestimate: how hot your van gets during transit, how many times you'll open the cooler each day, and whether your prep style matches your actual cook setup. Nail those and the food side of a van weekend almost runs itself. Get them wrong and you're eating warm string cheese at mile 200 because the cooler turned into a lukewarm puddle.
This guide is for people with a standard 48- to 65-quart hard cooler, a weekend trip of two nights, and a camp stove or single-burner setup in the van. If you're running a 12V compressor fridge or planning a week-long trip, the math changes enough that this specific approach won't hold.
What Actually Fails on Van Trip Food Prep
The most common failure isn't choosing bad recipes. It's prepping food as if you're stocking a kitchen fridge instead of a cooler that will sit in a metal box in the sun. A standard hard cooler with block ice holds 35 to 45 degrees Fahrenheit for roughly 48 hours under good conditions, meaning shaded transit, minimal lid openings, and a pre-chilled box. Those conditions rarely all line up on a van weekend.
Or rather: the real problem is that most prep plans treat the cooler like a refrigerator with a lid, when it's actually a countdown timer. Every time you open it, you lose cold. Every hour the van sits in a parking lot at 90 degrees Fahrenheit, you lose more. By Saturday afternoon of a summer trip, an unprepared cooler is frequently hovering at 50 degrees or above, which is the range where food safety becomes a genuine concern according to FDA food safety guidelines.
The fix isn't a fancier cooler. It's building a prep system where your most perishable food gets used on day one, your day two meals rely on less vulnerable ingredients, and your snacks and breakfasts don't touch the cooler at all.
Buyers skip the pre-chill step until they've ruined a batch of prepped food. Pre-chilling the cooler with a sacrificial bag of ice the night before your trip, then loading your actual food and block ice the morning you leave, can extend effective cold time by 6 to 8 hours. That's not a trivial margin on a two-night trip.
Building Your Prep Around a Cooler Tier System
The cleanest approach is to mentally divide your food into three tiers before you prep anything. Tier one is high-perishable: raw meat, dairy-heavy dishes, anything with eggs. Tier two is moderate: cooked proteins, cut vegetables, marinated items. Tier three is shelf-stable: nuts, hard cheeses sealed in wax, dried fruit, crackers, nut butter, instant oatmeal packets. Plan your meals so tier one is entirely consumed on Friday night and Saturday morning, tier two carries you through Saturday dinner, and tier three handles Sunday breakfast and the drive home.
This isn't just a safety framework. It's a packing framework too. Tier one goes on top of the block ice, coldest zone, easiest to access first. Tier two sits mid-cooler. Tier three lives in a separate dry bag or bin that never goes in the cooler.
A practical two-night meal map built on this system looks like this: marinated chicken thighs (prepped and vacuum-sealed at home) for Friday dinner, scrambled egg packs in a leak-proof container for Saturday morning, a grain-based salad with roasted vegetables for Saturday lunch, hard-smoked sausage with pre-cut peppers for Saturday dinner, and instant oatmeal with shelf-stable nut packets for Sunday. That schedule uses your most vulnerable food first and leaves nothing temperature-sensitive for the final morning when the cooler is at its worst.
The grain salad deserves a specific note. Farro, wheat berries, or barley hold their texture and don't get soggy the way pasta does. Cook them at home, dress lightly with olive oil and acid, store in a sealed container, and they're genuinely good at any temperature between 40 and 65 degrees Fahrenheit. That's the right food for a mid-trip meal where you can't control what the cooler looks like.
The Home Prep Steps That Actually Save Time in the Van
Good van trip prep isn't about cooking everything in advance. It's about eliminating the steps that are genuinely miserable to do in a van: chopping vegetables on a tiny cutting board that slides off the seat, measuring spices in the dark, or waiting for water to boil twice because you forgot to pre-cook the rice.
I'd start with proteins. Marinate your chicken or steak in a zip-lock bag at home, get as much air out as possible, and freeze it the night before. It loads into the cooler frozen solid, acts as a supplemental ice source for the first 12 hours, and is thawed and ready to cook by Friday evening. That's a two-for-one that most one-page prep guides don't mention.
For vegetables, pre-cut and store in rigid containers, not bags. Bags get crushed in a packed cooler and you end up with bruised pepper mush. Rigid containers stack cleanly and protect the contents. Pre-portion your spice blends into small labeled bags or tins at home so your spice rack doesn't make the trip. Pre-build your breakfast kits: one small bag per morning containing the dry goods (oats, chia seeds, whatever), so the morning routine is open-bag, add hot water, done.
And pre-cook your grains entirely. Uncooked rice in a van camp setup requires a lid, a timer, and attention. None of those cooperate well when you're setting up camp in fading light. Pre-cooked and chilled grains reheat in two minutes or work cold straight from the container.
Cooler Packing Order and the Ice Decision
Block ice versus cubed ice is a real decision, not just a preference. Cubed ice melts faster and creates standing water that accelerates cooling loss and soaks your food packaging. Block ice melts more slowly, keeps the cooler drier, and is worth the slight extra cost at most grocery stores or gas stations. A 10-pound block for a 48- to 65-quart cooler, supplemented by one bag of cubed ice around the edges, is a reasonable approach for a two-night summer trip in the continental US.
Packing order matters as much as the ice choice. Cold air falls. Put your block ice on the bottom, then your tier-one proteins directly on top of it, then tier-two items above that. Beverages go in a separate small cooler if you can manage it (or a dedicated section of the main cooler accessed least often), because drinks get opened constantly and every lid lift costs you temperature.
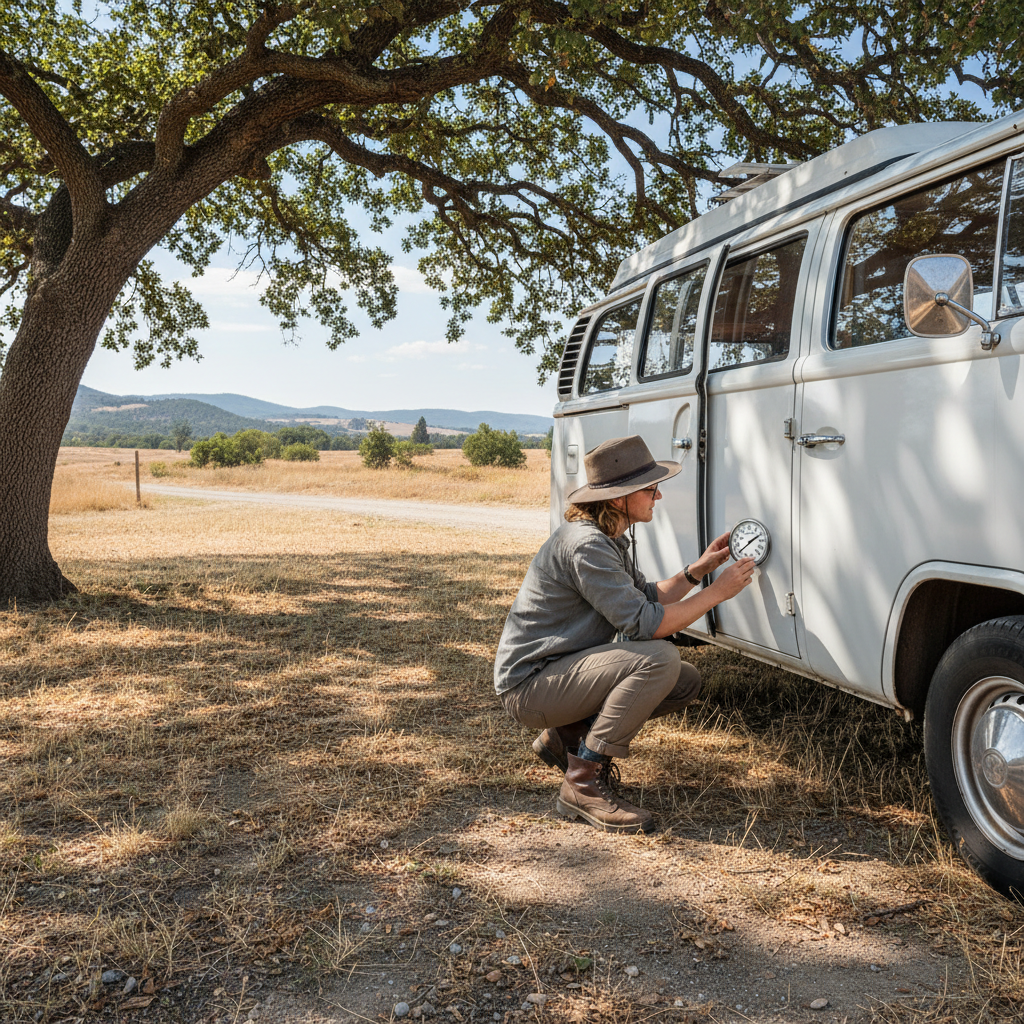
Keep the cooler in the shadiest part of the van during transit and out of direct sun at camp. A reflective cooler cover or an old moving blanket draped over it makes a measurable difference. If the van is going to sit closed in a parking lot for more than two hours, crack a window and leave the cooler somewhere shaded, not on a black cargo floor under a window.
When This Approach Doesn't Work
This whole system is built around a two-night trip with a standard hard cooler and temperatures that don't consistently exceed 95 degrees Fahrenheit. Push any of those variables and the tiers break down. A three-night trip in July in the desert Southwest means your block ice is gone by Saturday afternoon regardless of prep quality. At that point, you need either a 12V compressor fridge, a significantly larger cooler with dry ice (which requires specific handling: dry ice should not be placed in a closed van interior without ventilation, and should not be touched without insulated gloves), or a menu that's almost entirely shelf-stable from day one.
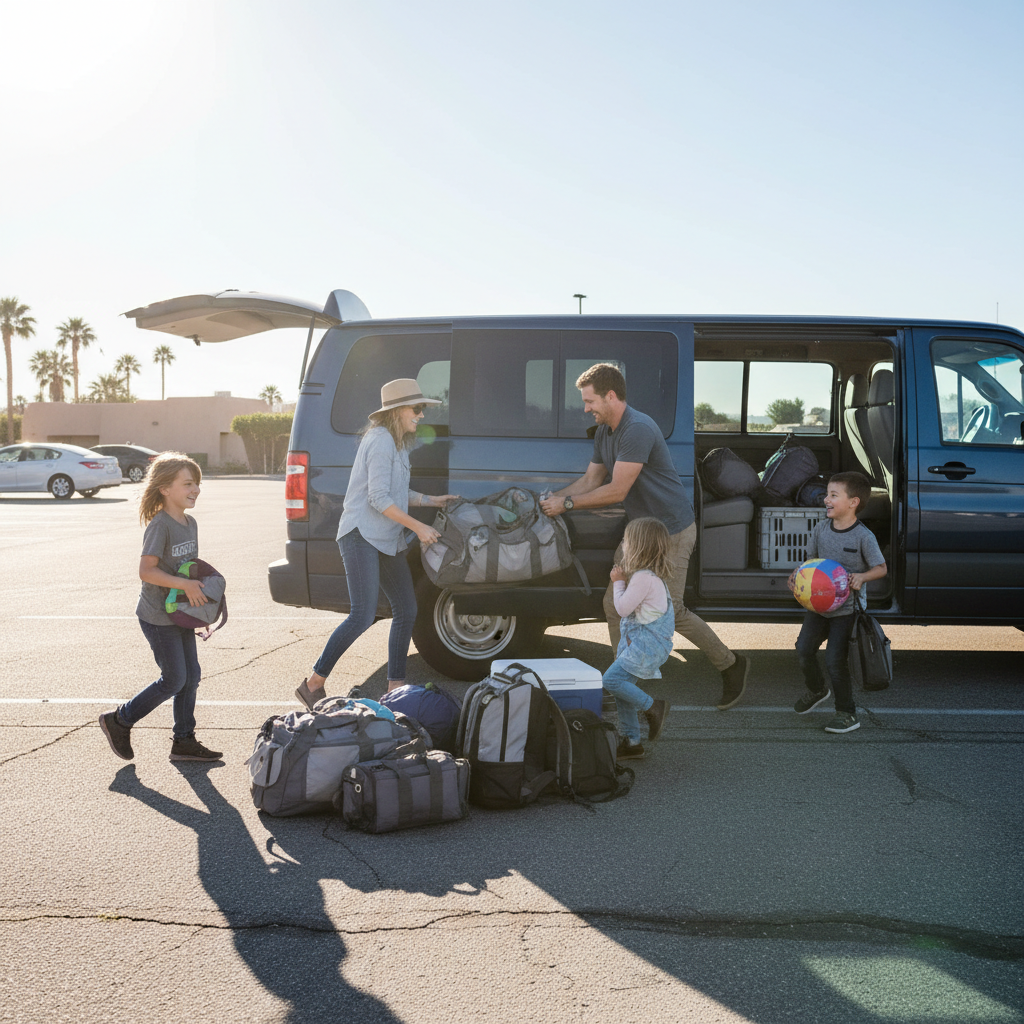
This approach also doesn't work well for groups larger than three people sharing one cooler. More food means more lid openings, more mass to keep cold, and faster ice melt. For four or more people, the standard recommendation is two coolers: one dedicated to food, one dedicated to drinks, with the drink cooler treated as the disposable one.
If you ignore the tier system entirely and just pack everything randomly, you'll likely be fine on a cool-weather October trip. But on a summer weekend, randomly packed food without a use-sequence plan is how you end up throwing out the expensive proteins on Saturday morning because they were buried under warm drinks and couldn't stay cold enough overnight. That's a pain, and it's avoidable.
Your Prep Timeline
Start two days out. That's enough runway without making the whole process feel like a project.
- Two days before: Buy groceries, marinate proteins, freeze the marinated bags flat so they stack cleanly.
- The night before: Pre-chill the cooler with a sacrificial bag of cubed ice. Pre-cook grains. Pre-cut vegetables into rigid containers. Build breakfast kits. Pack the dry bin (tier three) completely.
- Morning of departure: Dump the sacrificial ice, load block ice, pack the cooler in tier order (ice, tier one, tier two). Load the dry bin separately. You're done.
The whole active prep time runs about 90 minutes across two evenings. That's a fair trade for not spending any real mental energy on food logistics once you're on the road.
Van trips reward simplicity. The meals that work best are the ones you've already half-made before you left the driveway.