Cargo van prices have climbed sharply since 2020, and that reality shapes every decision you make before you cut a single piece of plywood. You're not starting with a blank slate. You're starting with a vehicle that already cost more than it used to, which means the smartest van conversions right now are the ones that spend money on exactly two things: sleep quality and temperature control. Everything else can be improvised.
The tension no one warns you about is this: weekend campers and full-time van lifers need fundamentally different builds. A setup optimized for 48-hour trips will actively frustrate someone living out of their van for months, and a full-time build is overkill that drains your budget on features you'll use twice a year. This guide is for weekend campers, not full-timers, and that distinction shapes every recommendation here.
Three variables determine whether your conversion is money well spent or a costly rebuild waiting to happen: the van's interior height, your sleeping orientation (lengthwise versus crosswise), and whether you're building for one person or two. Get those wrong in planning and you'll be pulling out your platform six months later. Plenty of people do exactly that.
Choosing Your Van and Understanding What You're Starting With
The Ford Transit, Ram ProMaster, and Mercedes Sprinter dominate conversion discussions, but for weekend use on a tight budget, the extended Ford Transit 148" wheelbase hits a practical sweet spot. It's the most common platform at U.S. fleet auctions, parts are cheap, and a 6-foot person can sleep lengthwise without the platform jutting over the wheel wells awkwardly. The high-roof version adds around $3,000 - $5,000 to purchase price, and for weekend trips where you're mostly outside during daylight, that premium is hard to justify unless you're over 5'8" and plan to stand inside frequently.
The ProMaster has a front-wheel-drive layout that frees up more floor space than rear-wheel-drive competitors, which matters if you're building a crosswise sleeping platform (useful when two people camp together but you have a shorter van). The Sprinter has the best resale value and the most aftermarket support, but used examples with high mileage on the diesel engine can carry significant repair risk. A common guideline among experienced converters is to budget a 15 - 20% repair reserve on any high-mileage Sprinter before you spend a dollar on conversion work. That framing is a practical heuristic, not an official threshold, but it reflects real-world cost patterns.
Before you buy anything for the build, pull the van's interior dimensions with a tape measure, not the manufacturer's spec sheet. Floor flatness varies by cargo configuration, and rust around the wheel wells or floor seams is a deal-breaker that's easier to spot before you've glued down insulation. Check the roof seams too. Water intrusion is the most common problem converters discover after the build is done.
Insulation: The One Place Not to Skimp
Spray foam, polyiso rigid board, Thinsulate, and Noico sound deadening get mentioned constantly, and buyers skip Y until burned: most weekend campers over-invest in sound deadening and under-invest in thermal insulation, then wonder why they're cold at night. Sound deadening reduces road noise. It does not meaningfully insulate against temperature. Those are different problems.
For a weekend-focused build, two-inch polyisocyanurate (polyiso) rigid board foam on the walls and ceiling, combined with Thinsulate in the door cavities, gives you a practical R-value in the range of R-10 to R-14 for the wall system, which is enough to keep a sleeping bag rated to 20°F comfortable in most U.S. shoulder-season camping without any auxiliary heat. That understates it. The real gain from proper insulation isn't warmth, it's moisture control: a poorly insulated van creates condensation between the metal skin and any interior material, which means mold behind your paneling within one season.
Polyiso costs roughly $30 - $40 per 4×8 sheet at big-box stores like Home Depot or Lowe's, and a full Transit cargo area takes about six to eight sheets for walls and ceiling. Cutting it is straightforward with a utility knife and a straightedge. Foil-faced polyiso is preferable because the foil layer adds a minor radiant barrier and makes it easier to spot gaps during installation. Tape all seams with foil HVAC tape, not standard duct tape, which fails at temperature extremes.
Skip Thinsulate on the walls and ceiling unless you have budget left over. It performs well in door cavities where rigid board won't fit, but at roughly $2 - $3 per square foot it's expensive coverage for flat surfaces where polyiso does a better job at a fraction of the cost.
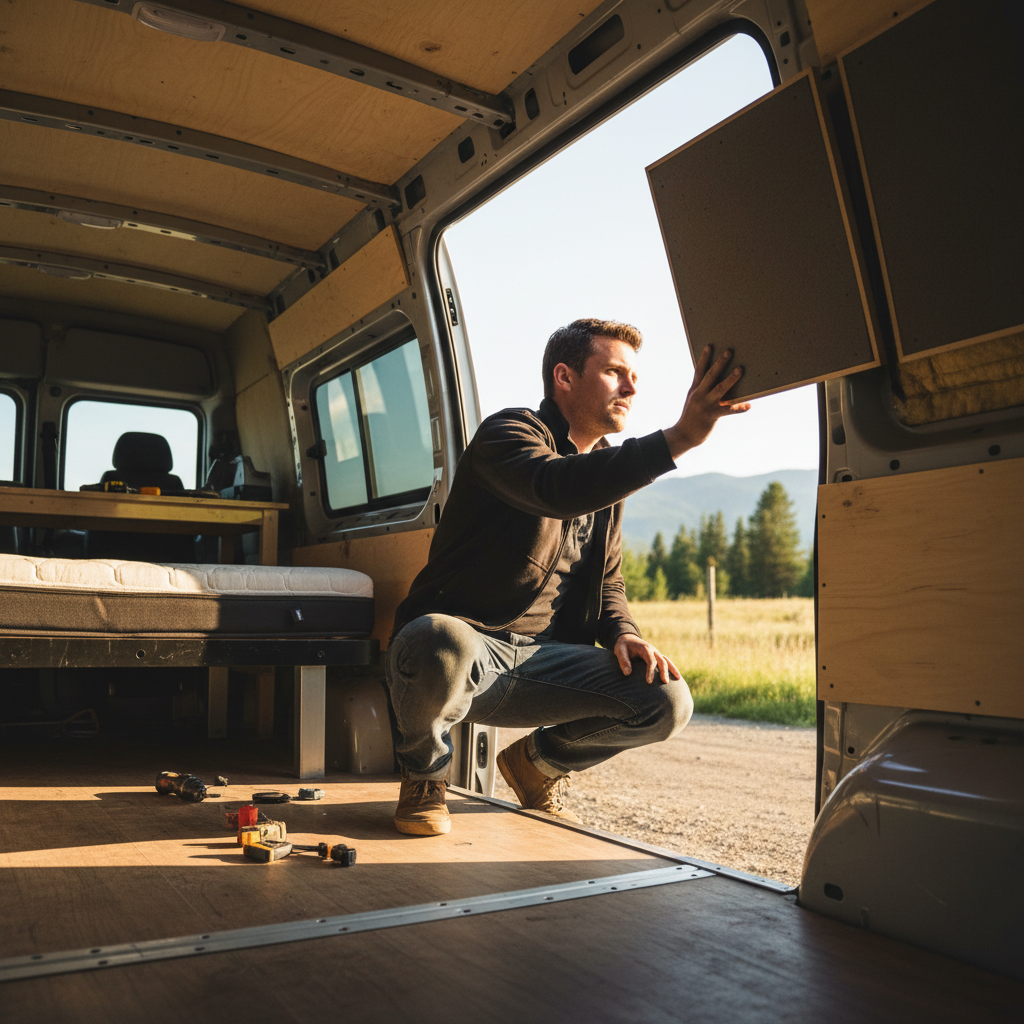
The Bed Platform: Your Most Important Structural Decision
This is where most budget conversions fail. Not in execution, but in planning. A platform built for one person sleeping lengthwise has different dimensions than one built for two sleeping crosswise, and building the wrong one means either a cramped sleeping arrangement or a van with dead space you're paying to haul around every weekend.
A lengthwise platform in a 148" wheelbase Transit can be approximately 80" long by 48" wide (behind the wheel wells) using 3/4" plywood on a simple lumber frame. That gives a single adult a full-length sleeping surface with room for gear underneath, which is the primary storage zone in a weekend build. Crosswise platforms work well for couples in shorter vans: two people can sleep side by side with their heads toward one wall, and the shorter platform length (typically 52" - 56") leaves a full-width work or gear area at the rear doors.
I'd start with 2×4 lumber framing rather than aluminum extrusion for a first build. Aluminum looks cleaner and is lighter, but 2×4 framing is faster to cut, easier to adjust, and costs a fraction of the price. You can always rebuild with aluminum later if you decide to commit to the van long-term. The platform itself needs ventilation gaps between the plywood top and the frame to prevent moisture from trapping under your mattress. Cut 1"-diameter holes every 12" along the cross-members. Takes five minutes and prevents a problem that takes days to fix.
A quick-reference summary for the platform decision:
Platform Decision Summary
Solo camper, 148" Transit: lengthwise, 80" × 48", 3/4" ply on 2×4 frame. Two people, shorter van: crosswise, 52" - 56" length, same construction. Storage underneath: 14" - 18" clearance is the practical minimum for gear bins. Ventilation holes: 1" diameter, 12" spacing along cross-members.
One condition where this recommendation weakens: if you're shorter than 5'4" and camping with a partner, a crosswise platform in a full-size van gives you dramatically more usable daytime space and a genuinely more comfortable social layout. The lengthwise-solo formula assumes height and single occupancy. If neither applies, revisit your orientation before cutting anything.
Power, Lighting, and the Electrical Decisions That Surprise People
Weekend campers do not need a 200Ah lithium battery bank and a 400-watt solar array. That's a full-time setup, and it costs $1,200 - $2,000 before you've wired anything. For two days of camping, a single 100Ah AGM battery (roughly $150 - $200) connected to a DC-to-DC charger that tops it off from the van's alternator while you drive covers LED lighting, phone charging, and a small 12V fan without drama.
The mistake buyers skip until burned is confusing amp-hours with watts. Your phone charger draws about 2A. A good 12V fan (the Maxxair or Fan-Tastic brands are the standard references in the van build community) draws 2 - 5A on high. LED strip lighting for an entire cargo area draws under 2A. Even with everything running, you're looking at under 10A continuous draw for a weekend build. A 100Ah battery at 50% depth of discharge gives you roughly five hours of that load before you're into the reserve zone. Or rather: you're probably not camping with everything running all night, so in practice a single AGM carries a full weekend without issue.
Run your positive wire from the battery through an inline fuse within 18 inches of the battery terminal. This is not optional. An unfused wire is a fire risk if it contacts bare metal, and cargo vans have a lot of bare metal. The Blue Sea Systems fuse block is the standard recommendation from the van build community because it's well-documented, widely available, and its installation instructions are written for people who aren't electricians. Wire gauge matters: 10 AWG handles up to about 30A for typical van runs, which covers most weekend accessories. If you're adding a small inverter (400W or under), upsize to 8 AWG on that circuit.
Solar is a bonus for weekend use, not a necessity. A single 100W panel adds approximately $80 - $120 and keeps your battery topped off during daylight parked camping, which is genuinely useful on longer trips. But if you're only out two nights at a time and driving to your campsite, the alternator charging alone is probably sufficient. Run the numbers on your own usage before buying panels you don't need.
What a Budget Build Actually Costs and Where to Cut
The realistic cost range for a functional weekend build, not counting the vehicle, runs from about $800 to $2,500 depending on how much you source used and how much you buy new. The wide range isn't vague hedging. It reflects one real variable: whether you buy your mattress new.
A purpose-cut foam mattress from a company like Foam Factory or Foambymail (both ship cut-to-size pieces across the U.S.) costs $150 - $300 for a 4" thick, high-density foam layer at 1.8 lb/ft³ density or higher. That density rating matters: lower-density foam compresses unevenly within a year of regular use and you'll feel the platform through it. It's not a small difference. A repurposed mattress from a guest bedroom usually doesn't fit the platform dimensions without cutting, and cutting memory foam cleanly requires a long serrated blade and patience most people underestimate.
Here is where a typical budget build lands, broken down by category:
The table below reflects mid-range U.S. pricing for new materials. Used or salvaged materials can cut each line item by 30 - 60%.
| Category | Budget Option | Mid-Range Option | Notes |
|---|---|---|---|
| Insulation (polyiso + Thinsulate) | $120 - $180 | $200 - $280 | Polyiso walls/ceiling; Thinsulate for doors only |
| Bed platform (lumber + plywood) | $80 - $130 | $150 - $220 | 2×4 frame, 3/4" ply top |
| Mattress (cut foam) | $150 - $200 | $220 - $300 | 1.8 lb/ft³ minimum density |
| Electrical (battery, fuse block, wire) | $200 - $280 | $380 - $500 | AGM vs. lithium is the main cost driver |
| Ventilation fan | $130 - $160 | $280 - $340 | Maxxair vs. Fan-Tastic; both are solid |
| Lighting (LED strips + switch) | $30 - $50 | $60 - $90 | 12V LED strip with dimmer |
| Miscellaneous (tape, adhesive, hardware) | $60 - $100 | $80 - $140 | Don't underbudget this line |
Adding those mid-range figures gives you roughly $1,370 - $1,870 for a complete, functional weekend build. If you skip solar (reasonable for weekend use), skip the rear door paneling (ugly but functional), and source your lumber from a local Facebook Marketplace haul, you can land closer to $900 - $1,100. The build doesn't get better by spending more across all categories simultaneously. It gets better by spending correctly on insulation and the mattress, then cutting everywhere else.
If you skip building an insulated platform altogether and just throw a camp pad in the back, you'll be cold from below (metal floors bleed heat fast), you'll have no storage, and you'll rebuild within a year anyway. The platform is not optional for anything beyond summer camping in mild climates.
The Realistic Alternative: Cargo Van Versus Purpose-Built Overlanding Setup
The honest competitor to a DIY van conversion is a pickup truck with a quality truck camper or a purpose-built overlanding setup. A used Four Wheel Camper pop-up on a mid-size truck runs $8,000 - $15,000 for the camper alone, but it comes with insulation, a sleeping platform, and often basic electrical already done. The math is blunt: for weekend use where you're driving under four hours each way, a truck camper on a used Tacoma or Colorado is a legitimate alternative to van conversion, not a more expensive one.
The framing most conversion guides miss: van conversion wins on cost only if you value the customization process itself, or if you need the cargo capacity during weekdays (using the van for work). If you want to show up and sleep without building anything, a used truck camper is probably cheaper in total hours invested even if the sticker price is higher. That's the reframe: van conversion is a project hobby that produces a camping vehicle. If you wanted the vehicle without the project, you're in the wrong category.
But the framing misses something. The van's blank-slate flexibility is not just aesthetic. A converted van can be reconfigured as your needs change, without buying a new vehicle. A truck camper is a fixed product. If you start camping solo and later camp with a partner, the van adapts. The camper doesn't.
Building It Right the First Time
Measure the interior before buying insulation. Cut the platform frame before cutting the plywood top. Wire the electrical before paneling the walls. These aren't tips, they're sequence dependencies that save you from doing things twice.
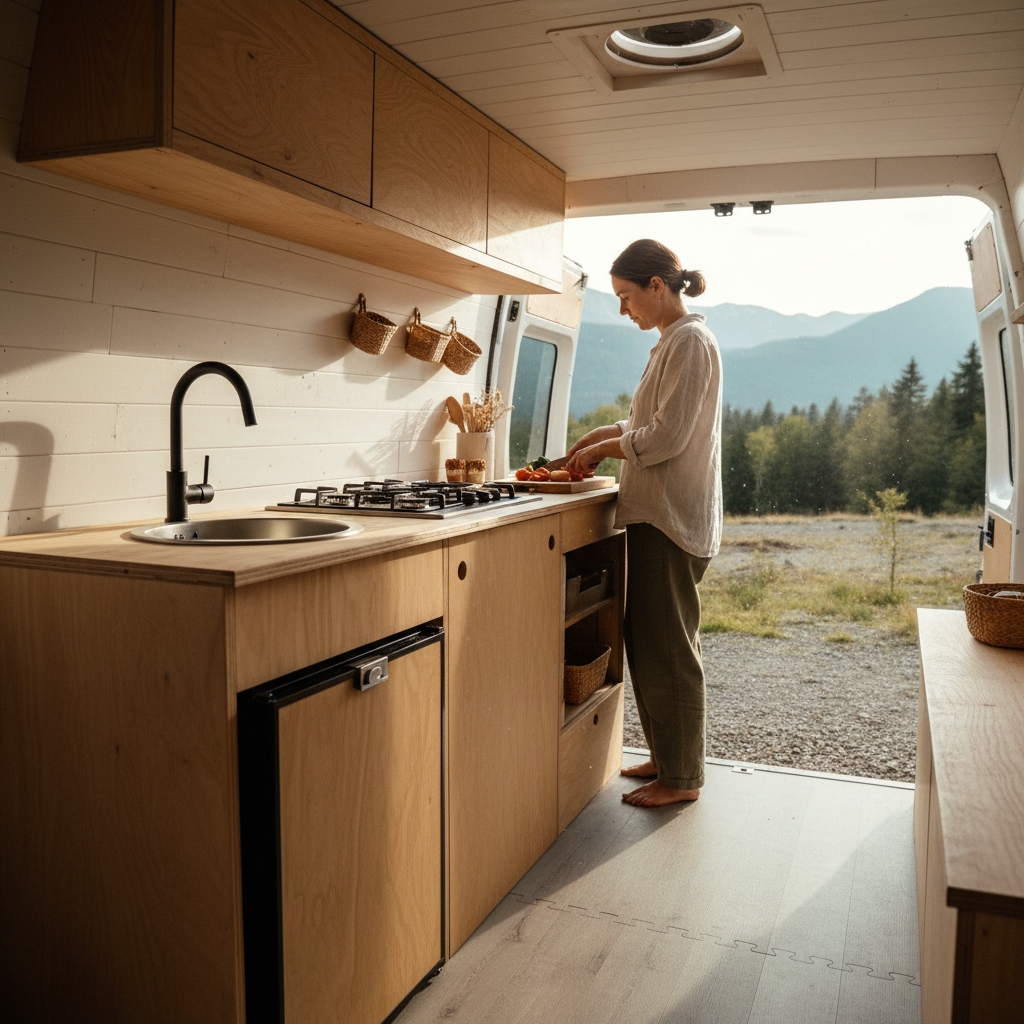
Focus spending on insulation and your mattress. Cut everywhere else. A weekend build doesn't need cedar paneling, a built-in kitchen, or a 12V refrigerator. Those are quality-of-life upgrades for full-timers. For two nights, a cooler and a camp stove outside the van are lighter, cheaper, and one fewer electrical circuit to troubleshoot at a trailhead.
If you're working with a genuine budget constraint (under $1,000 for the full build), prioritize in this order: insulation first, platform second, fan third. Lighting and electrical can follow once you've slept in it a few times and know what you actually need. The van community's worst habit is planning an entire build on paper before spending a single night in the van. Sleep in it with a camp pad twice before you build anything permanent. You'll learn more in two nights than in fifty hours of YouTube.