Tile installers will tell you that substrate prep matters more than tile selection before they discuss anything else, and there's a reason for that. In a van kitchen, the substrate is a thin panel of wood or aluminum that flexes at highway speed, expands in July heat, and contracts overnight in the mountains. The backsplash ideas that look incredible in a finished van build are almost never the ones that get chosen first.
What makes a van backsplash genuinely cozy rather than just photogenic comes down to three things: weight per square foot, adhesion method, and moisture management. None of those are resolved by picking a pretty pattern. A ceramic tile that works in a house bathroom can crack along grout lines after a single pothole on I-70 if the backer isn't rigid enough. That tension between aesthetics and road reality is the thing most van build guides skip past too quickly.
This article covers materials, adhesion strategies, and installation realities for van kitchens specifically. It does not cover residential kitchen renovations or permanent RV builds with fixed cabinetry, where the rules are different enough that the advice diverges in important ways.
Why Material Weight and Flexibility Change Everything in a Van
A standard ceramic subway tile weighs roughly 4 to 5 pounds per square foot. For a van kitchen splash area of about 4 square feet, that's 16 to 20 pounds mounted on a wall that vibrates constantly. The issue isn't just the weight on a single trip; it's cumulative fatigue on the adhesive bond over thousands of miles. Mortar-set tile, which is the standard residential choice, relies on a rigid substrate that doesn't move. Van walls move. That's the core mechanic.
Or rather: the problem isn't the tile itself cracking. It's the bond between the tile and the backer failing at the adhesive layer, which causes tiles to pop off in clusters rather than one at a time, usually after a temperature swing. When a van sits in direct sun in Phoenix and the interior hits 140°F, then cools overnight to 60°F, that's an 80-degree thermal cycle on every adhesive joint.
Lightweight alternatives have genuinely practical advantages here. Peel-and-stick vinyl backsplash panels typically weigh under 0.5 pounds per square foot, which removes the fatigue problem almost entirely. Aluminum composite panels used in commercial kitchen fit-outs sit around 1 pound per square foot and are rigid enough to bridge minor flex in the van wall without transferring stress to the surface finish. Thin-set porcelain mosaic sheets on fiberglass mesh land around 2 pounds per square foot and can work if the backer is properly supported, but they require more installation precision than most van builders anticipate on their first build.
The realistic comparison for most builders is between peel-and-stick panels and aluminum composite sheets. Peel-and-stick wins on install speed and reversibility. Aluminum composite wins on durability and heat resistance near a propane burner. If you're building a van you plan to sell or convert back, peel-and-stick is the smarter starting point. If this is a long-term build and you're cooking on a two-burner propane stove daily, aluminum composite near the stove and peel-and-stick elsewhere is a practical split.
Top Backsplash Materials Compared
Before getting into specific looks and finishes, it helps to know how the main contenders stack up against the conditions a van kitchen actually creates. The table below covers the five most commonly used materials in current US van builds, judged on the criteria that matter for road use rather than aesthetics alone.
| Material | Weight (lbs/sq ft) | Heat Resistance | Adhesion Method | Reversible? |
|---|---|---|---|---|
| Peel-and-stick vinyl | Under 0.5 | Up to ~140°F | Pre-applied acrylic | Yes |
| Aluminum composite panel | ~1.0 | 300°F+ | Contact cement or VHB tape | Difficult |
| Thin porcelain mosaic | ~2.0 | Excellent | Flexible tile adhesive | No |
| Beadboard (PVC) | Under 1.0 | Up to ~170°F | Construction adhesive | Partial |
| Reclaimed wood shiplap | 1.5 - 2.5 | Poor (fire risk) | Brad nails + adhesive | No |
The weight and heat resistance columns should drive the decision more than anything else. Reclaimed wood shiplap appears frequently in van build social media, and it photographs beautifully, but placing it directly behind a propane stove is a fire hazard that most posts don't mention. Keep any wood material at least 18 inches from an open flame, which in a compact van kitchen is often impossible unless the stove is positioned at one end of the counter run.
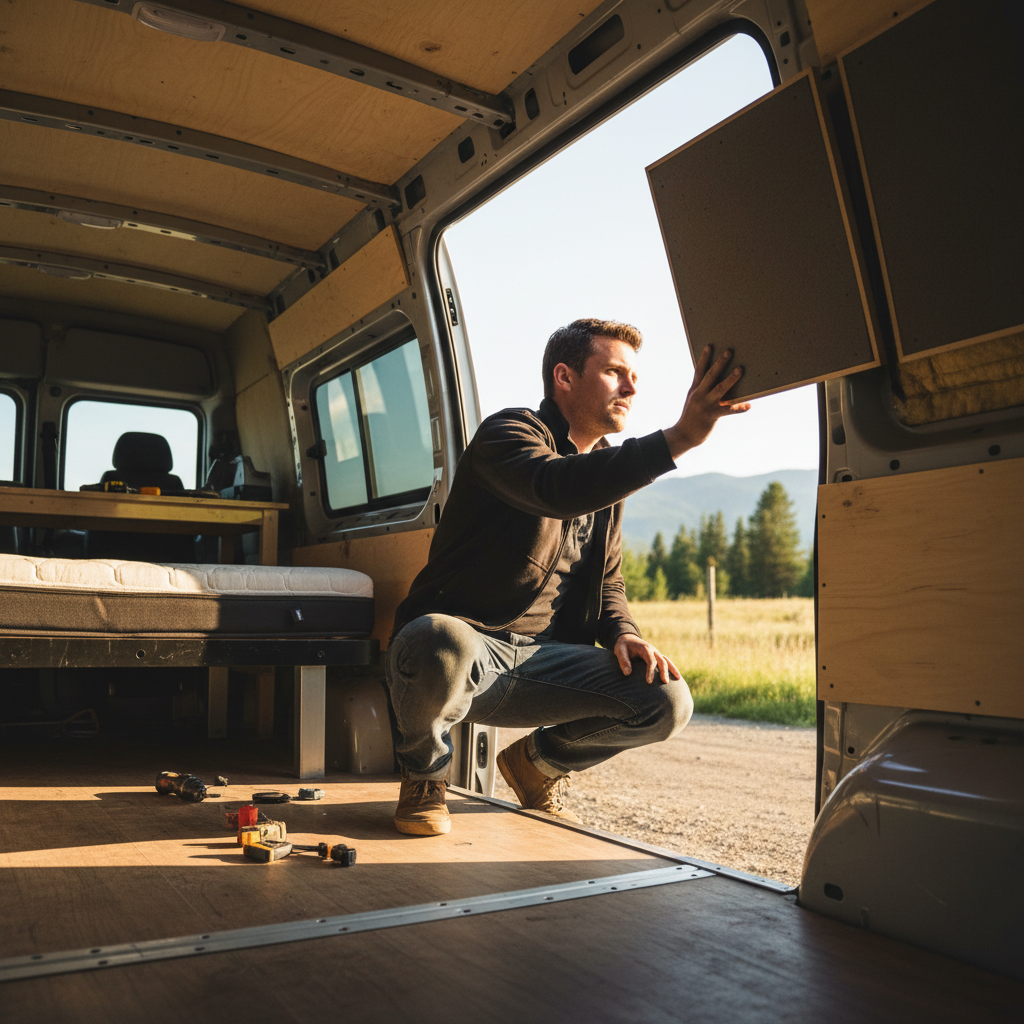
Installation: Where Van Builds Go Wrong
The most common mistake is skipping surface prep on the van wall. Metal van walls have a factory primer coat, but that surface isn't designed for adhesive bonding. A light scuff with 220-grit sandpaper and a wipe-down with isopropyl alcohol before applying any adhesive adds maybe 20 minutes to the job and meaningfully extends bond life. Skipping it is a waste of money on materials that then fail in six months.
Check the van wall for flex points before committing a material. Press firmly at several points along the planned backsplash area. If the wall deflects more than about 3mm under hand pressure, it needs a rigid backer panel, typically 1/4-inch plywood or a thin composite sheet, before any surface material goes on. Peel-and-stick vinyl can tolerate minor flex; thin-set tile cannot tolerate any.
For peel-and-stick specifically: apply in temperatures between 60°F and 80°F. Below that range, the pre-applied adhesive gets sluggish and doesn't bond cleanly to the surface. Above 90°F, the panel can stretch slightly during application, which causes misalignment at seams that becomes visible once it cools and contracts. I'd start with a small test section on a non-visible part of the wall if you're working in a garage without climate control.
So the installation sequence that actually works in practice: clean and abrade the substrate, add a rigid backer if the wall flexes, let everything reach ambient temperature, apply your material starting from the most visible corner, and seal all edges where the backsplash meets the countertop with a paintable silicone caulk rated for kitchen use. That last step is where moisture gets in when it's skipped, and moisture behind a backsplash panel in a van will eventually reach the wall insulation.
Trending Styles That Actually Work in a Small Van Space
Van kitchen aesthetics in 2024 and into 2025 have moved noticeably away from the all-white subway tile look toward warmer, more textured surfaces. Zellige-style peel-and-stick tiles, which mimic the handmade Moroccan ceramic look with slight variation in color and surface, are appearing in builds across the US van life community and photograph well in the compact format. The key is that they're available in vinyl versions that weigh almost nothing and can be cut with scissors.
That framing misses something. The trend toward textured surfaces has a practical downside in a cooking environment: grout lines and surface texture trap grease. In a van where you're cooking three meals a day, a deeply textured backsplash behind a stove becomes harder to clean than a smooth surface, which matters more in 40 square feet than it does in a full kitchen. Smooth-face panels with a printed texture give you the visual effect without the cleaning problem. Firms like Aspect Tile and NuWallpaper make options in this category that are widely available at Home Depot and online.
Warm neutrals, sage greens, and terracotta tones dominate current van kitchen color palettes on platforms like Instagram and Pinterest. These read as cozy in small spaces because they soften the visual effect of metal walls and trim. But color choice is genuinely downstream of material and adhesion decisions. Pick your material first, then find it in a color you like. Doing it the other way around leads builders to commit to a look before knowing whether the material behind it will hold up.
When the Standard Advice Breaks Down
Peel-and-stick backsplash is the right recommendation for most van kitchen builds, but not all of them. If your van spends extended time in climates where interior temperatures regularly exceed 130°F, such as full-time desert Southwest use in summer, the acrylic adhesive on most peel-and-stick products softens enough that panels can slip downward over weeks. This doesn't happen immediately; it's a slow migration that becomes obvious after the first really hot stretch.
Builders in that situation need either aluminum composite panels bonded with VHB tape (3M's 5952 series is a practical heuristic choice in the van build community, though adhesive selection should be verified against your specific substrate) or thin-set porcelain on a properly supported rigid backer. Both solutions add installation complexity and cost, but they're genuinely necessary in sustained high-heat conditions. The peel-and-stick recommendation weakens at sustained interior temperatures above 130°F.
If you ignore the substrate prep steps entirely and apply peel-and-stick directly to an unscuffed, unprepared factory-primed van wall, you'll likely get 6 to 12 months of decent adhesion before seams start lifting at corners, especially near the floor where moisture tends to pool. The repair at that point requires removing the panel, cleaning the wall properly, and starting over, which takes longer than doing it right the first time. The cost of skipping prep is a full reinstall.
Putting It Together for Your Build
If your van kitchen is in a moderate climate and you cook occasionally, peel-and-stick vinyl panels on a prepped surface are the correct starting point: low weight, easy to apply, and replaceable if your tastes change. Get the substrate right first: scuff, clean, add a backer if the wall flexes.
If you cook daily on propane and your van sees real temperature extremes, budget for aluminum composite near the stove and save the vinyl panels for the lower-heat zones. The performance gap between materials widens with cooking frequency and temperature range, not with aesthetics.
Before you buy anything, settle three things: your stove's proximity to the backsplash area, whether your van wall needs a rigid backer, and the temperature range your build will realistically see. The backsplash style follows from those answers, not the other way around.