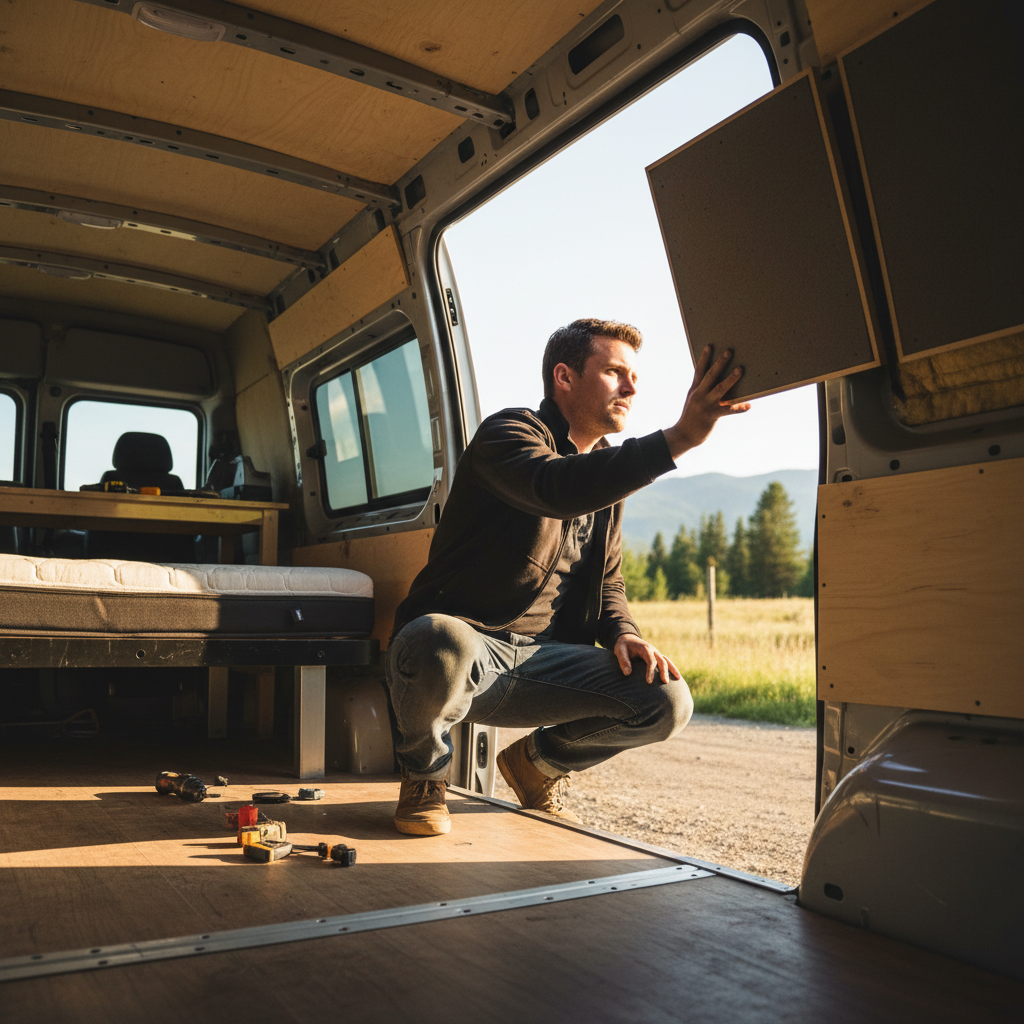
Carpenters who build van interiors will tell you the mounting surface matters more than the hinge before they discuss anything else, and there's a reason for that. A fold-down bunk looks straightforward on paper: a platform, some hinges, a couple of support legs. But the wall you're bolting into determines whether that bunk holds a sleeping child safely or works loose after two hundred miles of highway vibration.
The real complication is that most camper van walls aren't what they appear. Factory-installed paneling in a converted cargo van is typically thin luan or composite board over a steel rib frame, and the ribs don't always land where you need them. If you miss a rib and anchor into paneling alone, even quality hardware will pull free under dynamic load.
Three variables shape every decision here: the structural members you can actually reach, the combined weight of the bunk platform plus your child, and the hardware rated for that load in a moving vehicle. Nail all three and the build is safe and practical. Miss any one, and you've built furniture, not a sleeping system.
Understanding Your Van's Wall Structure Before You Touch a Drill
Before buying a single piece of hardware, spend thirty minutes mapping your van's rib locations. On most full-size cargo vans, including the Ford Transit, Ram ProMaster, and Mercedes Sprinter, the sidewall ribs run vertically at roughly 16- to 24-inch intervals, though spacing is not standardized and varies by model year. Use a strong rare-earth magnet along the interior wall surface to find the ribs through the paneling. Mark each one with painter's tape.
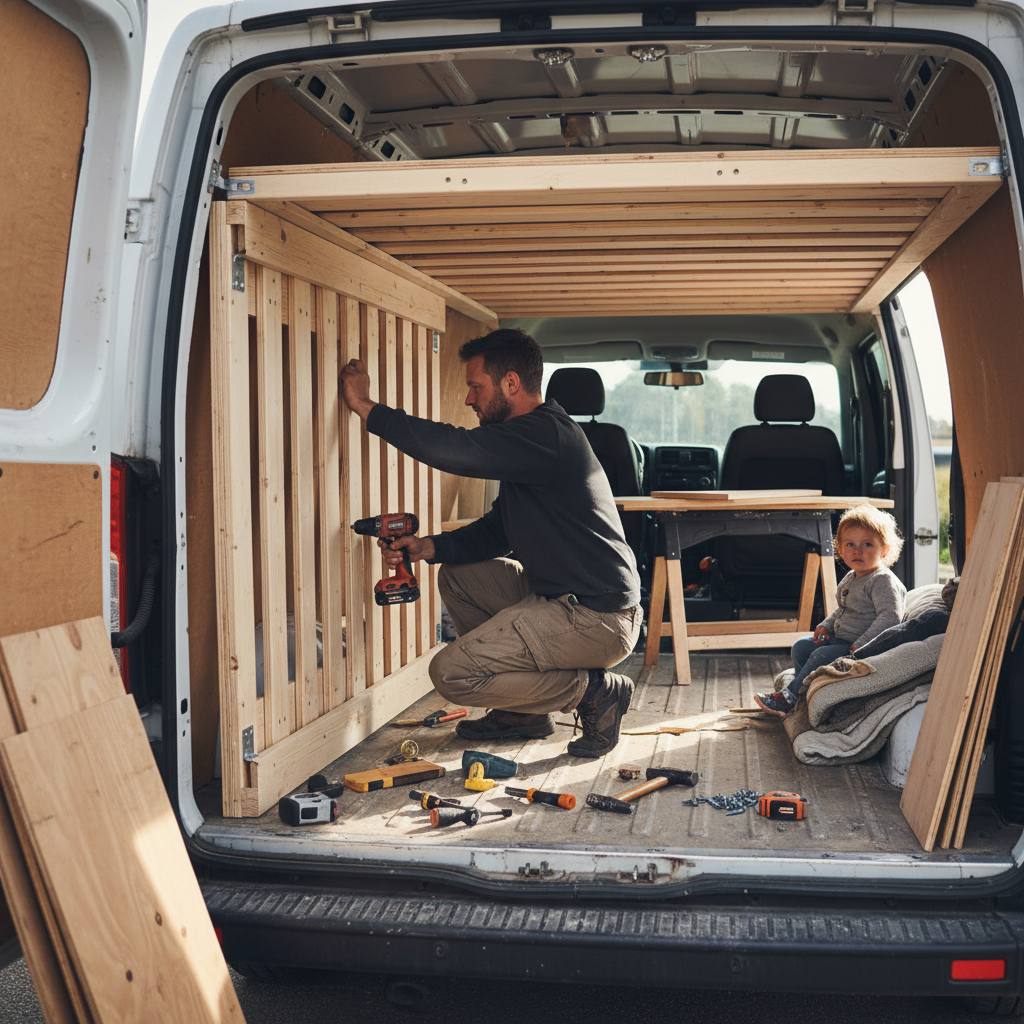
Once you know where the ribs are, you can decide whether they line up with your planned bunk width. A standard kids' bunk for a van runs 72 to 74 inches long and 24 to 30 inches wide, sized to fit a cot or cut-down foam mattress. You want at least two rib contact points on each mounting side. If the ribs don't cooperate, the fix is a horizontal backing plate: a length of 3/4-inch Baltic birch plywood, minimum 4 inches wide, spanning two or more ribs and through-bolted to them. Your fold-down hardware then mounts to the backing plate, not the paneling.
That framing misses something. The floor connection matters just as much as the wall connection. Many builders focus entirely on the wall mounts and then install the support legs on a finished floor with no blocking underneath. When a leg sits on thin subfloor or vinyl over bare metal, point loads from a child's movement concentrate stress in a very small area. Add a load-spreading plate beneath each leg, at minimum a 4-by-4-inch piece of 1/2-inch plywood bonded and screwed through to the van floor structure.
One note on the Sprinter specifically: its walls have a pronounced curve in the upper section that complicates flush mounting. If you're working in a high-roof Sprinter and placing the bunk above a bench or lower bed, you may need a tapered spacer block to keep the wall bracket plumb. This isn't difficult, but skipping it leaves the hardware carrying a moment load it wasn't designed for.
Hardware, Hinges, and Weight Ratings
The hinge you choose sets the weight ceiling for the entire system. For a fold-down bunk carrying a child up to roughly 80 pounds plus the platform weight, you need heavy-duty piano hinge or purpose-built folding bed hardware rated for continuous dynamic load, not just static load. There's a difference. Furniture hinges are rated for how much weight they hold at rest. Vehicle applications add vibration, lateral movement, and the shock of road irregularities, which is a fundamentally different stress profile.
Purpose-built RV and van folding bed hardware, sold by suppliers including Häfele and various RV hardware distributors, typically specifies a dynamic load rating separate from static rating. I'd start with hardware that carries at least a 200-pound static rating for a single bunk, which gives you a practical safety margin above the realistic load. A common guideline among van builders is a 3-to-1 safety factor on static ratings for moving-vehicle applications, though this is a practical heuristic rather than a formal standard.
Or rather: it's not just the hinge rating that matters, it's the fastener pattern holding that hinge to the substrate. A hinge rated at 300 pounds mounted with four #8 wood screws into 1/2-inch plywood is not a 300-pound system. Use through-bolts with fender washers on the back face wherever the geometry allows. Where through-bolting isn't possible because of inaccessible wall cavities, use structural screws (GRK RSS or equivalent) driven into backing material, not into paneling.
The support leg assembly completes the load path. Folding metal legs with positive-lock mechanisms are the right choice here; they click into a locked position and require deliberate actuation to fold. Avoid leg designs that rely on friction or tension cord alone to stay extended, because vibration will work them loose over time. When the bunk is deployed and a 60-pound child is sleeping on it, the leg is carrying roughly half the load. It needs to stay put.
- Heavy-duty piano hinge or purpose-built folding bed hardware with a dynamic load rating
- Through-bolts with fender washers wherever cavity access exists
- Structural screws (GRK RSS or equivalent) into backing material for closed cavities
- Positive-lock folding legs, not friction-hold or cord-tension designs
Building the Platform and Integrating the Safety Rail
The platform itself is typically 3/4-inch Baltic birch plywood, which gives you the stiffness-to-weight ratio you need without adding unnecessary mass to a mounted hinge system. Cut it to your bunk dimensions, sand the edges smooth, and apply at least two coats of a hard finish on all faces. Bare plywood in a van absorbs moisture from temperature cycling and will delaminate at the edges within a season or two.
Edge banding or a hardwood lip on the three exposed sides (all sides except the wall-mounted hinge edge) serves two purposes: it protects the plywood edge and it forms the base for a removable safety rail. For kids, a rail is not optional. The standard approach is a 4-inch-tall rail of 1/2-inch plywood or solid wood, secured with barrel bolts or turn-button fasteners so it can be removed when the bunk folds up. Four inches of rail height is a practical minimum for keeping a sleeping child in place during a slow-speed stop; it won't prevent a fall from a serious impact, but that scenario should be handled with a sleeping bag or retention strap across the bunk rather than a taller rail that adds folded thickness.
Buyers skip the foam mattress thickness calculation until they're burned by it. The folded bunk stack (platform thickness plus mattress plus rail hardware) determines how much vertical clearance you consume when the bunk is stowed. Measure the folded stack height before finalizing the wall bracket position. A 3/4-inch platform plus a 2.5-inch foam pad plus a 3/4-inch rail folds to roughly 4 inches of protrusion from the wall. That number needs to clear whatever is beneath the bunk in its stowed position, whether that's a countertop, a drawer face, or a bench seat back.
For mattress material, closed-cell foam at 2 to 3 inches thickness is the van-specific choice. Open-cell foam holds moisture. Closed-cell doesn't, and it compresses less under point loads, which matters for a child sleeping in a moving vehicle. Cut it to fit with about 1/4-inch clearance on each side so it doesn't bow the platform edges when compressed.
When This Build Isn't the Right Answer
A fold-down wall-mounted bunk works well in full-size vans with accessible structural ribs and enough interior width to deploy a 24-to-30-inch platform without blocking the aisle. It doesn't work well in every situation, and it's worth knowing when to stop.
If you're converting a compact cargo van like a Ford Transit Connect or a Dodge Grand Caravan conversion, interior width after insulation and wall panels often drops below 48 inches. Deploying a bunk in that space leaves no standing room and creates a genuine hazard if an adult needs to move quickly in an emergency. In those cases, a floor-level sleeping system, a foldable pad or a removable platform that slides under a day seat, is the correct solution. The fold-down bunk is genuinely a full-size van build.
Similarly, if you're renting out the van or building for resale, the liability picture changes. A fixed-hardware sleeping system for children in a vehicle you don't own is a different risk calculation than building for your own family. This article covers owner-builder installations for personal use; commercial or rental applications may involve additional considerations around insurance and liability that are outside this scope.
And if you can't locate two solid rib contact points on each mounting side and a backing plate solution isn't feasible because of existing build-out you don't want to demolish, don't mount a bunk on that wall. A bunk that fails at highway speed is not a recoverable situation.
Putting It Together: The Build Sequence That Avoids Rework
The sequence matters more than builders expect. Do the wall mapping and backing plate installation before cutting your platform to final dimensions, because the backing plate position sets the hinge centerline, and the hinge centerline determines the exact deployed height of the sleeping surface. Reverse that order and you're trimming a finished platform.
Install the wall brackets and hinge first, then fabricate the platform to fit. Dry-fit the platform with clamps before any permanent fastening, deploy it to the horizontal position, and check level in both axes. Vans almost never sit perfectly level at camp, but a platform that's more than 3 degrees out of level when the van is on a flat surface means a bracket position problem, not a van problem.
Once the platform is confirmed level, install the leg receivers on the underside and determine leg length with the platform deployed. This sounds obvious, but leg length is the calculation that most builds get wrong on the first attempt. Measure from the underside of the deployed platform to the floor, subtract the thickness of your load-spreading plate, and cut legs to that dimension. Test the lock mechanism before doing anything else, because discovering a fitment problem after finishing is a waste of time and material.
If you skip the dry-fit sequence and go straight to permanent installation, you will almost certainly need to reposition at least one bracket. That means filling holes in backing material and remounting, which weakens the substrate. Do it right once.