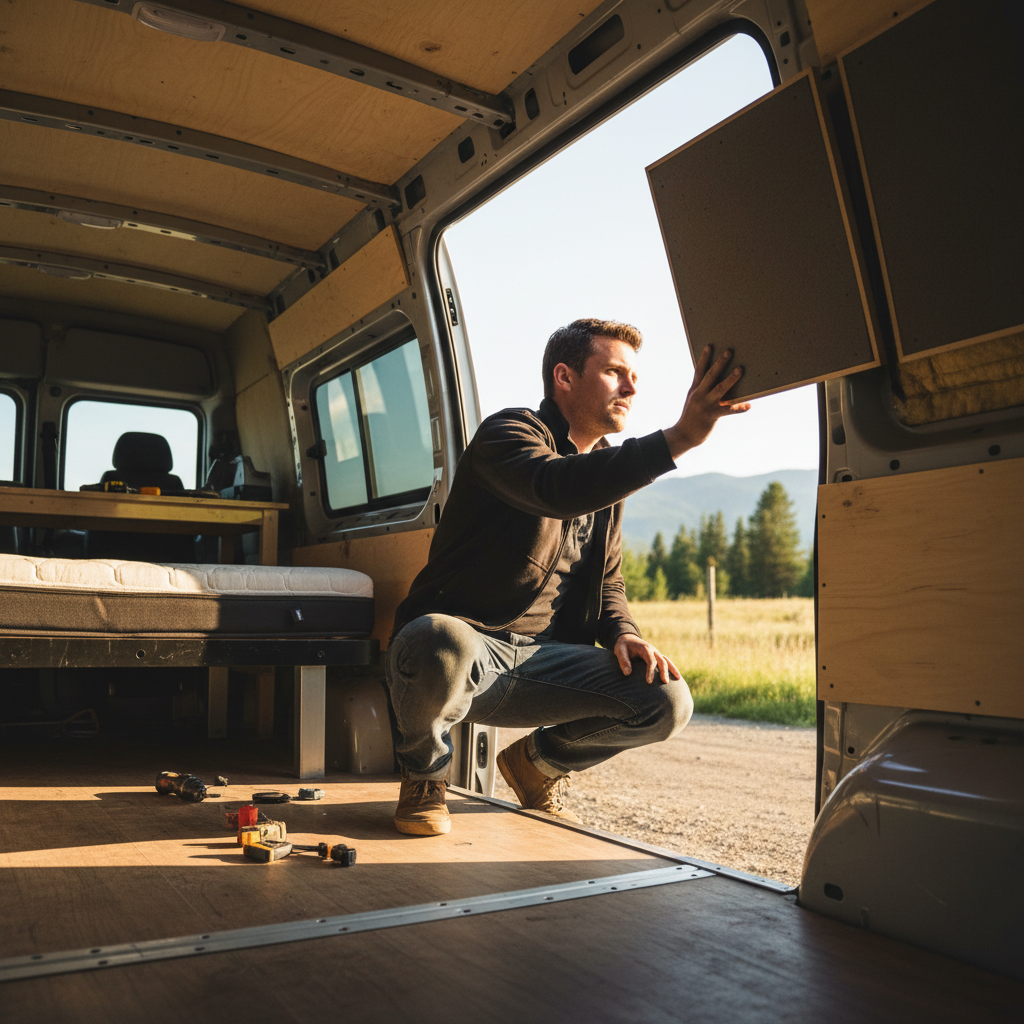
Cabinetmakers who specialize in van conversions will tell you the wood tone decision comes before the floor plan, and there's a reason for that. A species and finish choice made late in a build forces compromises on every other surface. The camper van interior wood tones you commit to set the visual temperature for the entire living space, which in a 60- to 80-square-foot shell matters more than it would in a house.
Three variables actually control whether your build reads warm or cold: the undertone baked into the wood species itself, the sheen level of the topcoat, and how much natural light the van captures during the hours you use it most. Get the undertone wrong and no amount of warm lighting fixes it.
Here's the tension most builders don't name until they're mid-build: the species that photographs best in showroom light often looks greenish-gray inside a windowless cargo van at dusk. That gap between showroom appeal and real-world van light is where builds go sideways, and it doesn't resolve itself.
Why Van Light Changes Everything
A residential interior designer works with rooms that get 8 to 15 feet of depth and windows on multiple walls. A van conversion typically has one or two side windows, a roof vent, and whatever light leaks through the cab. That compression changes the physics of how a wood tone reads.
Warm-spectrum light (think incandescent bulbs around 2700K, or late-afternoon sun through a side window) amplifies the red and amber undertones already present in species like white oak, alder, and knotty pine. Those species lean honey-to-amber naturally, so warm light doubles down on them in a good way. Cool-spectrum light at 4000K or above, common in cheaper LED strip kits, strips that warmth out and leaves you with something closer to yellow-gray.
Or rather: it's not just about the bulb temperature. The reflective surface area matters just as much. A matte or satin finish on your wood panels scatters light diffusely and reads softer and warmer. A high-gloss finish bounces light directionally, which in a tight van interior creates harsh hot spots and makes even a warm-toned wood look clinical. I'd start with a satin finish at 20 to 30 sheen and adjust from there, not from gloss down.
Buyers skip this distinction until they're sanding a second time.
Species That Actually Deliver Warmth in a Van
Not every wood marketed as "warm" performs warm in a van environment. Here's a practical breakdown of the species that conversion builders in the US actually reach for and why.
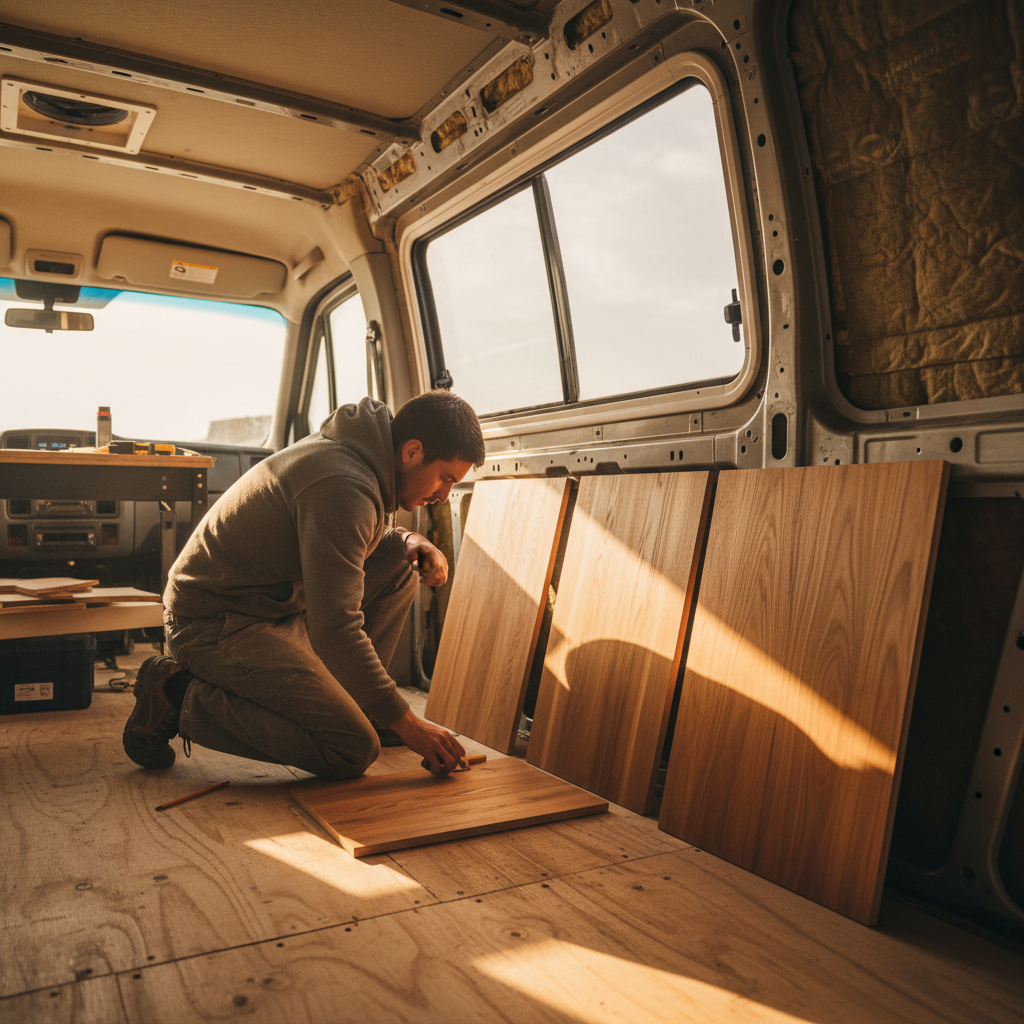
White oak is the most reliable choice for a warm neutral. Its undertone is a quiet amber-tan with occasional pink, it takes oil-based finishes well, and it reads consistently across both warm and cool light sources. Quarter-sawn white oak adds a ray-fleck figure that looks intentional rather than busy in a small space. It's available in most US hardwood lumber yards in 4/4 thickness, and a van-scale project typically requires 30 to 50 board feet for overhead and cabinet faces.
The most common mistake I see is builders choosing red oak instead of white because it's cheaper and more available at box stores. Red oak's undertone pulls strongly pink-orange, which saturates fast in a small space and reads more "rustic roadside diner" than "Scandinavian warmth" once you're living in it.
Alder is the practical alternative when white oak budget is tight. It machines easily, takes stain uniformly (unlike pine, which blotches without a conditioner), and its natural color sits in the light tan-to-amber range. Western alder is widely available across the Pacific Northwest and Mountain West at lower cost than oak. The downside: alder dents more readily than oak, which matters in a van where gear shifts happen daily.
Baltic birch plywood deserves a mention because it's what most van build interiors actually use for structural panels. Its face veneer is a pale cream with a slight pink undertone. Left natural with a satin poly coat, it reads cool. Apply a warm-tinted oil (Danish oil in a walnut or antique pine tint) before your topcoat and it shifts meaningfully toward honey. That two-step process, oil tint then satin topcoat, is the domain-specific move most first-time builders skip.
This article isn't a guide to full cabinetry joinery or van structural builds. If you're choosing subfloor materials or vapor barriers, those decisions sit outside this scope.
Light vs. Dark: The Real Trade-Off
The instinct toward dark wood in a van usually comes from wanting the space to feel "cozy" rather than "camper." Walnut is the obvious candidate: its chocolate-brown tone with purple-gray undertones reads expensive and grounded. But dark wood in a small interior absorbs light rather than reflecting it, which makes a van feel smaller and dimmer during the shoulder-season mornings when you most want the space to open up.
| Wood Tone | Light Effect | Best Van Use | Main Risk |
|---|---|---|---|
| Light (alder, white oak, birch) | Reflects, enlarges space visually | Full panel coverage, overhead cabinetry | Reads cold under cool LEDs |
| Medium (hickory, ash, natural walnut veneer) | Neutral, absorbs and reflects evenly | Cabinet faces, drawer fronts | Can look muddy in low light |
| Dark (black walnut, smoked oak) | Absorbs light, contracts space | Accents, countertop edges, floor only | Makes van feel smaller, darker |
The table above points to the practical rule most builds land on after the fact: use your warm light tone as the dominant surface (70% or more of visible wood area) and introduce darker tones only as accents. Walnut edge banding on a white oak cabinet face gives you visual richness without swallowing the light. If you ignore this proportion and go dark on your overhead cabinets, you'll find yourself adding more lighting to compensate, and the space still won't feel warm, just brighter.
That framing misses something. The real decision isn't light versus dark; it's which tone you choose as your dominant 70% surface, because that single choice controls how every other finish in the van reads against it.
Finish Options and Why They're Not Interchangeable
The finish applied over your chosen species can shift the perceived warmth of the wood by as much as a full tone category. This is where van builders routinely leave warmth on the table.
Oil-based polyurethane adds an amber cast to whatever species it covers. On white oak, that amber reads as golden warmth. On birch, it's the difference between "IKEA shelf" and "considered interior." Water-based poly stays crystal clear, which preserves the wood's natural color but does nothing to add warmth. On alder or birch, water-based poly over raw wood is a fast path to a pale, slightly cold result.
Danish oil (a penetrating oil-varnish blend) is the other common option in van builds because it's forgiving to apply in a cramped space. It soaks into the grain rather than building a film on top, so it's more susceptible to moisture and abrasion than a topcoat finish. A common guideline in the conversion community is to use Danish oil as a base layer for warmth and color, then seal it with two coats of water-based satin poly for durability. That combination gets you the color benefit of the oil with the surface protection you need in a daily-use living space.
Hardwax oil products (Rubio Monocoat is one US-available brand) have become popular in van builds because they're single-coat, low-VOC, and produce a flat natural finish that reads very warm. They're significantly more expensive per square foot than standard oil-poly combinations but require less labor to apply correctly in a confined space. For a 60-square-foot van interior, the cost difference is real but not prohibitive: Rubio Monocoat runs roughly $60 to $90 per liter, and a liter covers around 160 to 215 square feet at one coat.
And one thing worth naming bluntly: polyurethane fumes in an enclosed van are not trivial. Apply finishes before installation whenever possible, and ventilate aggressively. This isn't a minor inconvenience detail.
When Warm Wood Tones Work Against You
Heavy warm wood tones in a van with limited glazing can tip from "cozy" into "oppressive" faster than you'd expect, especially in a short-wheelbase build with a low roof. If your van has fewer than two side windows plus a roof fan or skylight, committing to warm-toned wood on every surface including the ceiling creates a tunnel effect that many people find uncomfortable for extended stays.
The condition where this recommendation weakens most is a high-top or pop-top conversion with generous glazing. Those builds can carry warm wood on the ceiling without the tunnel problem because the vertical height and light volume change the ratio. A standard Sprinter or Transit with a fixed low roof is a different constraint. In that build, paint the ceiling a warm white (Benjamin Moore's White Dove OC-17 or a similar warm white with a yellow-cream undertone) and reserve the warm wood for lower surfaces and vertical accents. You still get warmth without compression.
So the practical test before you commit: spend an hour in your empty van at the time of day you'll use it most and evaluate what the light actually does to a small wood sample. A 6-by-6-inch piece of your chosen species with your planned finish, held against the wall at that hour, tells you more than any showroom visit.