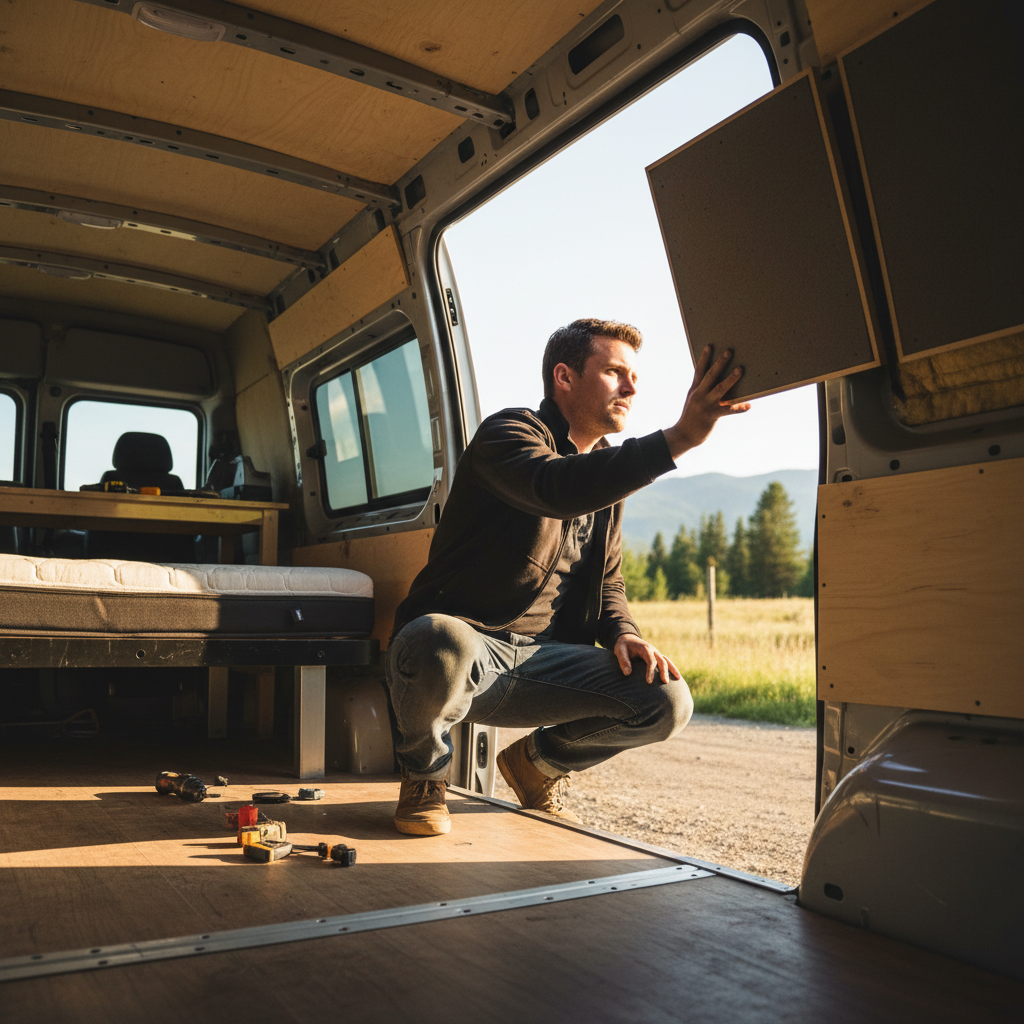
Van builders will tell you to sort your bed orientation before you cut a single piece of wood, and there's a reason for that: the headboard decision is downstream of everything else. A fixed queen across the width of a standard cargo van leaves roughly 12 to 14 inches between the mattress edge and the bare metal wall. What you do with that gap determines how comfortable the sleeping area feels and how much usable storage you either create or permanently give up.
The honest tension here is that a headboard in a camper van isn't primarily decorative the way it is in a house. It's a structural decision about vertical wall real estate that you'll never get back once the build is done. Bolt the wrong thing to that wall at the wrong height, and you've blocked a 12-volt outlet you'll need at 2 a.m., or you've eliminated the only spot that could have held a reading shelf that keeps books off the mattress.
This article is about fixed van builds in the US, not Class A or Class C motorhomes with factory-finished interiors. If you're working with a Sprinter, Transit, or ProMaster, these ideas apply directly. If you're renovating a factory motorhome with a pre-built bed surround, most of this won't transfer.
Why the Wall Behind the Bed Is the Most Contested Cubic Foot in the Van
The failure mode that shows up in nearly every first-time van build is treating the headboard zone as leftover space instead of prime real estate. That zone, roughly 12 to 16 inches deep and the full interior width of the van, is where four competing needs collide: electrical access, ventilation clearance, storage depth, and comfort against cold metal during winter camping.
Wheel well height matters here, and it's a detail most build guides skip until you're already framing. In a full-size cargo van like the 136-inch-wheelbase Transit, the wheel wells on a sideways bed push the usable mattress width to around 72 inches for a standard queen, which means the headboard wall is often shared with the transition from wheel well to flat floor. If your headboard design doesn't account for that step, you lose the cleanest corner for vertical storage.
Or rather: the wheel well isn't the obstacle, it's the opportunity. A headboard panel that wraps the wheel well cap and incorporates a recessed shelf exactly at mattress height turns a structural constraint into the most used feature of the sleeping area. Builders who frame around the wheel well first and design the headboard panel second consistently end up with better storage geometry than those who template the headboard from a flat-wall assumption.
Cold wall conduction is the other factor. Bare aluminum van walls in January in the northern US can pull significant heat from any porous surface touching them. A headboard panel with even 1 inch of closed-cell spray foam behind it before the finish surface isn't just aesthetic; it puts a thermal break between your pillow and the ambient temperature outside.
Five Headboard Configurations That Actually Work in a Van
The builds that hold up over years of use tend to pull from a short list of configurations. Each one has a specific condition where it outperforms the others.
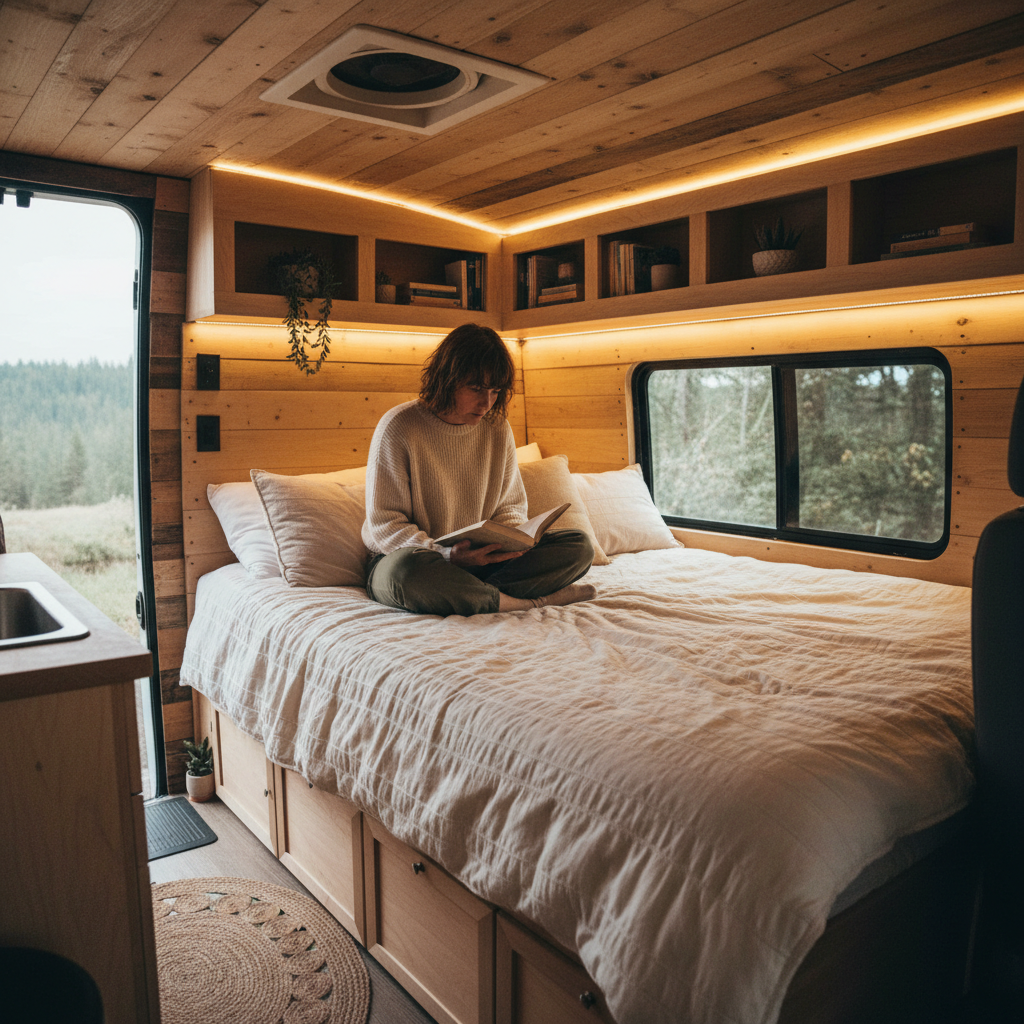
1. Recessed panel with integrated cubbies. A flat panel flush-mounted to the van wall framing, with 3- to 4-inch-deep open cubbies cut directly into it. The cubbies sit at roughly pillow height and hold phones, books, a headlamp, and a water bottle without anything landing on the mattress. This is the highest-utility option for couples who sleep with different schedules. The tradeoff: it requires a minimum of 4 inches of depth from wall to mattress edge to look intentional rather than crammed.
2. Fold-down shelf headboard. A hinged panel that lies flat against the wall when stowed and folds out to horizontal at mattress height. In the down position it functions as a headboard and a narrow work surface, roughly 10 to 12 inches deep. In the stowed position it disappears entirely. This is the right call for solo builders who also work from the van; the shelf doubles as a laptop surface when the bed is slid or folded out of the way during the day. The hinge hardware matters: piano hinges distribute load better than two-point hinges on a surface that will see repeated use.
3. Upholstered panel with hidden wiring channel. A fabric-wrapped panel mounted on a 1x3 cleat system, with the wiring for 12-volt outlets and USB-C ports routed behind the panel inside a plastic conduit. The panel lifts off the cleats for access. This is the warmest option aesthetically and thermally, and it's the one that photographs well for van life content if that matters to you. The hidden channel approach means you're not cutting into your finish panel every time you need to re-route a wire, which happens more than builders expect in the first year.
4. Full-width overhead cabinet headboard. Rather than a vertical panel, this runs a shallow cabinet (8 to 10 inches deep) horizontally across the full interior width at the top of the headboard zone, with open space below it down to mattress level. The cabinet stores flat items, bedding, and seasonal gear. The open space below it feels like a canopy rather than a wall. This works best in high-roof van conversions where the ceiling height allows the cabinet without creating a claustrophobic cave effect; in a standard-roof Transit or Sprinter, run the math on remaining headroom before committing.
5. No-headboard panel: thermal and electrical wall only. A finish-quality insulated wall panel that serves the wall structurally, provides a thermal break, and carries all the electrical runs, but makes no attempt at headboard function. Pillows go against a clean wall. This is the honest choice for vans where the bed is primarily a sleeping surface and not a reading or working zone. It's also the fastest build and the easiest to repair. The paragraph that's missing from most van build guides: if you don't actually read in bed on the road, you don't need headboard storage, and building it anyway is a waste of weight and complexity.
A quick comparison of these five configurations against the decisions most builders face:
Each option trades differently across the criteria that matter most in a working van build.
| Configuration | Min. Wall Depth Needed | Storage Gain | Winter Insulation | Best For |
|---|---|---|---|---|
| Recessed cubby panel | 4 in. | Moderate (open cubbies) | Moderate (panel only) | Couples, frequent night-use items |
| Fold-down shelf | 2 in. stowed | High (functional surface) | Low (thin panel) | Solo builders, work-from-van |
| Upholstered + wiring channel | 3 in. | Low (electrical only) | High (foam + fabric) | Cold-climate builds, aesthetics |
| Overhead cabinet | 8 - 10 in. at ceiling | Very high (enclosed) | Moderate | High-roof vans, gear-heavy trips |
| No-headboard wall panel | 1.5 in. | None | High (full insulation) | Minimalist builds, fast builds |
The right configuration almost always becomes clear once you've mapped your electrical panel location and your dominant sleeping position. Sitting up to read demands a different solution than rolling over and passing out after a long drive.
Where Most DIY Van Headboards Fall Apart
The most common mistake is mounting the headboard panel before running all the electrical. Builders who do this either end up with surface-mounted conduit run across the face of the panel (a pain to look at and a dust trap) or they're cutting into finished work six months later to add the outlet they forgot. Run wiring first, template the panel second. It adds one session to the build and saves hours of repair work.
Fastener choice is the second failure point. Wood screws into van wall framing work fine until the van flexes on a rough road, which every van does constantly. Threaded inserts with machine screws, or rivnuts installed into the van's existing mounting holes, hold through vibration in a way that wood screws into a furring strip simply don't. A headboard panel that has rattled loose by month three of a long trip is not a minor inconvenience; it's a middle-of-the-night problem.
Weight is underweighted as a concern (forgive the phrasing). A full-width overhead cabinet built from 3/4-inch plywood across a 70-inch interior spans close to 20 pounds of cabinet before you load it with anything. That load is hanging from the van's side wall framing, which was not engineered for cabinetry. Builders who use 1/2-inch Baltic birch plywood for cabinet carcasses and 1/4-inch for back panels end up with a meaningfully lighter structure that still handles normal van-living loads without any real compromise in rigidity.
And the consequence of skipping this entirely? If you leave the headboard zone as bare metal with no panel and no thermal break, you're not just giving up storage. In cold weather, that wall becomes a condensation surface. Moisture migrates from warm interior air to the cold metal, collects behind any soft goods touching the wall, and creates the mold problem that ends more van conversions than any structural failure. A finish panel with even a thin layer of Thinsulate or 1/2-inch polyiso behind it breaks the condensation cycle.
When a Space-Saving Headboard Is the Wrong Priority
The recommendations above weaken significantly in one specific situation: vans configured with a lengthwise bed running front-to-back rather than across the width. In a lengthwise layout, the headboard wall is the forward bulkhead or a partition you've built behind the cab seats, and that wall is typically taller, narrower, and structurally different from the side wall of a crosswise bed. Overhead cabinet designs don't translate to a 30-inch-wide forward wall. Recessed cubby panels work, but the depth restriction is more severe because you're eating into passenger area.
The better question is whether the lengthwise-bed builder needs a headboard at all. In many lengthwise layouts, the van's interior height and the proximity of the ceiling mean a simple upholstered panel at the head of the bed, flush to the wall with no protrusion, is the correct answer. It provides comfort, a thermal break, and nothing else, which is exactly what the geometry allows.
Solo travelers who primarily use the van for weekend trips also fall outside the core recommendation. A weekend warrior who spends four nights a month in the van doesn't need the overhead cabinet build. The time, cost, and weight of a complex headboard system doesn't earn back its investment in a low-use scenario. A simple foam-core panel covered in fabric, pinned to the wall with a pair of rivnuts, does the job for under $40 in materials and 90 minutes of work.
Practical Build Sequence for Any of These Configurations
Before cutting anything, confirm three things: wall material at the headboard zone (steel, aluminum, or composite panel), exact distance from mattress surface to van wall at pillow height, and location of any existing factory mounting holes or ribs you can use as anchor points. Measure twice; the interior width of a Transit and a Sprinter differ by several inches, and templates don't transfer between vans.
The sequence that wastes the least time: electrical rough-in first, insulation second, framing cleats third, panel fabrication fourth, finish and mounting last. Builders who reverse steps two and three (insulating after framing cleats are in) end up with thermal bridges at every cleat. Not a disaster, but a preventable one.
I'd start with the recessed cubby panel if you're building for two people and you haven't done a van build before. It's forgiving, it's repairable, and it teaches you the fastener and panel geometry that every other configuration requires anyway. The fold-down shelf is the second build, not the first.
Check wall material, anchor points, and electrical rough-in location before committing to any configuration. Get those three variables locked and the right design picks itself.
The Build That Fits the Space
If your bed runs crosswise and you have at least 4 inches of depth from mattress edge to van wall, start with the recessed cubby panel. Run your 12-volt wiring first, insulate behind the panel, and use rivnuts for mounting. That combination handles 80% of van sleeping scenarios without overbuilding.
If you're a solo builder doing work-from-van or your bed folds away during the day, price out the fold-down shelf instead. The hinged surface earns its keep twice daily in a way the cubby panel doesn't.
Either way: don't leave bare metal behind the bed. The condensation problem is real, it's slow, and by the time you notice it, the fix is expensive. A thermal break behind whatever panel you choose is the one step worth doing even if everything else gets simplified.