








Experienced van builders will tell you the garage area is the last thing most people plan and the first thing they regret, and there's a reason for that.
Camper van garage organization sounds like a finishing detail. It isn't. The rear storage zone determines whether your van functions as a livable space or a rolling gear locker you sleep inside, and the difference comes down to a few structural decisions most people make too late. Factors like floor height, lateral bin depth, and whether you build for pull-out access or top-load access will shape every gear retrieval at a trailhead or campsite for years.
This isn't an article about decorating your van or buying pretty bins. If you're still deciding whether to build a garage at all versus a full-length bed, this guide won't settle that question either. What follows is for builders who've committed to a rear garage zone and need to make it genuinely functional.
Here's the tension: most van converters optimize the sleeping platform first and treat the garage as leftover space. The result is a zone sized by accident rather than by the gear it needs to hold, and that mismatch costs you on every trip.
Why the Garage Area Fails Before You Ever Leave the Driveway
The core failure is treating the garage as a single undivided cavity. Open the rear doors, shove in the bikes, stuff the sleeping bags around them, close the doors. It works once. By the third trip, loose gear has shifted into the wheel wells, your camp stove is under your tent poles, and retrieving anything requires unloading everything.
The cause isn't lack of space. A typical high-roof Transit or Sprinter with a crosswise bed platform offers somewhere between 24 and 40 inches of garage depth (floor to platform underside) and the full interior width, which runs roughly 50 to 60 inches depending on whether you've insulated and lined the walls. That's meaningful volume. The failure is almost always organizational architecture, not cubic footage.
Three structural problems cause most garage disasters. First: no vertical separation between heavy gear stored at floor level and lighter gear stored above. Second: no lateral zoning, so everything piles into one open bay. Third: no dedicated fast-access zone for items you need before you've fully set up camp, like headlamps, rain layers, or camp chairs.
Or rather: the third problem is actually the most painful one in practice, because it creates urgency. You're parked at dark-thirty, tired, and your headlamp is behind the duffel that's behind the folding table. That frustration is what drives people to leave gear in the cab, which creates its own cascade of problems.
Building Your Garage Around Access Tiers, Not Storage Volume
The principle that changes how you design a van garage is this: organize by retrieval frequency, not by gear category. Category-based storage (camping gear here, tools there, clothing somewhere else) sounds logical at home. In a van, where everything is compressed into a 6-by-5-foot footprint, it produces a system that works only when you have full daylight, ample time, and someone to help you move things.
Instead, divide the garage into three access tiers before you build anything.
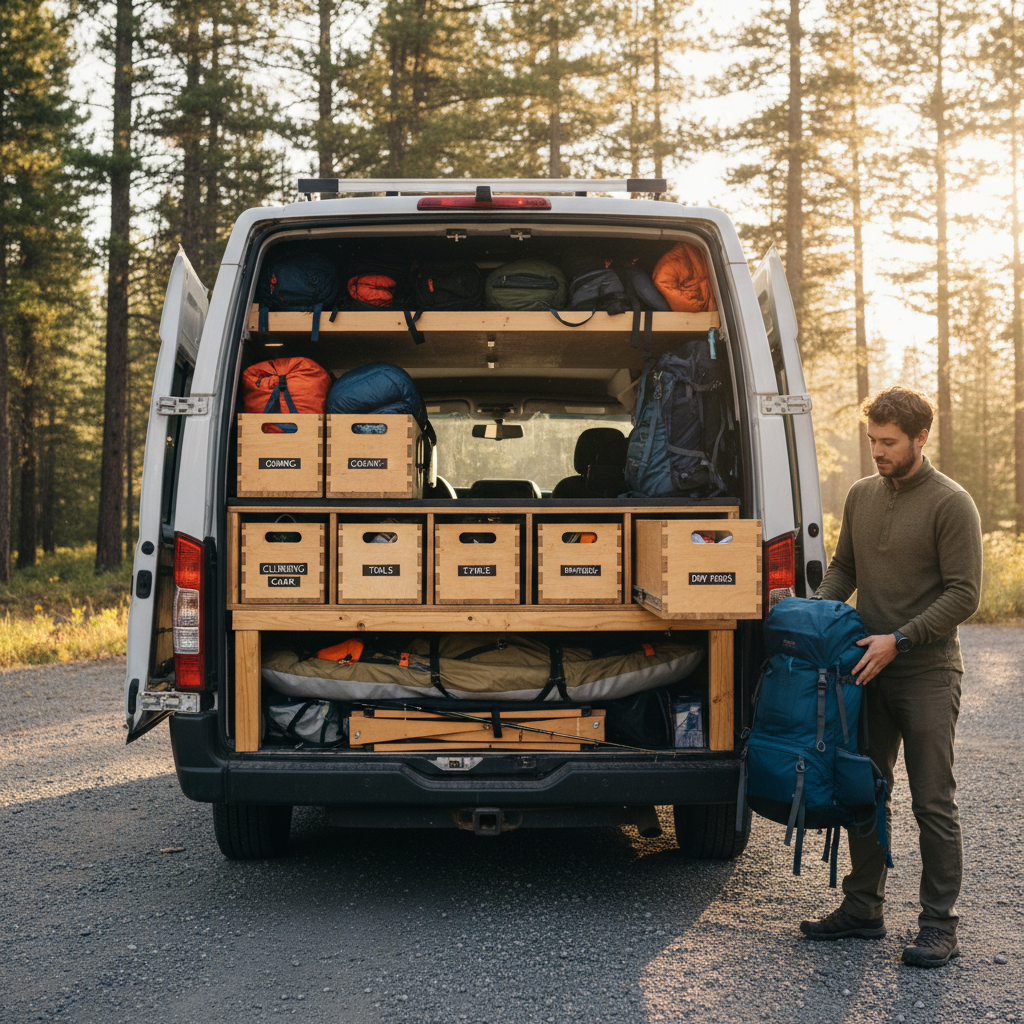
Tier 1: immediate access. Gear you reach for within 10 minutes of stopping. Rain jackets, headlamps, camp chairs, sandals, dog leash if applicable. This lives at the back of the garage, nearest the doors, at waist height or above. Never below knee level. Many builders mount a shallow shelf or a row of hooks directly behind the rear door opening, within arm's reach without stepping into the van.
Tier 2: setup access. Gear you deploy once you've chosen a site and started setting up. Tent, sleeping pads, stove, cookware, water containers. This occupies the middle depth of the garage, typically in pull-out drawers or slide-out bins built into the platform base.
Tier 3: deep storage. Gear you access infrequently: spare tire tools, recovery equipment, seasonal gear, spare parts. This goes farthest from the doors, deepest under the platform, and it's fine if retrieving it is a minor production because you rarely need it fast.
What you'll notice when you map your actual gear against these tiers is that most people have accidentally inverted the system. Heavy, rarely-used gear ends up near the doors (easiest to shove in), while frequently-needed items end up buried. Flip that, and the garage starts working.
The Hardware That Makes the System Hold
Access tiers are a principle. They need physical infrastructure to function. The most important single decision in van garage hardware is whether to use drawer slides or bin-and-divider construction, and the answer depends on your floor height.
Full-extension drawer slides (100% extension, meaning the drawer extends its full depth beyond the cabinet face) are the gold standard for garage access. When the platform base sits high enough to accommodate 3 to 4 inches of drawer-bottom clearance above the van floor, slides give you reliable, one-handed retrieval without unloading anything else. Check sq footage, drawer depth, and slide weight rating first. Quality drawer slides for van builds typically run 100 to 200 lbs rated capacity per pair; for gear storage, err toward the higher end.
But if your platform sits low (say, under 10 inches of clearance from floor to underside), full-extension slides become impractical. The drawer itself has no room. In that case, open-front bins with dividers, or a pull-out shelf on a single slide, are more realistic. Neither is as clean, but both beat a solid wall with no access at all.
A common guideline among van builders is to treat the lateral width of your garage as three zones: driver's side, center, and passenger's side. Driver's side typically becomes the deep storage bay because it aligns with the wheel well and creates natural depth variation. Center stays clear or holds the pull-out shelf. Passenger's side, which often has more vertical clearance due to wheel well placement, handles Tier 1 fast-access items. This is a practical heuristic, not a rule; your van's specific wheel well geometry may flip this entirely.
For the Tier 1 shelf or hook rail, aluminum extrusion (like 80/20 T-slot or similar generic profiles) gives you adjustable mounting points without permanent commitment. You can reposition hooks as your gear kit evolves. A rigid plywood shelf works too, but you lose the ability to adapt without cutting.
The alternative most builders consider is modular plastic storage systems, things like Pelican cases, Plano boxes, or DECKED-style drawer systems designed for truck beds. The DECKED system, for instance, has a van-specific variant and offers serious durability. The trade-off is weight (DECKED systems are not light) and the fact that they're designed around a flat truck bed, not the tapered geometry of a van's wheel wells and walls. Custom wood or aluminum builds fit the space better; modular systems install faster and survive rougher use. If your van sees consistent off-road abuse, that durability argument is real.
Floor Anchoring, Weight Distribution, and What Happens If You Skip It
Organizing the garage well doesn't matter much if the storage units aren't bolted down. This is the part that feels optional until it isn't.
In a moving vehicle, loose bins and unsecured drawers become projectiles under hard braking. A 20-pound bin of tools accelerates at the same rate as the van decelerates, which means it hits whatever is in front of it with meaningful force. In a rear-entry van build, that's often the back of the driver's seat or the partition wall separating the cab. Secure everything to the floor or the platform structure. This means through-bolting into structural ribs or using L-track anchoring systems that distribute load across a larger floor area.
L-track (also called airline track or cargo track) is worth understanding here. It's the slotted aluminum rail system used in aircraft cargo holds and cargo vans to anchor load rings and dividers to the floor. Available through truck outfitting suppliers and van conversion vendors, it lets you reposition anchors without drilling new holes. A single length of L-track running fore-to-aft on each side of the garage floor gives you reconfigurable tie-down points for any bin layout you build or buy.
Weight distribution matters beyond safety. A van loaded heavily on one side handles differently, particularly on winding roads or soft surfaces. A common guideline is to keep your heaviest gear (tools, water, recovery equipment) low and centered, or split symmetrically between driver and passenger sides. Stacking dense items high in the garage shifts the center of gravity in a way you'll feel in crosswinds.
If you ignore floor anchoring entirely, here's what actually happens over time: the bins shift with every turn, the contents migrate toward the rear doors, and the first hard stop produces the exact projectile scenario described above. The organizational system you built collapses in about two trips. Reorganizing a moving van on the road is a pain. Rebuilding it after gear impact damage is worse.
When the Standard Garage Layout Doesn't Work
The three-tier access model works well for van lifers carrying mixed gear across cycling, hiking, camping, and everyday living. It starts to break down in two specific cases.
The first is bike or large-equipment hauling. If your primary payload is two full-size mountain bikes, the garage isn't really a multi-purpose storage zone anymore. It's a bike bay. In that case, the priority shifts entirely: you need a bike mount system (fork mounts with a front-wheel-off design, or full-bike cradles), and your soft gear storage moves to underbed compartments or overhead. Trying to run a three-tier access system around bikes that take up the full floor area produces a compromised version of both. Pick one priority and design for it.
The better question is whether you actually need the bikes inside the van at all. A hitch-mounted tray rack keeps them outside, returns the entire garage to gear storage, and adds maybe 10 minutes to your setup time. For most trips, that's the right trade. For overnight security or serious off-road travel where a loaded hitch rack is a liability, interior bike storage earns its cost.
The second case is full-time van living with more than one occupant. Two people accumulate roughly twice the gear of one, and garage space doesn't double. The pressure point is usually clothing storage migrating into the garage because there's nowhere else, which collapses the access-tier logic. If you're building for two full-time occupants, dedicate a separate compartment (even a shallow one) strictly to clothing before you design the garage. Clothing in the garage is the slow leak that sinks the whole system.
Building It Right the First Time
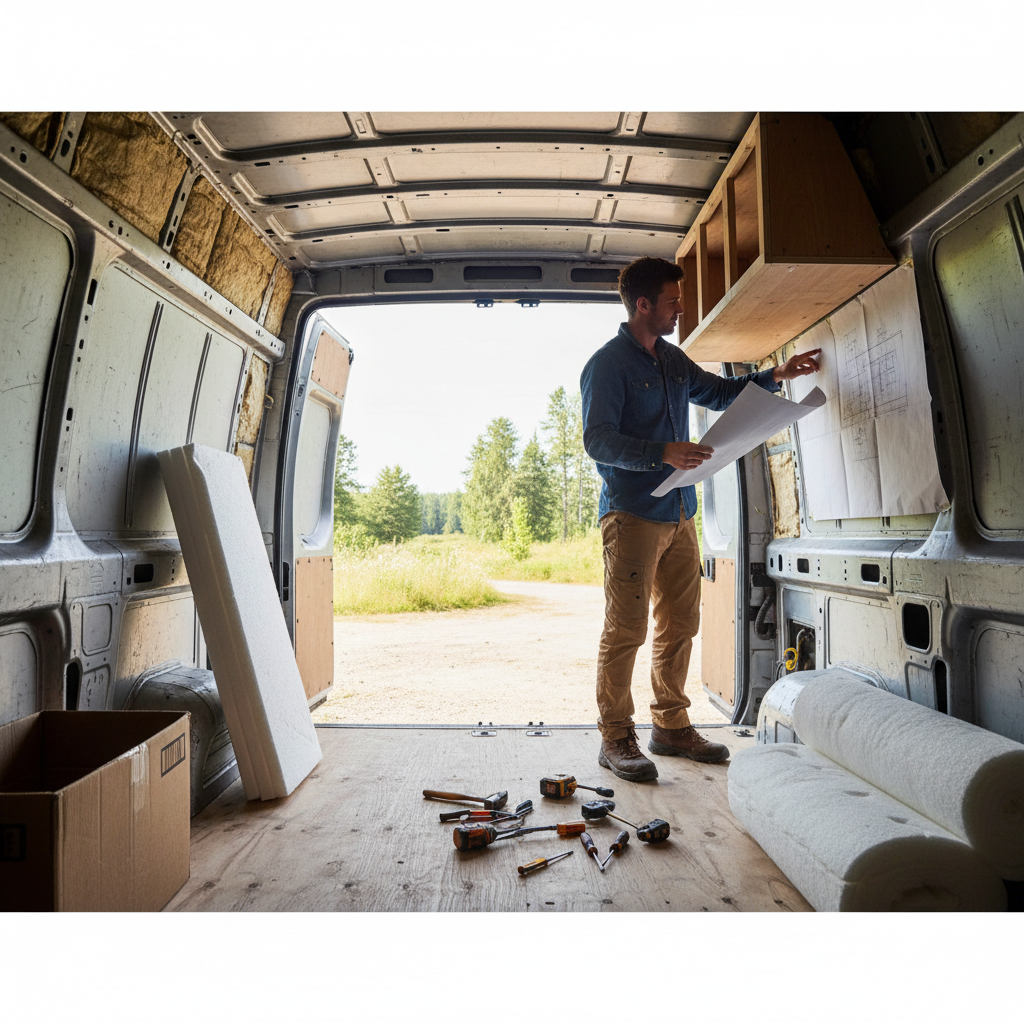
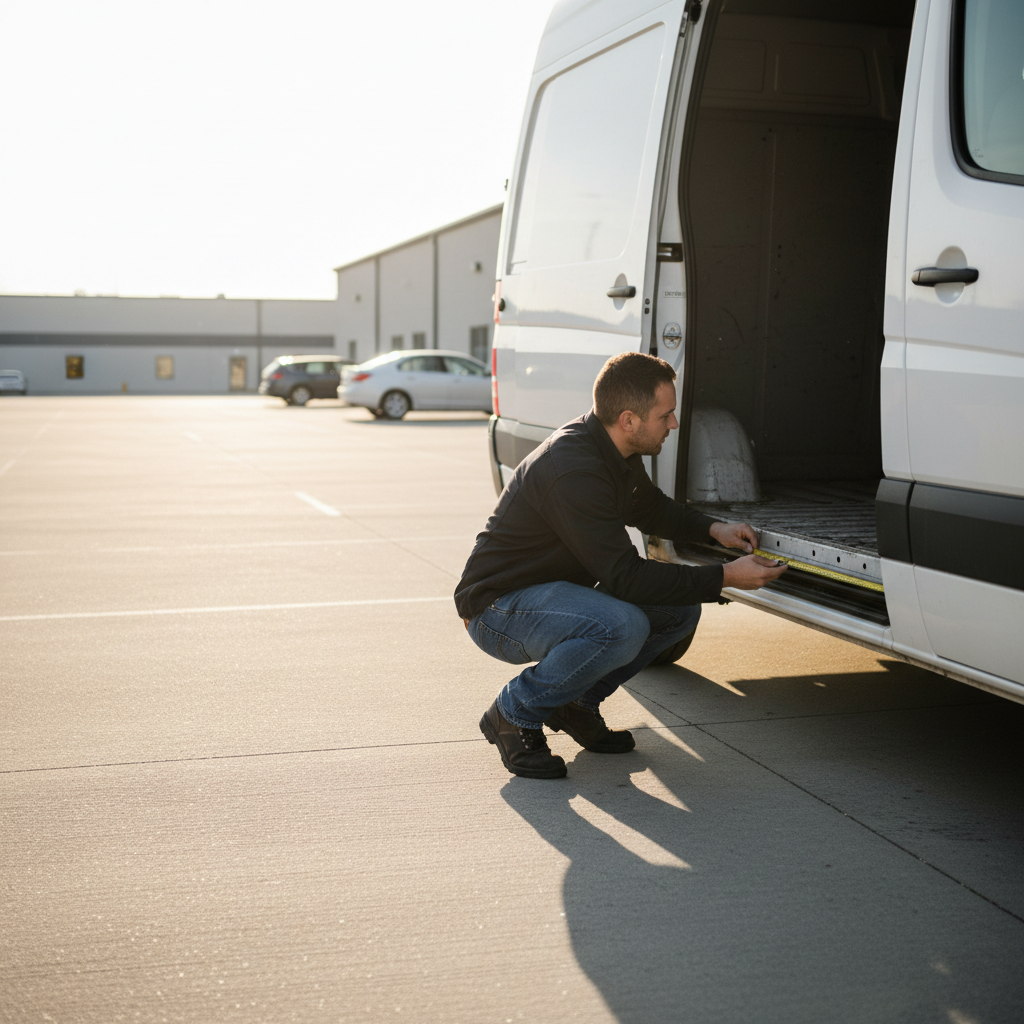
Start with a cardboard mockup before you cut any plywood. Lay out the footprint of your garage on the van floor using cardboard and tape, mark the wheel well intrusions, and physically place your actual gear in the zones. You'll immediately see whether your Tier 1 shelf has enough room, whether your longest gear (tent poles, packaged sleeping pad) fits the depth available, and where the awkward corners are. An hour of cardboard work saves a weekend of rebuilding.
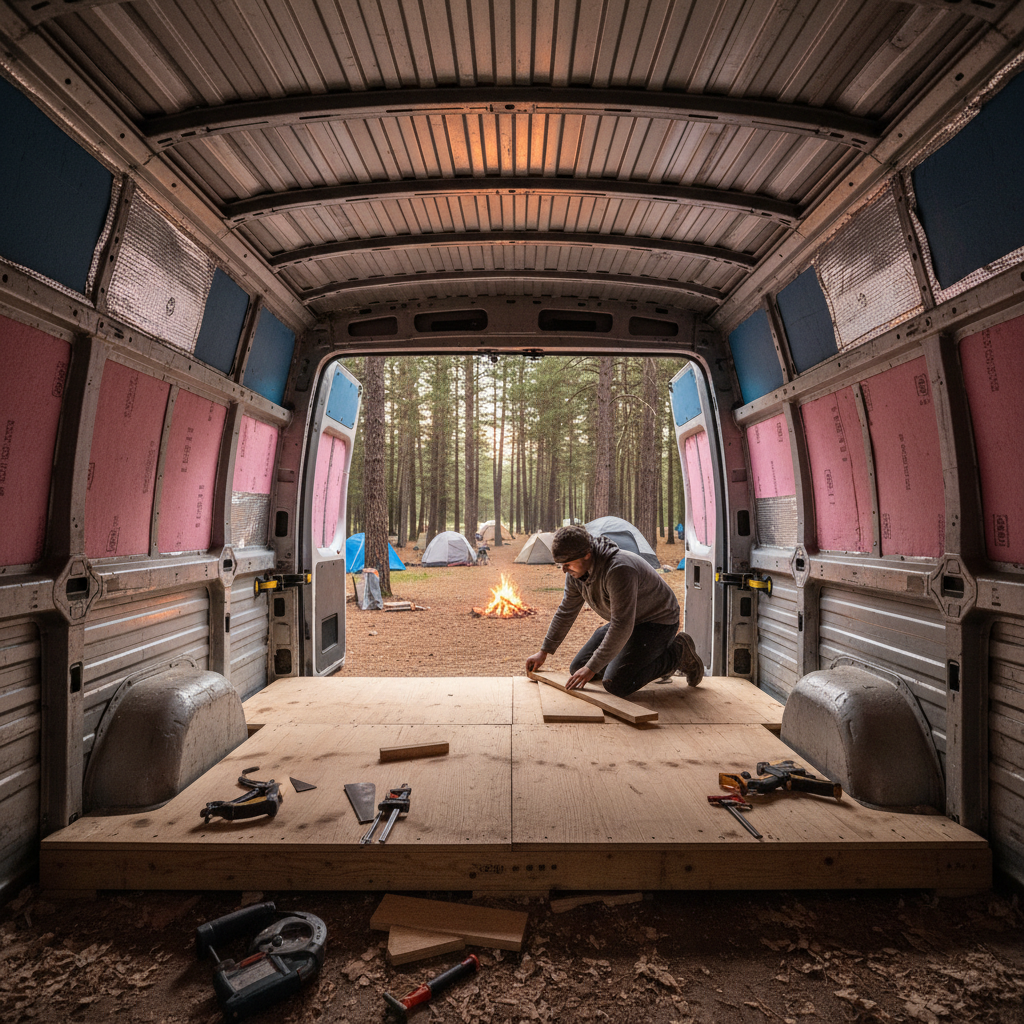
Build the drawer or bin frames first, before installing the sleeping platform above them. Trying to retrofit garage storage under an existing platform is genuinely difficult, especially if the platform is screwed down. The garage structure should be part of the initial build sequence, not an afterthought.
I'd start with the Tier 1 fast-access shelf and get it fully functional before building out the deeper storage. Living with the van for a few weeks before committing the deep storage to a fixed layout tells you a lot about how your specific gear usage pattern actually works versus how you imagined it would.
Check the floor anchor points before loading anything heavy. And keep the access-tier principle visible somewhere during the build: it's easy to let category thinking creep back in when you're deep in construction and just trying to make things fit.
The garage that works isn't the one with the most storage. It's the one where the thing you need next is always reachable in under 30 seconds, whether you're arriving at a trailhead at 5 AM or breaking camp in a rainstorm.