


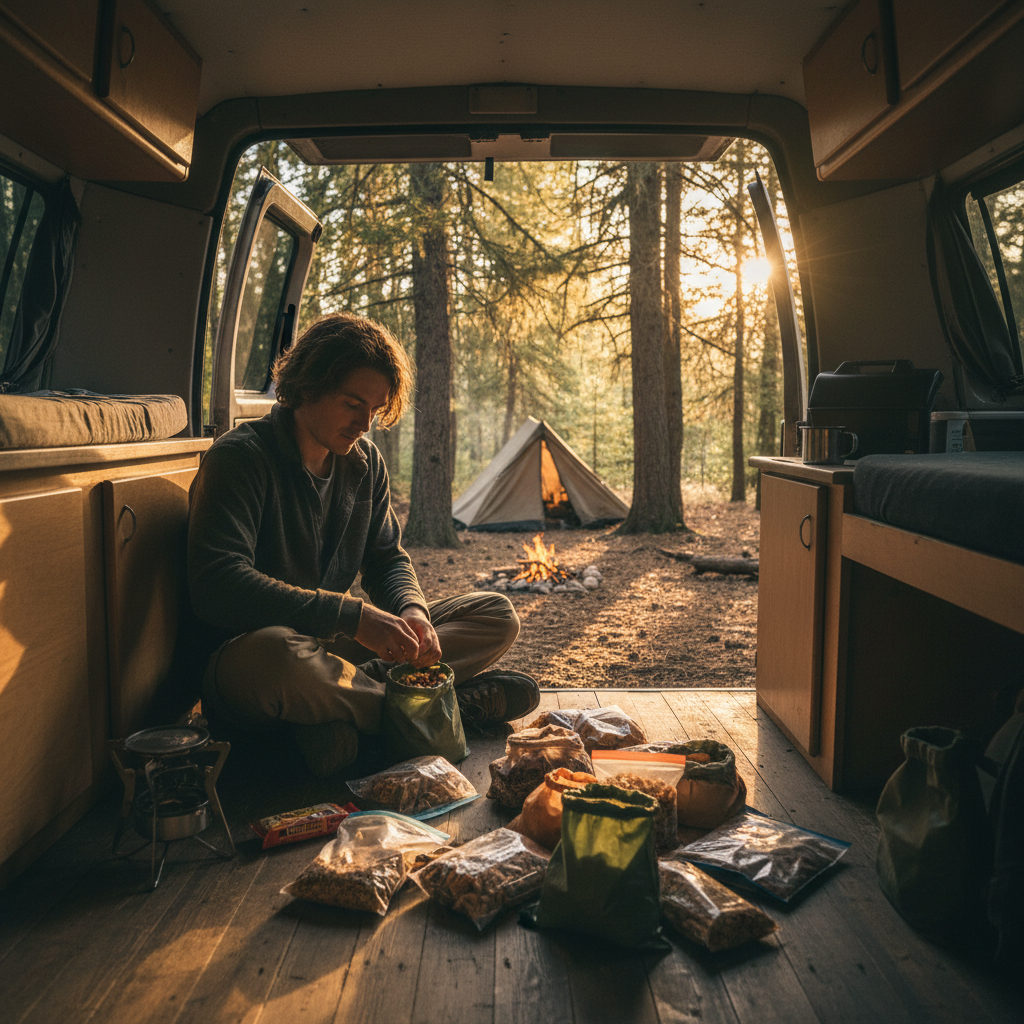
Experienced van trippers tend to sort out their snack situation before they figure out where they're sleeping, and there's a practical reason for that. A bad cooler or a skipped grocery stop can tank the whole weekend faster than bad directions. No-fridge snacking for a van trip isn't just about grabbing trail mix and hoping for the best.
The variables that actually matter are heat exposure, trip duration, and whether you'll have any way to add water or apply low heat. A sealed nut butter pouch that's fine at 70°F becomes a flavor-degraded mess after four hours on a dashboard in August. Most people loading up for a weekend drive underestimate how fast ambient van temperatures climb with the windows up.
Here's the tension that doesn't get resolved in generic packing lists: the snacks with the best shelf stability tend to be calorie-dense and heavy, while the ones that feel satisfying and fresh either need cooling or have a narrow window before they're unappetizing. Navigating that tradeoff is really what this is about.
This article doesn't cover cooler-based systems, ice pack rotation, or anything that requires refrigeration after opening. If you've got a 12V fridge or a quality cooler, you have more options than what's here, and a different guide would serve you better.
Why Most Default Snack Lists Fail in a Hot Van
The standard advice is to grab whatever's in the gas station snack aisle, toss in some jerky, and call it done. For a short winter drive, that's fine. For a summer weekend where your van hits 110°F inside while you're hiking, it's a recipe for wasted food and a genuinely unpleasant afternoon.
Temperature is the decisive variable most packing guides wave past. The USDA's food safety guidance draws a hard line at 40°F on the low end for refrigerated items, but the more useful number for van life is the upper ceiling: many shelf-stable foods that are technically safe at room temperature will see accelerated fat oxidation and flavor breakdown above roughly 85 to 90°F, especially nuts, nut butters, and whole-grain crackers with higher oil content. That's not a food safety issue, it's a palatability issue, but it still matters when you're hungry at mile 300.
Or rather: the problem isn't just spoilage. It's that the foods most people think of as "shelf stable" are stable under normal pantry conditions, roughly 65 to 72°F, not inside a vehicle that's been sitting in a trailhead parking lot for three hours. The practical consequence is that your snack list needs a column most lists don't include: heat tolerance.
Chocolate-covered anything will melt into packaging. Soft granola bars with chocolate chips or yogurt coating are a sticky mess by noon. Chips in thin bags crush under anything stacked on top. These aren't surprises, but they catch people every single trip because the planning happens at home, in an air-conditioned kitchen, and the execution happens in 92°F direct sun.
The Snacks That Actually Hold Up
A reliable no-fridge van snack meets three criteria: it's safe at temperatures up to around 90°F for 48 to 72 hours, it doesn't require any prep beyond tearing open a package, and it delivers enough protein or fat to actually hold you between meals. Here's what clears all three bars.
Nuts and seeds (whole, not chocolate-coated). Almonds, cashews, pumpkin seeds, and sunflower seeds are the backbone of van snacking for good reason. They're calorie-dense (roughly 160 to 180 calories per 1 oz serving), high in fat and protein, and genuinely shelf-stable in sealed packaging. Buy them in vacuum-sealed bags rather than resealable pouches, which let in air and accelerate rancidity. Once opened, plan to finish within two days. Macadamias go rancid faster than almonds due to higher monounsaturated fat content, worth knowing if you're buying in bulk.
Meat sticks and shelf-stable jerky. Stick with individually wrapped meat sticks (think Epic or CHOMPS formats) rather than bulk bags of jerky you'll open repeatedly. Every time you open a bag of jerky in a hot van, you're introducing humidity and speeding up the clock. Individually wrapped sticks sidestep that entirely. Check sodium levels if you're exerting heavily; high-sodium jerky plus heavy sweating without enough water is a dehydration accelerant, not a complication most snack lists bother mentioning.
Nut butter single-serve pouches. These are genuinely useful. Justin's, RX Bar, and several other brands sell individual squeeze pouches that pair with anything from rice cakes to apple slices (if you brought fruit). The single-serve format matters: a full jar of almond butter opened on day one is a logistical headache by day two in a hot van.
Shelf-stable hard cheeses. Babybel and similar wax-coated individual portions are the exception to the no-cooling rule for cheese. The wax seal and low moisture content mean they hold at room temperature for several hours without quality degradation. The USDA recommends treating hard cheeses as safe for up to two hours at temperatures above 40°F in typical conditions; wax-coated varieties with intact seals perform somewhat better, though I'd still eat them within a day of opening rather than pushing it. They're not a three-day snack, but for day one and morning of day two, they're excellent.
Crispbreads and rice cakes. Wasa crispbreads, Mary's Gone Crackers, and plain rice cakes all travel well, don't crush easily, and pair with nut butter pouches to make something that actually feels like a snack rather than just fuel. Keep them in a rigid container, not loose in a bag.
Dried fruit (sparingly). Mango, apricots, and dates hold up fine and add real sweetness without needing refrigeration. The caveat: dried fruit is essentially concentrated sugar, and eating it in large amounts without adequate water and protein means a sugar spike followed by a slump. Treat it as a complement, not a main event.
What to Skip and Why
Fresh fruit that bruises easily (peaches, bananas past day one, berries) is the obvious skip, but some less obvious ones catch people off guard.
Protein bars with high moisture content, most of the "soft and chewy" variety, go through a quality cliff in heat. They don't spoil in any dangerous way, but the texture becomes unpleasant and the flavor off. Bars built around dates and oats (like Larabars or RX Bars) hold better than soft baked formats.
Pre-made sandwiches or wraps belong in a cooler, not a van snack bag. Even if the bread is fine, any spread or protein filling becomes a food safety concern above 40°F after about two hours, per USDA food safety guidelines. This isn't cautious overcorrection; it's the actual threshold.
Cheese and crackers packs from the deli section, the ones with the little red stick and the soft spreadable cheese, are not shelf-stable once they leave refrigeration. They look like they should be fine, but the soft cheese portion requires refrigeration and the packaging doesn't say otherwise loudly enough. Skip them.
And skip bulk trail mix from the open bin at a grocery store. You don't know how long it's been sitting, the M&Ms will melt into the nuts, and the moisture content is inconsistent. Individually packaged trail mix is a different proposition.
Building a Two-Day Snack Plan
A practical framework: think in terms of morning fuel, midday snacking, and evening something-to-eat rather than treating all snacks as interchangeable. It changes what you pack.
For a Friday-to-Sunday van trip (departing after work Friday, returning Sunday evening), here's how the math works out for one person. Assume three snack occasions per day, two active days. That's six snack servings, plus a buffer of two for the drive home when you're running on fumes and bad gas station decisions sound appealing.
A workable single-person kit: 6 to 8 oz of mixed nuts in vacuum-sealed portions, 6 individually wrapped meat sticks, 4 to 6 nut butter pouches, one sleeve of crispbreads in a rigid container, two or three Babybel wheels for day one, a small bag of dates or dried mango, and two or three RX Bars or Larabars as backup. Total weight runs around 2.5 to 3 lbs. That's not nothing in a packed van, but it's manageable and it covers you without a cooler dependency.
The biggest mistake isn't choosing the wrong snacks. It's not separating day-one food from day-two food before you leave, so you dig through everything and open packaging you didn't mean to open yet. Use two small dry bags or stuff sacks, labeled, and pack them in departure order.
What happens if you skip this planning and just grab whatever looks good at a gas station on the way out? You spend more money, eat worse food, and you'll almost certainly hit a two-hour stretch somewhere on day two where you're hungry, your options are a melted granola bar and stale chips, and the next decent stop is forty miles away. That particular afternoon is avoidable with twenty minutes of prep.
One Consideration That Changes the List
If your van trip involves serious physical output, multi-hour hikes, mountain biking, or similar sustained effort, the standard weekend snack list needs recalibration. The calorie density that makes nuts and nut butter pouches good casual snacks becomes genuinely inadequate when you're burning 400 to 600 calories per hour on a trail.
For high-output days, you need more carbohydrate-forward options alongside the fat and protein staples. Medjool dates are probably the most underrated high-exertion van snack: easily digestible, fast-burning carbohydrates, no refrigeration needed, and they hold up fine in heat. Gels and chews designed for endurance sports (Clif Shot Bloks, Gu Energy, Spring Energy) are also worth including if your activity level warrants it. They're engineered for exactly this scenario: shelf-stable, compact, and fast-absorbing.
The sedentary-weekend van tripper and the trail-heavy one shouldn't be packing from the same list. That framing misses something: snacks aren't just about not being hungry. They're about having enough fuel to actually do the thing you drove two hours to do.
Before You Leave
Pack your snacks in departure order. Day one goes on top, day two at the bottom. Use rigid containers for anything that crushes. Keep nuts and crackers out of direct sun inside the van. Eat the Babybel on day one and don't leave it for day two in a hot van.
Check your heat exposure. If you're parking in direct sun for hours, anything with fat or chocolate needs to be in your pack, not in the van.
I'd start with the two-bag system (day one / day two) before anything else. It's low-effort and it eliminates the most common van snacking failure in one move.