


Experienced van dwellers will tell you to sort your coffee situation before you finalize your build, and there's a reason for that. A bad setup doesn't just mean weak coffee on a cold morning. It means wasted water, wasted propane, and a ritual that was supposed to feel good now feels like a chore.
Making good coffee in a camper van comes down to three variables most people underestimate: water quality, heat control, and how much counter space you're actually willing to give up permanently. Get any one of those wrong and the method that works great at home fails on the road.
The honest tension here is that the coffee methods with the best flavor tend to need the most water, and water is the resource you'll guard most obsessively once you're dry camping for more than two nights. That constraint shapes every recommendation in this guide.
Why Your Home Coffee Setup Won't Survive Van Life
The most common mistake van builders make is assuming the coffee gear they already own will transfer without adjustment. It won't, and the failure mode is specific.
Drip machines need a stable, level surface and a reliable 120V draw. A standard drip coffee maker pulls 900 to 1,200 watts, which means even a 200Ah lithium battery bank takes a real hit for a 10-minute brew cycle. If you're running a 12V system through an inverter, you're converting twice and losing efficiency both times. Or rather: it's not just the watt-hours that hurt, it's the peak draw spiking your inverter near its limit while you're also running a fan or charging a laptop.
Espresso machines are worse. Domestic espresso machines typically require 1,000 to 1,500 watts and need consistent pressure that a standard inverter setup rarely delivers cleanly. The result is either under-extracted shots or a tripped breaker at 6 AM. And cleaning an espresso machine with limited gray water capacity is a pain most van lifers abandon within a month.
The builds that work long-term all share one trait: they match the brew method to the actual power and water constraints of that specific van, not the constraints the builder imagined they'd have.
The Methods Worth Using and the One Condition That Changes Everything
Three methods dominate working van setups for good reasons. The AeroPress, the moka pot, and the pour over each solve the constraint problem differently, and which one fits you depends on one honest question: do you have shore power or solar on most nights, or are you regularly dry camping off-grid?
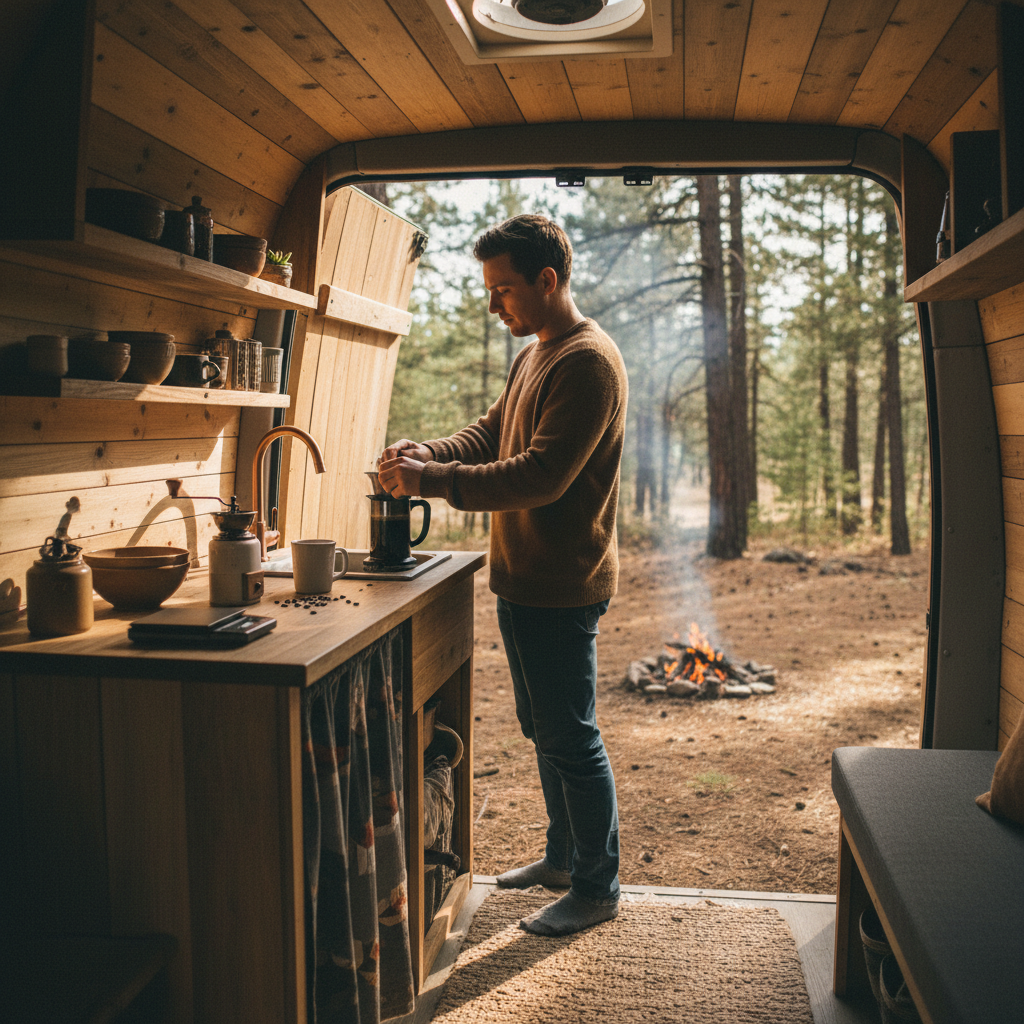
The AeroPress is the most forgiving. It brews with water between 175°F and 205°F, uses roughly 6 to 8 ounces of water per cup, and presses clean in under two minutes. Cleanup requires about 4 ounces of rinse water. For a single person or couple who moves frequently and doesn't always have hookups, this is the most defensible choice. It's also the most tolerant of water that isn't perfectly filtered, which matters when you're filling from campground spigots.
The moka pot is the right call if you're running a propane or butane stove and want espresso-strength coffee without any electrical load at all. A 3-cup Bialetti-style moka pot uses about 5 ounces of water and brews in 4 to 5 minutes on low heat. The catch: it rewards attention. Walk away, and the bottom chamber scorches. But if you want rich, concentrated coffee you can cut with hot water or oat milk, nothing beats it for the power-to-flavor ratio.
The pour over (a Hario V60 or similar cone dripper) produces the cleanest cup, but it punishes water temperature inconsistency. You need water held at roughly 200°F for the full 3-minute brew, which means a gooseneck kettle ideally, and consistent heat from your stove. It also uses the most water of the three methods, around 12 to 16 ounces per cup depending on your ratio. If you're at a full-hookup site or have substantial solar capacity, the pour over is worth the extra water.
The condition that changes everything: if you're camping where your water tank drops below a quarter full on most nights, the AeroPress isn't just a preference. It's the only method that won't leave you rationing drinking water by afternoon.
What you should check before you commit to a method: tank capacity, typical nights between fills, stove type, and whether your inverter handles 1,000W surges. Nail those four, and the right method is obvious.
Water Quality Is the Variable Almost Every Guide Skips
Bad water ruins good coffee faster than bad gear does. Campground water varies more than most people expect, and municipal tap water in parts of the Southwest and Mountain West runs hard enough to leave visible scale inside a moka pot within a few weeks.
The better question is not just whether your water is safe to drink, but whether its mineral content is actively fighting your extraction. Water that's too soft extracts aggressively and turns coffee sour. Water that's too hard under-extracts and mutes flavor. The Specialty Coffee Association has published water quality guidelines suggesting total dissolved solids between 75 and 250 ppm as a target range for brewing, with 150 ppm as a commonly cited sweet spot. That's not something you'll hit perfectly on the road, but knowing the direction helps.
A practical answer for most van setups: run your fill water through a countertop inline filter rated for sediment and chlorine taste and odor, not just a basic activated carbon pitcher. The difference in cup quality when chloramine levels are high (common in municipal water from cities like Phoenix or Las Vegas) is real and immediate. That framing misses something, though: the filter doesn't solve hardness, it solves taste and odor. If you're in a hard water region, a small stock of filtered bottled water used only for coffee is not precious. It's just accurate prioritization.
Cheap guides miss the scale issue entirely. Moka pots and gooseneck kettles accumulate mineral deposits fast when filled repeatedly from hard tap sources. Descaling monthly with a diluted citric acid solution (about 1 tablespoon per quart of water, run through the device) keeps extraction consistent and extends equipment life.
Heat Sources and the Real Propane Math
Most van coffee setups run on a two-burner propane stove. A standard 1-pound propane canister holds roughly 21,000 BTUs. Heating 12 ounces of water from 65°F to 200°F on a 7,500-BTU burner takes about 2 to 3 minutes and consumes a fraction of that canister per session. In practice, a 1-pound canister handles 20 to 30 brew sessions depending on how efficiently you control the flame.
That puts it around a 1-pound canister per week for two daily coffee drinkers, though a bulk 20-pound tank (common in builds with an external valve) stretches that math dramatically. If you're already cooking on propane, coffee is a negligible draw. The math only starts to matter if you're heating water with a 12V induction plate instead, which is slower and draws continuously from your battery system.
One point worth being direct about: a butane single-burner backpacking stove is not a good long-term van coffee solution. Butane loses pressure noticeably below 40°F, which is exactly the temperature at which you most want a hot coffee quickly. If you're doing cold-weather camping, a propane-blend canister or a dedicated propane stove connection is the only reliable setup.
Grind Fresh or Accept the Trade-Off
Pre-ground coffee starts going stale within two weeks of opening the bag at room temperature. In a van, where temperatures swing from freezing overnight to 90°F in the afternoon, that timeline compresses. You'll notice it as a flat, thin cup that improves when you add more grounds and still doesn't taste right.
A hand grinder solves this cleanly. The Comandante C40 and the 1Zpresso JX-Pro are the names that come up consistently among van lifers who are serious about coffee. Both produce consistent particle size across grind settings, require no electricity, and fit inside a cup for storage. They're not cheap: the Comandante runs around $200 and the 1Zpresso around $100 to $160 depending on the retailer. But a hand grinder outlasts any cheap electric blade grinder by years, and a blade grinder doesn't grind, it shatters. The inconsistent particle sizes a blade produces mean some grounds over-extract and some under-extract in the same cup.
I'd start with the 1Zpresso JX-Pro at the mid-range price if budget is a real constraint, and step up to the Comandante later. The 1Zpresso handles both AeroPress and pour over grind ranges well and is genuinely fast for a hand grinder, about 30 to 45 seconds per dose.
If you buy whole beans and store them in an airtight container away from direct sunlight, a 12-ounce bag holds well for two to three weeks even in van temperature conditions. Buy smaller quantities more often rather than stocking up.
When the Standard Advice Breaks Down
Everything above assumes you want good coffee and are willing to spend some time on it. That's not every van dweller's situation.
If you're living in your van full-time while working remotely, brewing AeroPress at 6:30 AM before a 7 AM call is completely manageable. But if you're running a surf van, arriving at breaks before dawn, and your hands are already cold before you get to the stove, the ritual that sounds appealing in a YouTube build tour becomes a friction point you'll skip. In that scenario, a simple single-serve pour-over dripper like the Melitta 1x2 (under $10) with pre-ground coffee from a local roaster isn't a compromise. It's the right call.
There's also a real exclusion worth naming: this guide is not for van lifers with a full shore-power hookup and a large inverter who are essentially running a small apartment. If you have reliable 30-amp service most nights, your coffee constraints are close to home constraints, and a standard single-serve pod machine or a quality drip machine becomes viable. The recommendations above are built for people who move regularly and can't count on shore power.
Ignore the water quality and heat source constraints and you'll cycle through methods every few months, spending money on gear that seemed right in theory. The people who land on a stable van coffee setup fast are the ones who audit their actual conditions before buying anything.
Building Your Setup
Start with the method that fits your constraints: AeroPress for off-grid and frequent movers, moka pot for propane-first builds, pour over if water and heat are consistent. Then add a hand grinder once the method is dialed in.
The gear that holds up across all three methods: a small digital scale (a Hario or generic 0.1g kitchen scale), a gooseneck kettle that fits your stove, and an airtight container for beans. The scale matters more than most people expect. Coffee-to-water ratio is the single most controllable variable once your method is chosen, and eyeballing it produces inconsistency that feels like a broken method when it's just imprecise measuring.
A quick-reference for what you actually need:
Minimum viable van coffee kit: AeroPress or moka pot, hand grinder, small kettle, digital scale, airtight bean container. Total cost for a functional setup: $80 to $250 depending on grinder choice.
Buy whole beans locally as you travel. It forces you to find the good roasters in each region, which turns out to be one of the better side effects of van life coffee discipline.
Conclusion
If you're getting started, pick one method based on your power and water reality, not based on what looks good in a build photo. AeroPress if you're off-grid more nights than not. Moka pot if propane is your primary cooking fuel and you want no electrical dependency at all. Pour over if you have consistent heat and don't ration water carefully.
Add a hand grinder after you've committed to a method. That sequencing matters: grinding fresh amplifies whatever you're already doing, good or mediocre.
If you skip the water quality question entirely, you'll blame the gear for problems the gear didn't cause. Check your source water, filter for chlorine and sediment at minimum, and descale your equipment monthly. The people who never quite crack van coffee usually aren't using the wrong method. They're using the right method with the wrong water.