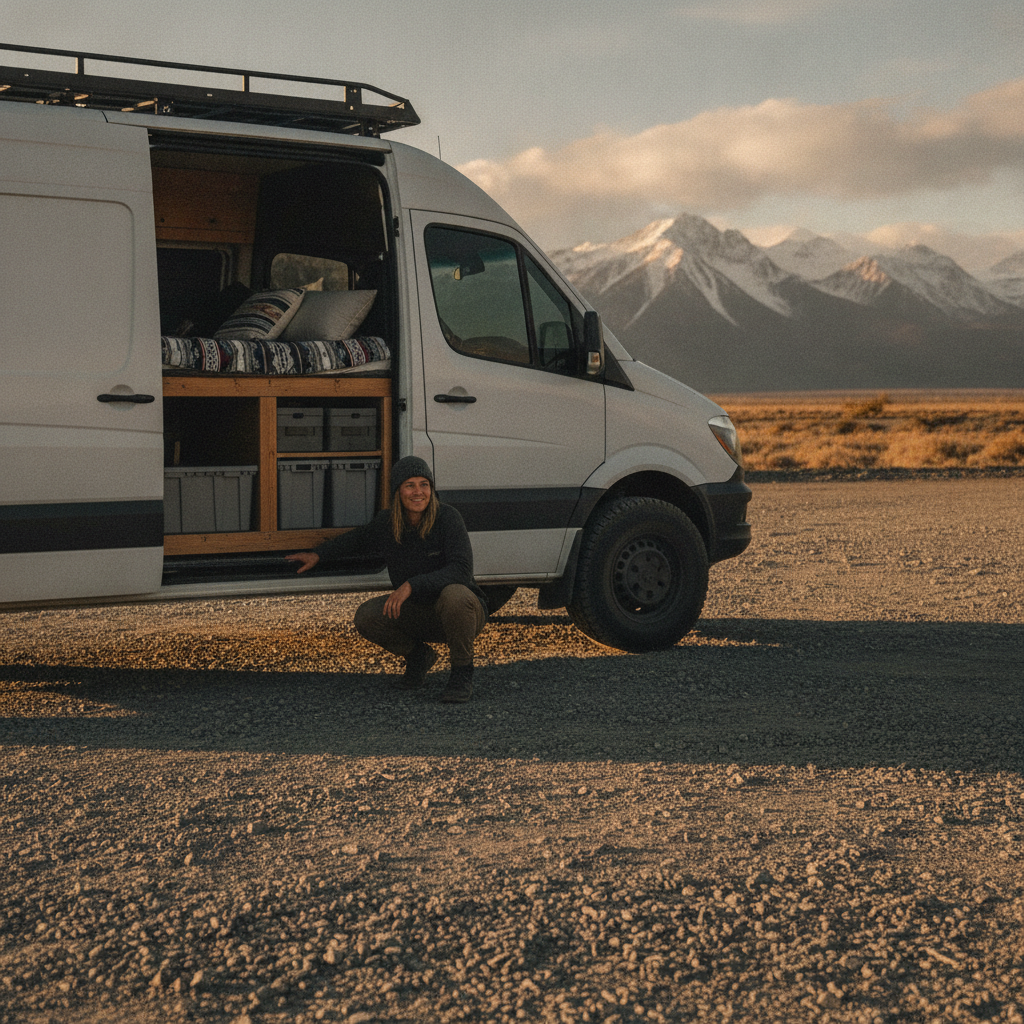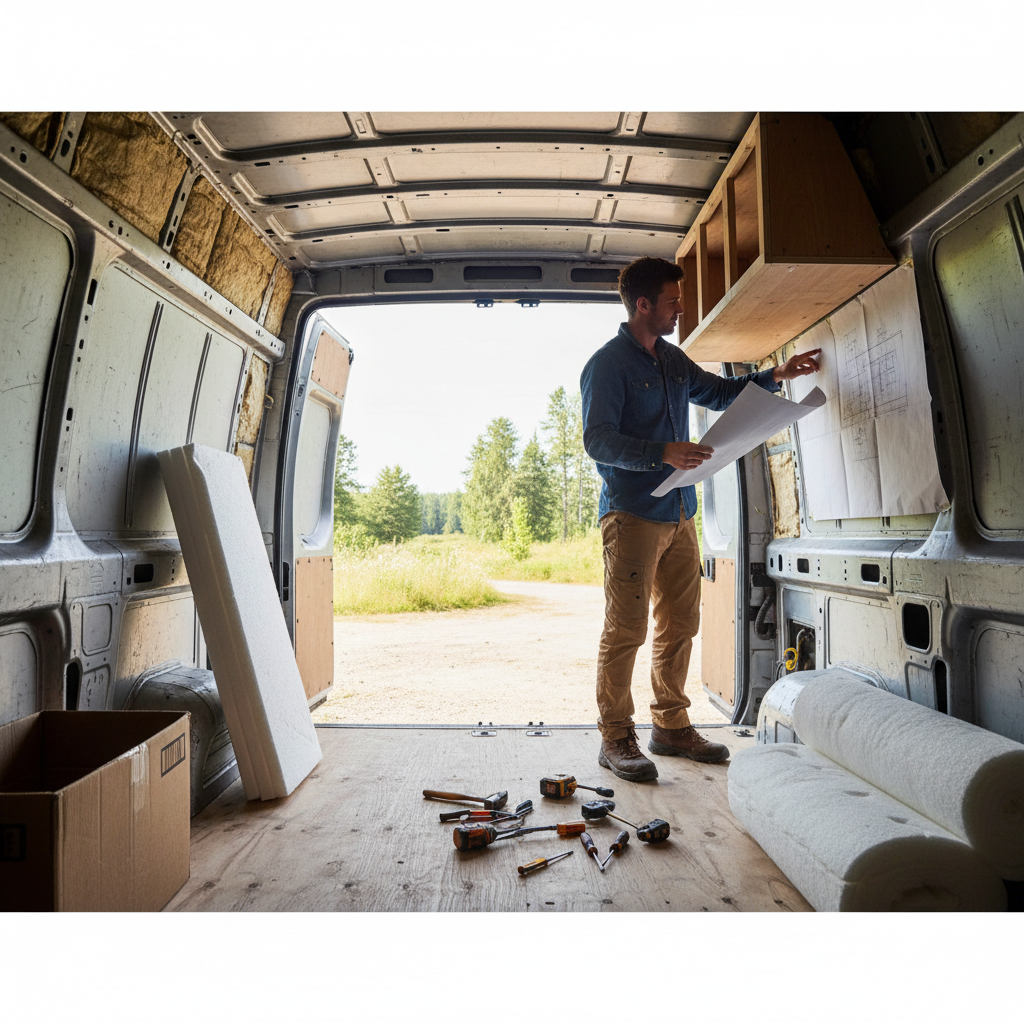
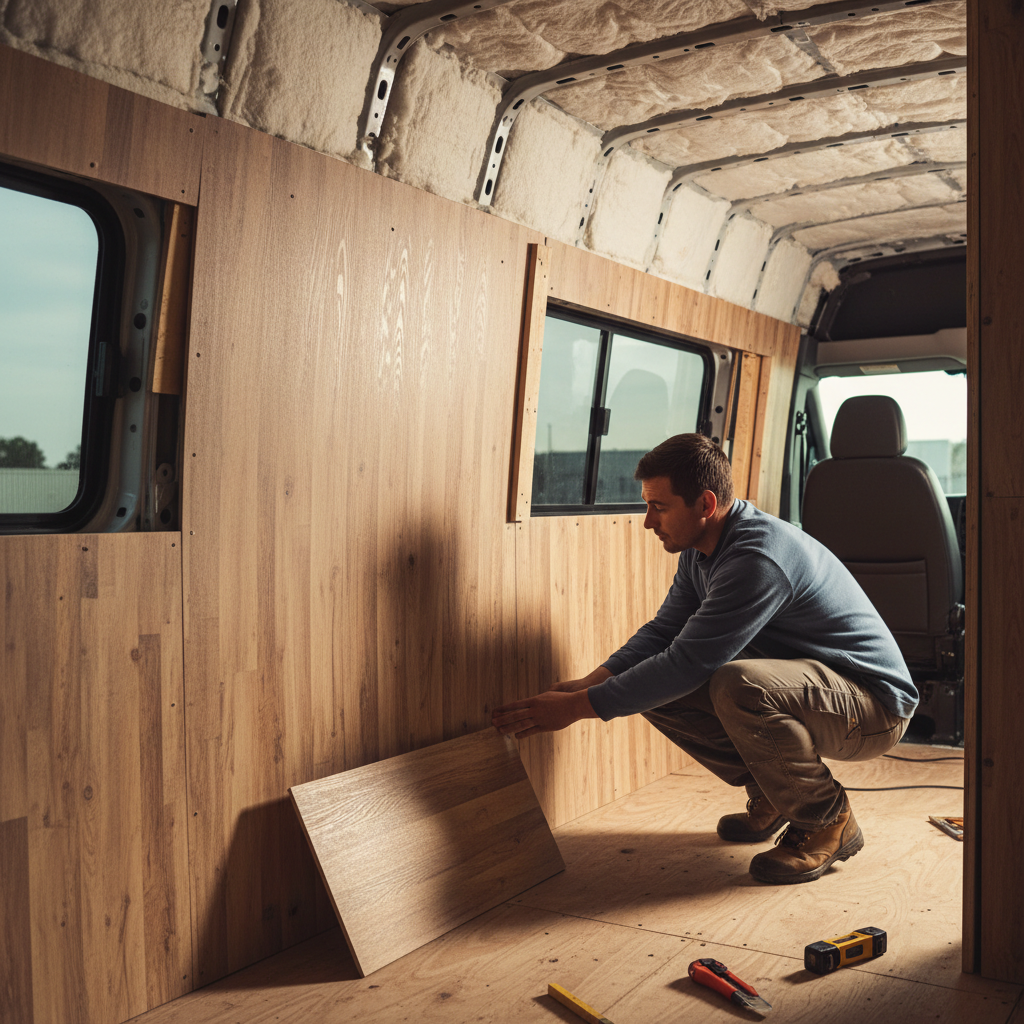
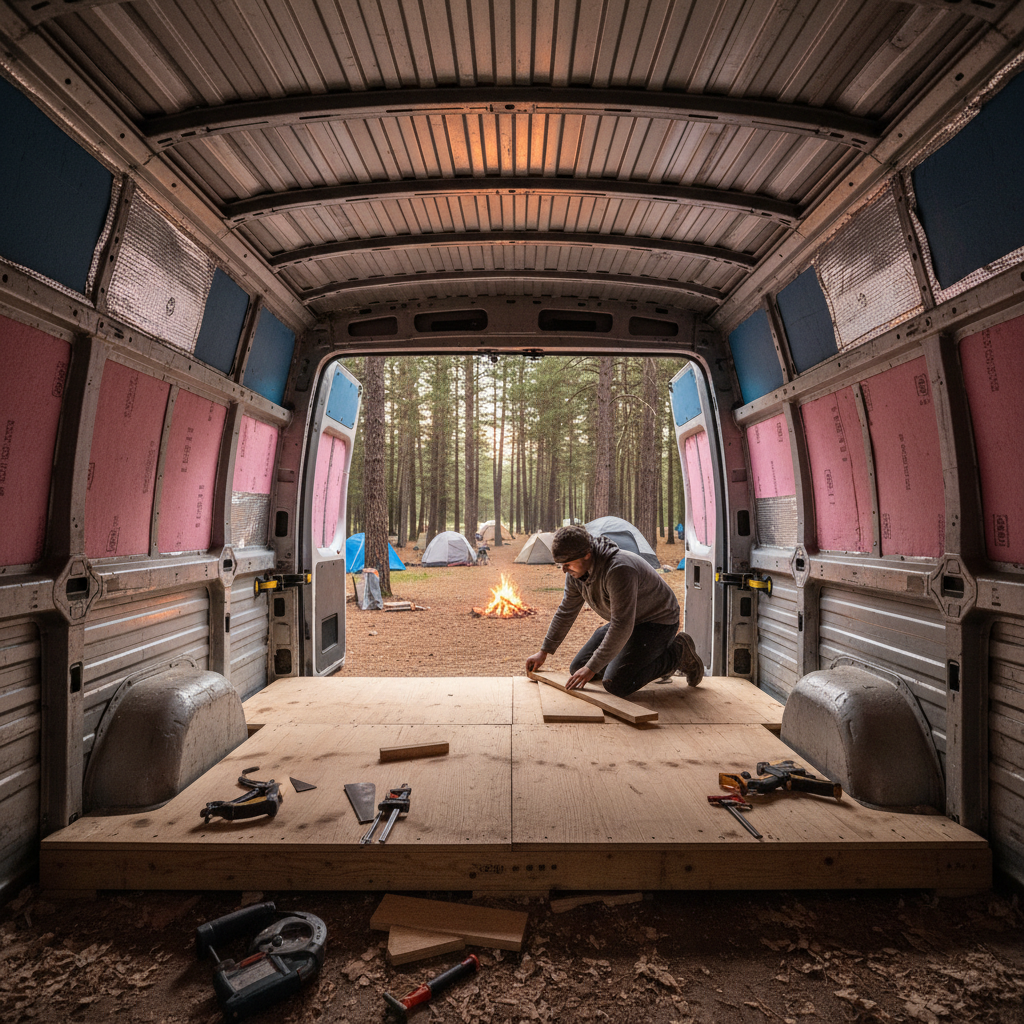



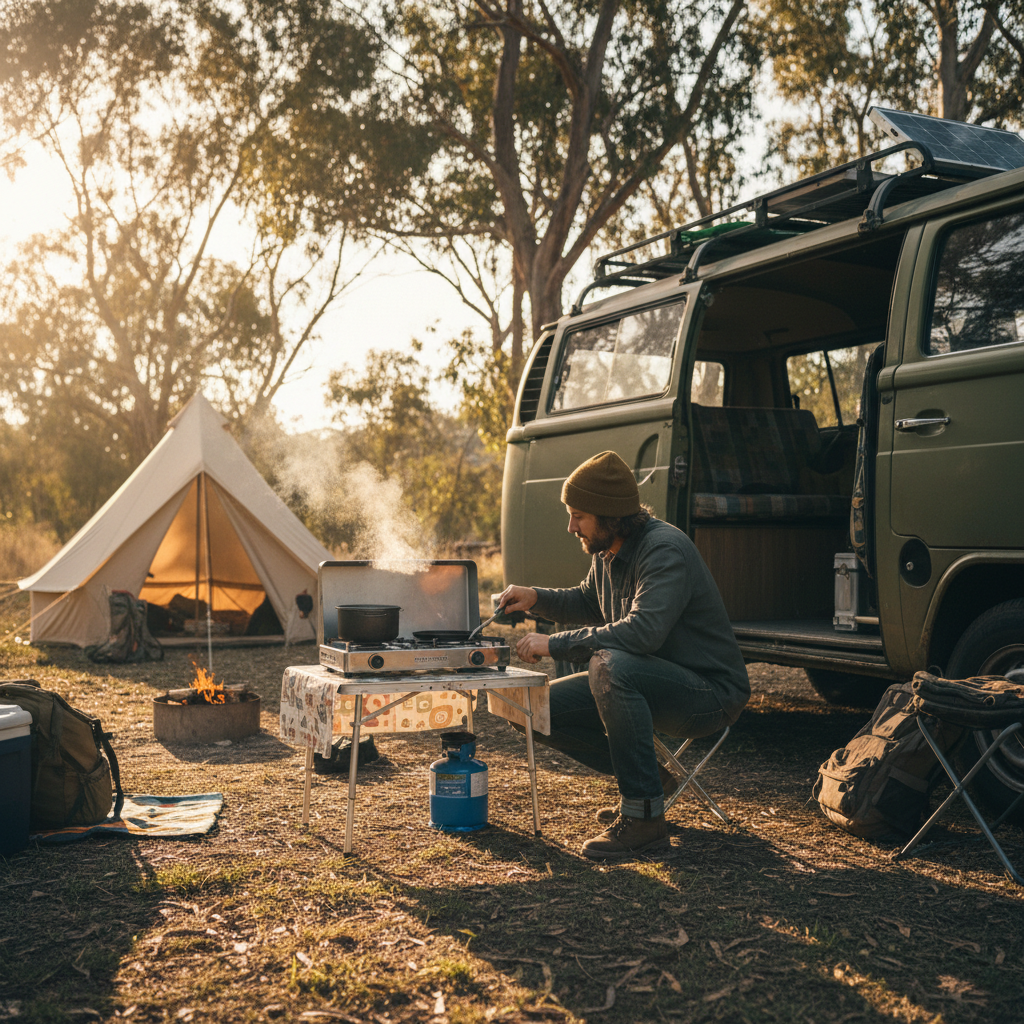
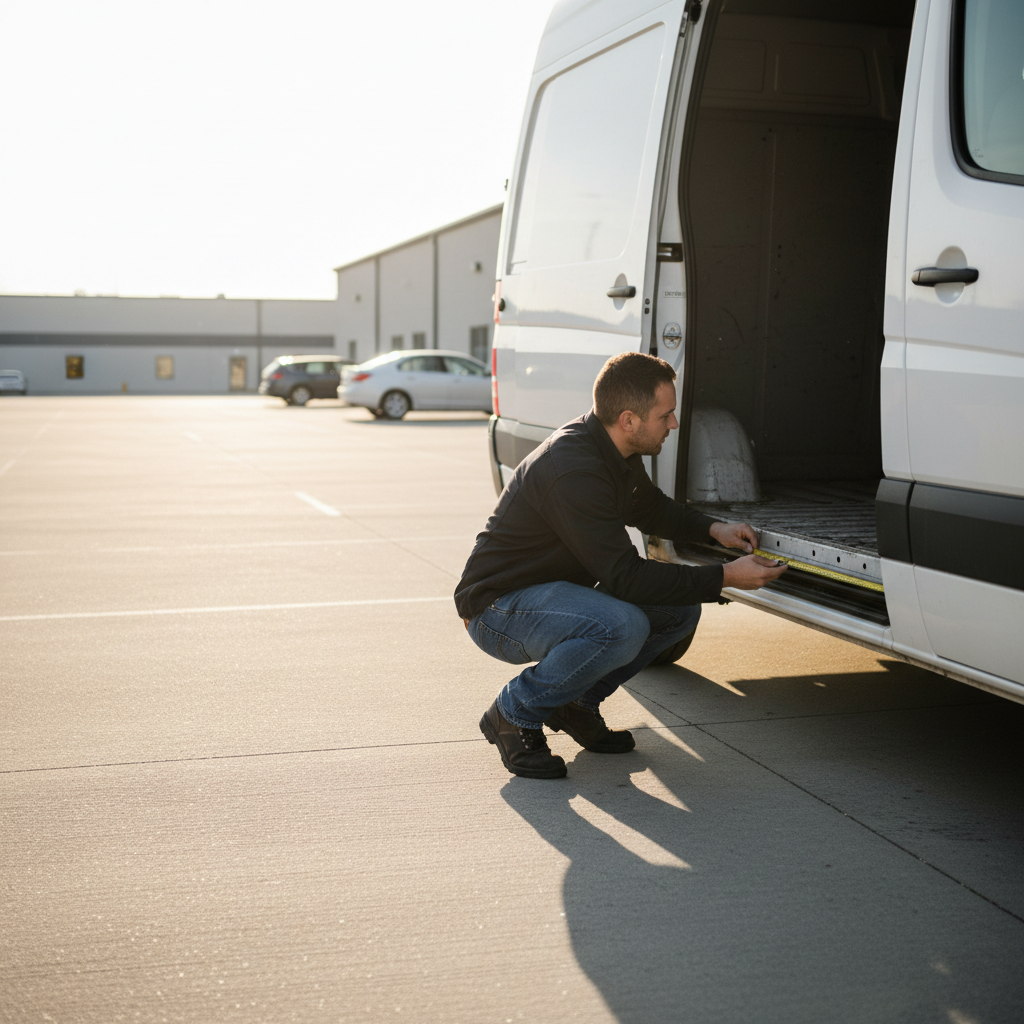


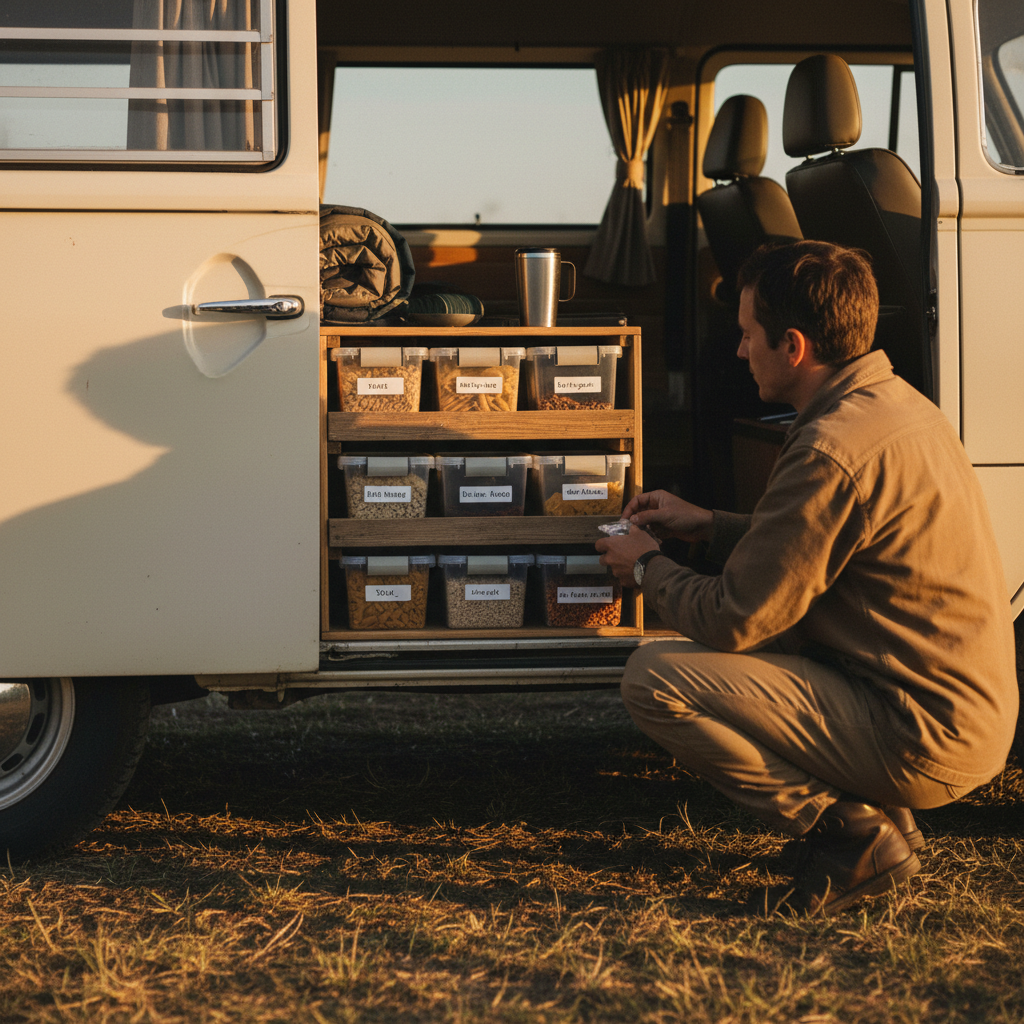
Van-dwellers who've done a dozen weekend runs will tell you the pantry is where trips succeed or fall apart before you've left the driveway. You can have the perfect campsite, the right gear, and a solid route, and still spend Saturday morning digging through a pile of rolling cans to find your coffee. Camper van pantry organization isn't complicated, but it does require thinking about three things most setups ignore: access sequence, weight distribution, and condensation control.
The problem is that most kitchen-cabinet logic doesn't transfer to a van. Cabinets at home don't tilt around mountain curves. Shelves at home don't vibrate loose over washboard dirt roads. What works in your kitchen for a week will destroy itself in a van over a 48-hour trip, and the pantry takes the worst of it.
Here's the tension that doesn't get enough attention: the same features that make food easy to grab when cooking, open bins and loose stacks, make food into a mess when you're moving. Solving one without wrecking the other is the actual design challenge. If your pantry isn't engineered for both states, you'll spend part of every trip reorganizing it.
Why Most Van Pantry Setups Fail by Saturday Afternoon
The failure usually comes from one of two patterns. Either everything is crammed into a single large bin where you have to unpack half of it to reach anything on the bottom, or everything is in small separate containers that slide and tip the moment you hit a gravel road. Neither is a pantry. Both are just storage.
A functional camper van pantry works on what you might call access triage: the items you reach for most often, coffee, cooking oil, salt, a go-to snack, live at the outer edge of the pantry at elbow height. Items you use once per trip go toward the back or the bottom. This sounds obvious until you watch yourself, on the third morning of a trip, digging past a bag of rice you won't touch to find the instant oats you eat every day.
Weight placement matters more than most guides acknowledge. Heavy items, canned goods, full bottles, cast iron if you bring it, should sit as low as possible and as close to the center of the van as you can manage. This isn't aesthetic preference. A top-heavy load shifts the van's center of gravity enough to affect handling on winding roads, and a hard stop can launch a heavy jar off a high shelf with real force. Put cans on the floor or the lowest shelf. Full-size bottles stay below knee height.
Or rather: it's not just about cans tipping. It's about what happens when a jar of pasta sauce hits your cooler at 60 mph on an interstate on-ramp. That's the scenario the "just use a bin" approach doesn't plan for.
The Container System That Actually Holds Up
You need three types of containers, not one universal bin. Each solves a different problem.
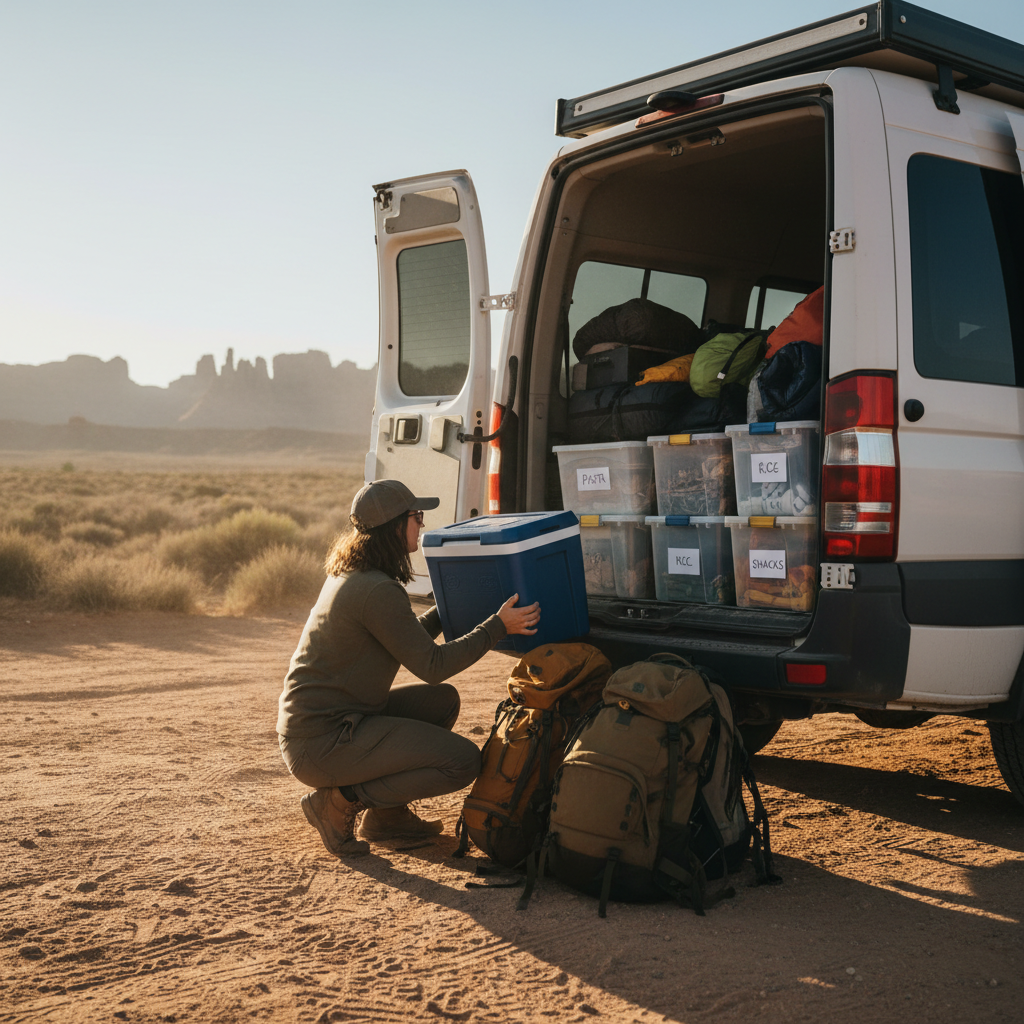
For dry goods (oats, rice, pasta, trail mix, coffee), use stackable, square containers with locking or flip-top lids. Round containers waste space in van shelving. Square ones nest against each other and don't spin. Oxo Pop containers are a common choice among van-builders for this reason: the square footprint and one-push seal hold well on bumpy roads. Decant everything from its original packaging before you leave. A bag of oats in its original bag will be a powder explosion by the time you hit your campsite.
For spices and small items, a magnetic spice rack mounted to a metal surface, or a small silicone-lined tray with individual lidded tins, keeps things from rolling. A tray with a lip of at least half an inch will contain most sliding on normal roads. Spice containers taller than they are wide are the ones that tip; short, wide jars hold better.
For produce and bread, soft-sided collapsible baskets with breathable mesh sides work better than hard bins because they compress when empty and breathe when full, which slows mold on produce during warmer trips. Don't seal fresh produce in airtight containers in a van. Without refrigeration, you need airflow.
That framing misses something. The real reason most van pantry systems degrade by Sunday isn't bad containers. It's that people don't have a reload protocol. If you grab something and don't return it to its assigned spot, the whole system collapses within a meal. Assign every container a fixed location and enforce it like a rule, not a preference. This is the part that discipline solves, not equipment.
Pantry Layout: Where Things Go and Why
Think of your van pantry in three zones. The hot zone is anything within arm's reach of where you cook, usually the side door area or the rear if you have a tailgate kitchen. The warm zone is a reach away, where meal components live. The cold zone is the back of a cabinet or the top of a stack, reserved for things you won't touch until day two.
In practice: cooking oil, salt, pepper, and your primary protein source (whether that's canned tuna, shelf-stable tofu, or jerky) live in the hot zone. Backup starches, sauces, and your second breakfast option go in the warm zone. Emergency snacks, extra coffee, and items you packed "just in case" go in the cold zone where they won't clog up daily access.
I'd start the layout by physically pulling out everything you plan to bring and grouping it by meal, then by frequency of use. Do this on your driveway before you load. The exercise almost always reveals that you packed two things doing the same job and left out one thing you actually need every morning.
Vertical space is usually the most underused dimension in a van pantry. A 12-inch-tall cabinet can hold two stackable containers or, with a simple tension rod or divider, three layers of shorter items. Dollar store tension rods installed horizontally inside cabinets create shelf layers without permanent modification. For renters or those using a converted cargo van without built-in storage, removable adhesive hooks on the cabinet ceiling hold hanging mesh bags for light items like chips, bread, or protein bar boxes. Keep the bags light enough that the hooks can handle a hard bump without pulling.
What to Skip, and Who This Setup Doesn't Suit
This approach works best for solo travelers and couples on one-to-three night weekend trips. It's not scaled for family trips with four or more people, where the quantity of food requires a fundamentally different storage strategy, probably a dedicated slide-out pantry drawer or a modular cargo system rather than the zone-based approach described here. For longer van trips (a week or more), you'll also need a rotation protocol for perishables that weekend planning doesn't require.
Skip glass jars for anything except items you use rarely. Glass is heavy, breaks, and is genuinely dangerous in a moving vehicle if it shatters in a cabinet. Transfer everything you can into BPA-free plastic or stainless before loading. Ceramic mugs are the same story. A silicone or enamel camping mug survives a tumble off a counter. A ceramic one doesn't.
Don't bother with elaborate spice collections for a weekend trip. Three to five spices cover nearly every meal most people cook in a van: salt, pepper, garlic powder, a chili or paprika, and one herb. Beyond that, you're carrying weight for one use per trip. Spice weight is a real factor over a long build-up of weekend trips, and it's a waste of money when you lose half a jar because the lid wasn't fully sealed.
If you run a portable refrigerator (a 12V compressor cooler rather than an ice chest), your pantry load changes significantly: shelf-stable proteins become less critical, and you can carry fresh dairy and proteins that change your whole meal approach. But if you're running a passive cooler, plan your pantry around the assumption that everything in it is at ambient temperature. Don't pack anything that needs refrigeration in the pantry cabinet. People do this and then get sick. It's not worth it.
A Simple Weekend Trip Pantry Checklist
Before you load the van for a weekend run, work through this check. It takes less than five minutes and prevents the most common pantry failures.
Containers and placement:
- All dry goods decanted from original packaging into lidded, square containers
- Heavy items (cans, full bottles) on lowest shelf or floor-level storage
- Daily-use items in the hot zone, at elbow height, without stacking in front of them
- No glass jars for items used on travel days
Contents:
- Three to five spices maximum for a two-night trip
- One backup meal for each day (non-perishable, no cooking required)
- Coffee or morning drink setup in its own dedicated pouch or container, separated from everything else
- Produce in breathable mesh, not sealed airtight
Every item in the pantry should have an assigned location before you drive away. If it doesn't have a home, it becomes clutter by mile fifty. Spend two minutes in the driveway confirming every container is where it belongs and the cabinet closes without forcing it.
What happens if you skip this step? You'll find out on a tight two-lane highway when your cooking oil rolls off the counter and you have to choose between pulling over and cleaning up or ignoring the mess. Pull over. But better to not be there.
Making It Work Trip After Trip
A pantry system that works once and then gets rebuilt each time is not a system. The point is to have a default configuration you can reload in twenty minutes before any trip, not redesign from scratch.
After each weekend trip, do a five-minute pantry reset: remove anything that didn't get used, note what you ran out of, and put everything back in its assigned spot. Write it down if you need to. A photo of the fully-loaded pantry on your phone is genuinely useful as a reload reference. Van-builders who travel regularly keep a running "pantry base" grocery list, the fixed items that always go in, separate from the meal-specific additions that change each trip.
The goal isn't a perfect pantry. It's a pantry you can stop thinking about so you can think about the trip. A setup that takes two hours to load but runs effortlessly for three days is worth far more than a fast load that falls apart by the first morning.
Build the system once. Then use it.