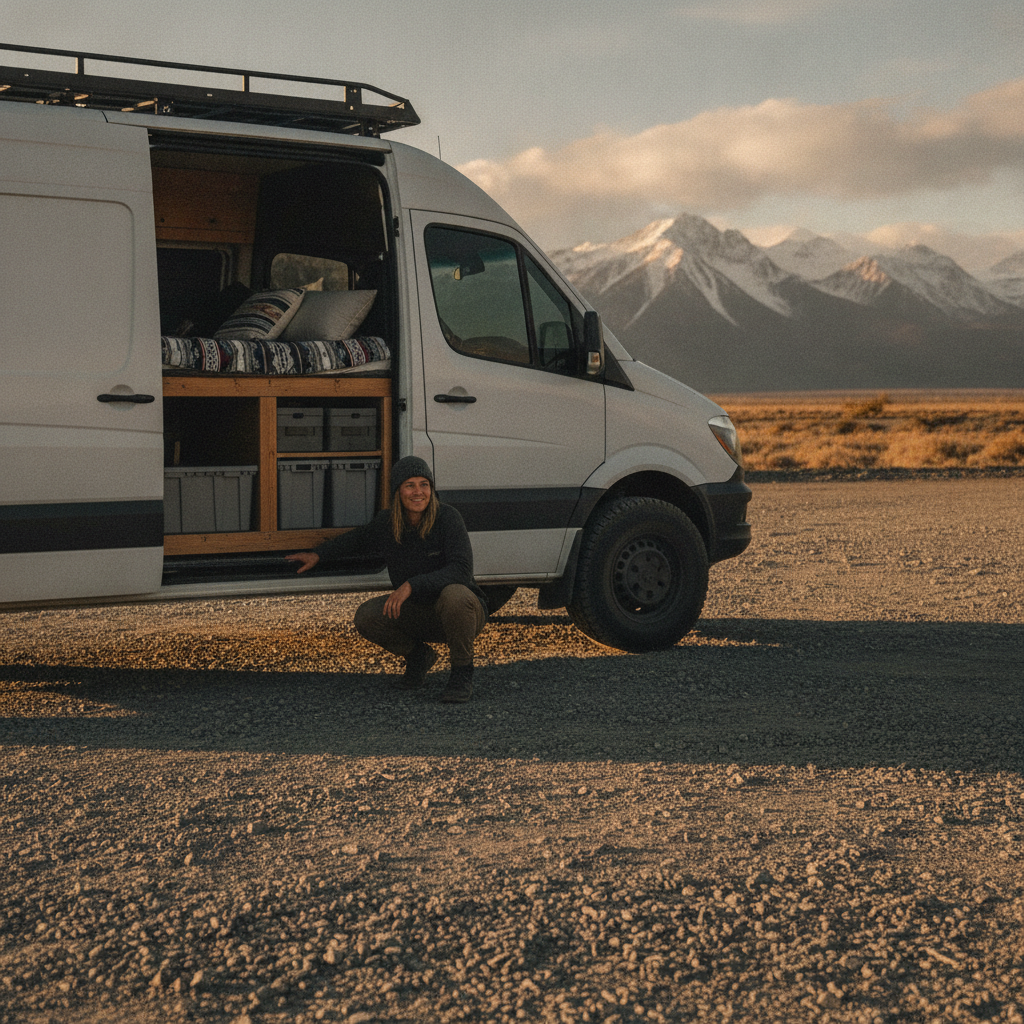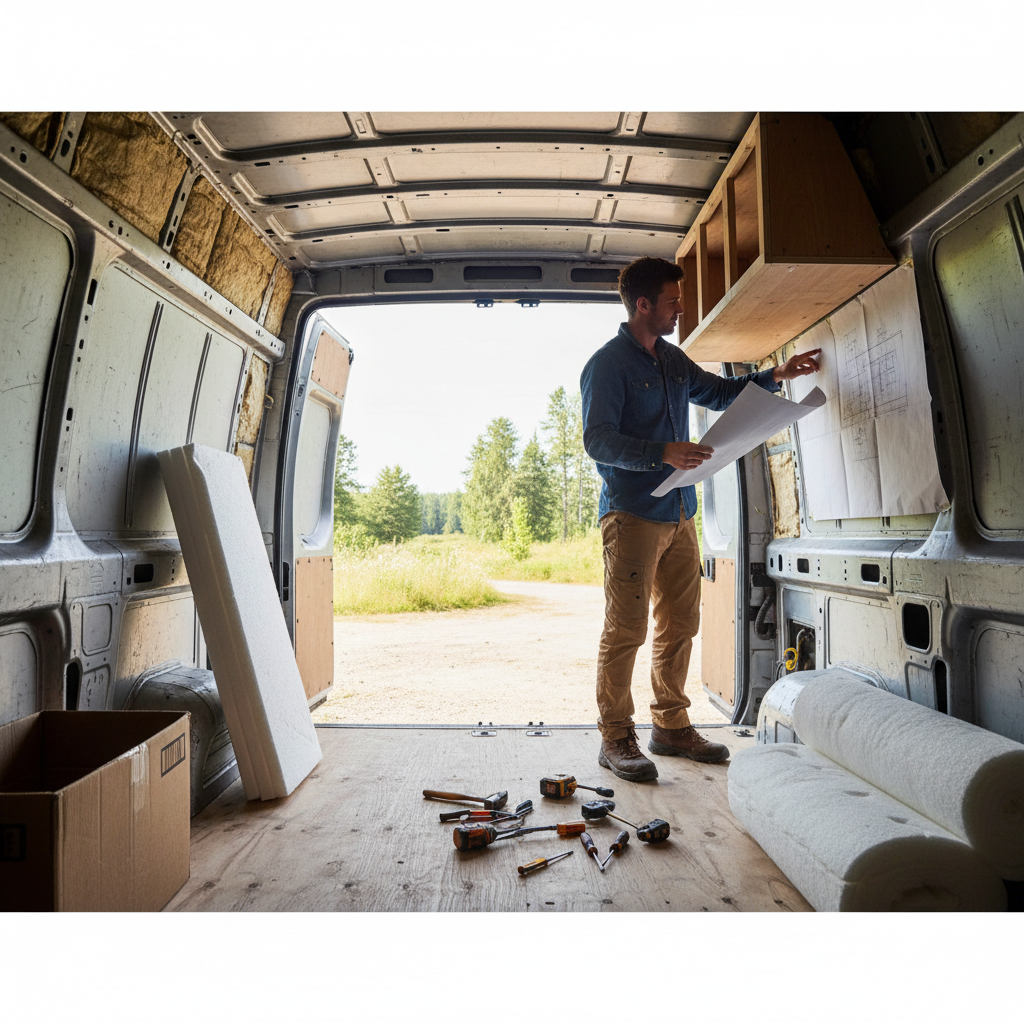
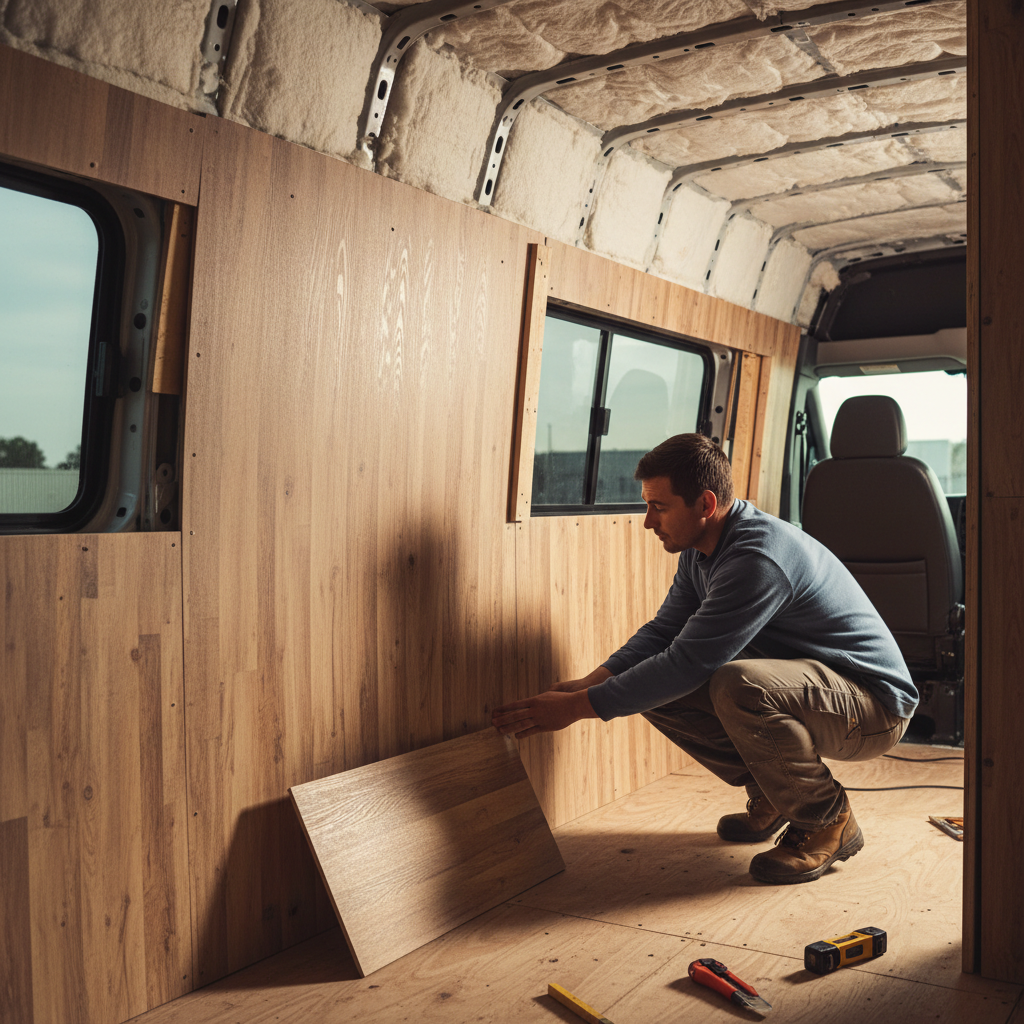
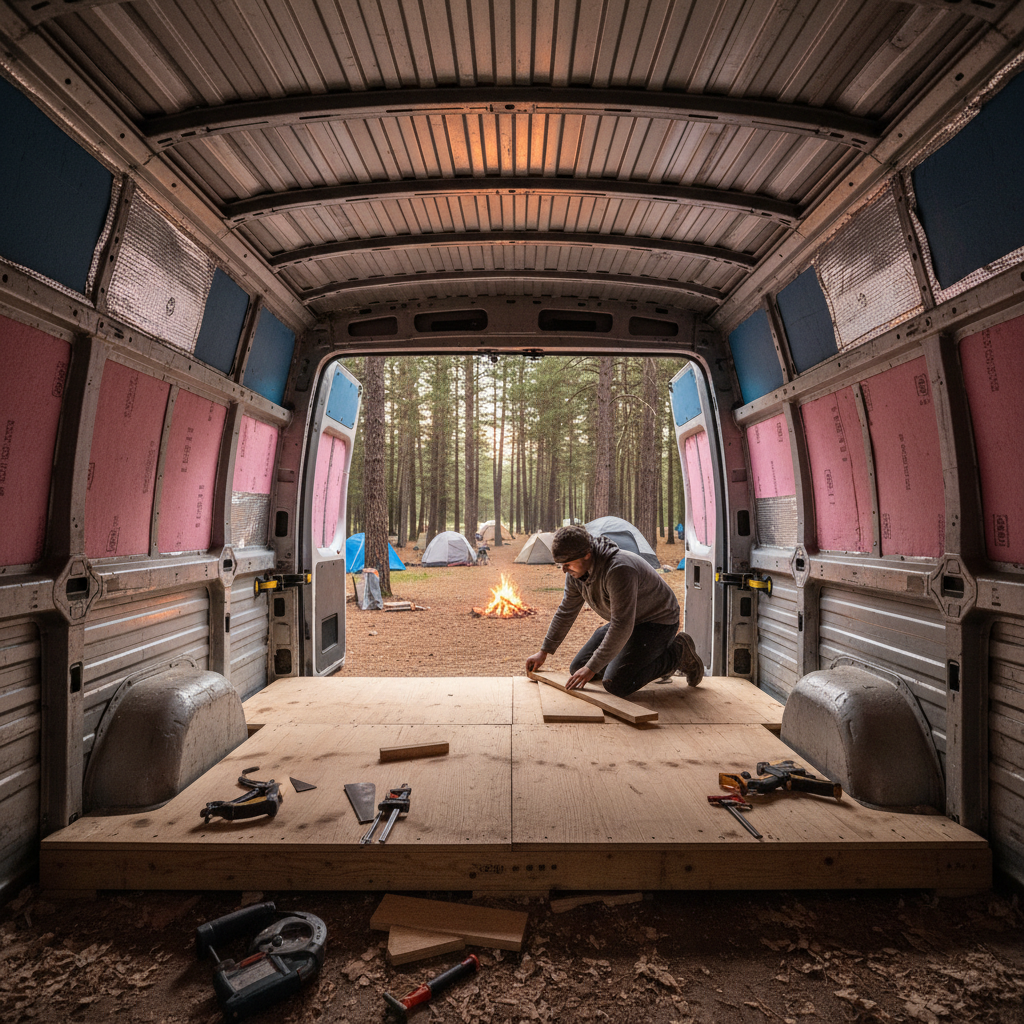



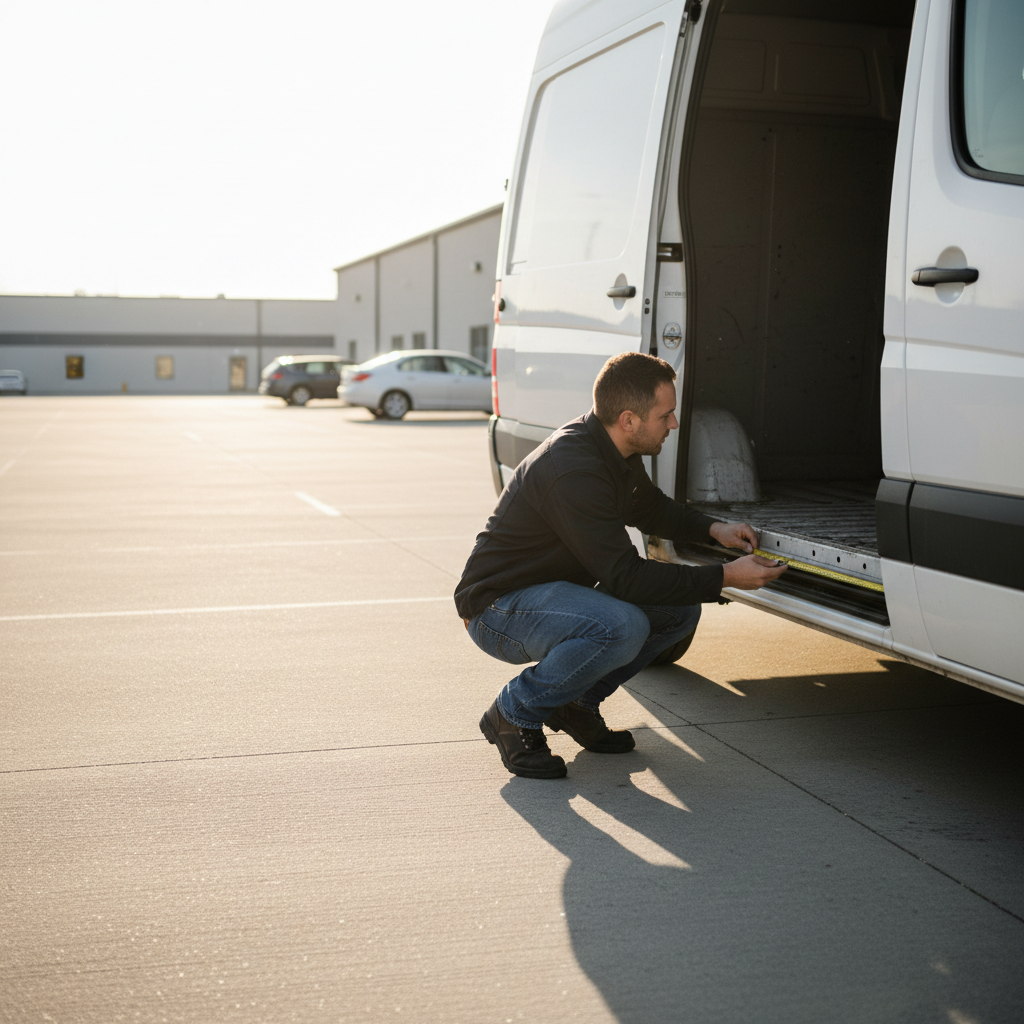



Van builders will tell you to measure twice before cutting anything, and there's a reason they say it before discussing drawer slides or roof racks. The real organizing challenge in a small camper van isn't storage volume; it's retrieval time. You can pack an impressive amount of hiking, climbing, or paddling gear into a 60-square-foot cargo area, and still find yourself tearing the whole van apart at a trailhead to reach what you need.
The difference between a system that works and one that frustrates you on day three of a trip comes down to three factors: gear hierarchy, access sequence, and dead-space recovery. None of those are complicated, but they're rarely covered together in a single framework. Gear hierarchy means organizing by frequency of use, not by category. Access sequence means understanding that the gear you reach for last should never be blocking what you reach for first. Dead-space recovery is where most small vans leave significant capacity on the table.
Here's the tension worth sitting with before you buy a single piece of hardware: the most space-efficient layout is almost never the most retrieval-efficient one. Compress everything perfectly and you've built a puzzle box. The goal is finding the overlap between the two, which is narrower than most van conversion guides suggest.
Start With Gear Hierarchy, Not Floor Plans
Before you measure anything, sort your gear into three tiers. Tier one is daily-use gear: headlamps, water bottles, trail snacks, sandals, a rain jacket. This stuff needs to be reachable without moving anything else. Tier two is trip-use gear: tent, sleeping bag, stove, cook kit, camp chairs. You pull this out once per camp setup, not multiple times a day. Tier three is seasonal or activity-specific: climbing harnesses, paddle gear, ski equipment, dry bags. This goes deepest and can be buried.
The mistake almost every first-time van builder makes is organizing by gear type rather than by access frequency. Cooking gear goes with cooking gear, camping gear goes with camping gear. Sounds logical until you realize your stove and your tent have completely different retrieval schedules, and grouping them means one is always blocking the other at the wrong moment. Categorization is for warehouses. Hierarchy is for vans.
Or rather: pure categorization works fine if you always do every activity every day. The moment your trip involves hiking without camping, or camping without cooking, the category system breaks. Hierarchy survives mixed-use trips. That's the sharper claim.
Once you have your three tiers sorted physically on the floor, you can think about layout. Your tier-one items live within arm's reach of the driver's area, the side door opening, or a dedicated grab-zone near the bed. Tier two lives under the bed platform or in a rear-access drawer system. Tier three goes in whatever space remains: under-bed corners, roof-mounted cargo boxes, or deep rear compartments. Map this before you cut any wood.
Vertical Storage Is Where Small Vans Win or Lose
The floor area in a standard cargo van conversion runs roughly 50 to 70 square feet. That's not a lot. But the walls from floor to window line typically give you another 12 to 18 linear feet of mountable surface, depending on van model and conversion approach. Most of that surface sits empty in stock builds. Filling it intelligently is the single biggest capacity multiplier available in a small van.
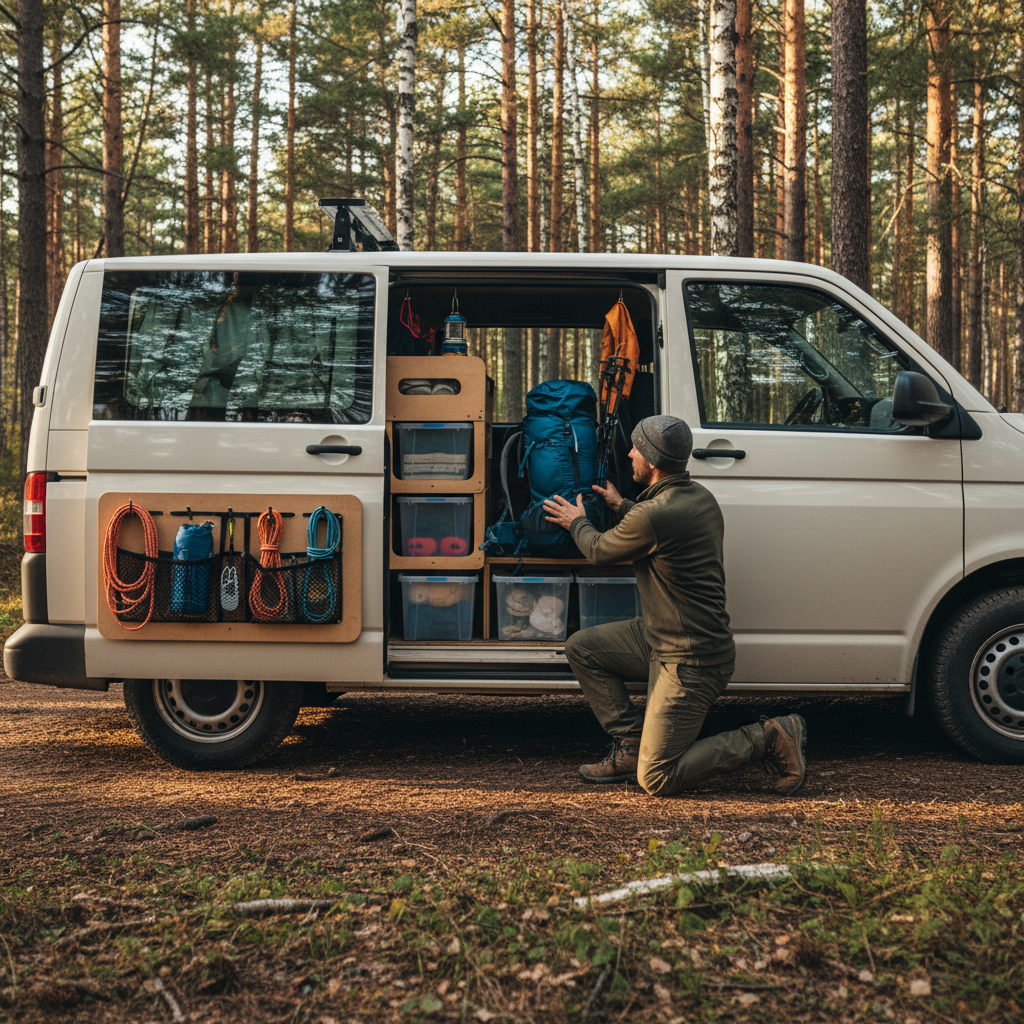
Vertical storage systems in vans generally fall into three categories: fixed shelving, modular track systems, and door-mounted organizers. Fixed shelving (think simple plywood boxes bolted through the van wall to the frame) is the cheapest and most rigid, but you commit to a layout permanently. Modular track systems like Rivetier, VanEssential, or Goose Gear panels use a grid of mounting holes so shelves, hooks, and nets can reposition as your gear list changes. Door-mounted organizers on the rear barn doors or side door panels recover surface area that's otherwise completely wasted.
A common guideline in van builds is to keep anything mounted above shoulder height limited to lightweight items under about five pounds. That's not an official load rating; it's a practical heuristic based on bump-and-vibration fatigue over time and the real risk of a heavy item coming loose on rough roads. Heavier gear, including full hydration packs, helmets, and boots, belongs at waist height or lower, secured against lateral movement.
What buyers skip until they're burned: mounting hardware matters more than the shelving itself. Sheet metal screws into the van skin will pull out. Bolts through the structural ribs with fender washers hold. If you're not comfortable identifying the structural ribs on your van model, look up the build thread for your specific van on a forum like Sprinter-Source or ProMaster Forum before drilling anything.
The Bed Platform as a Storage Engine
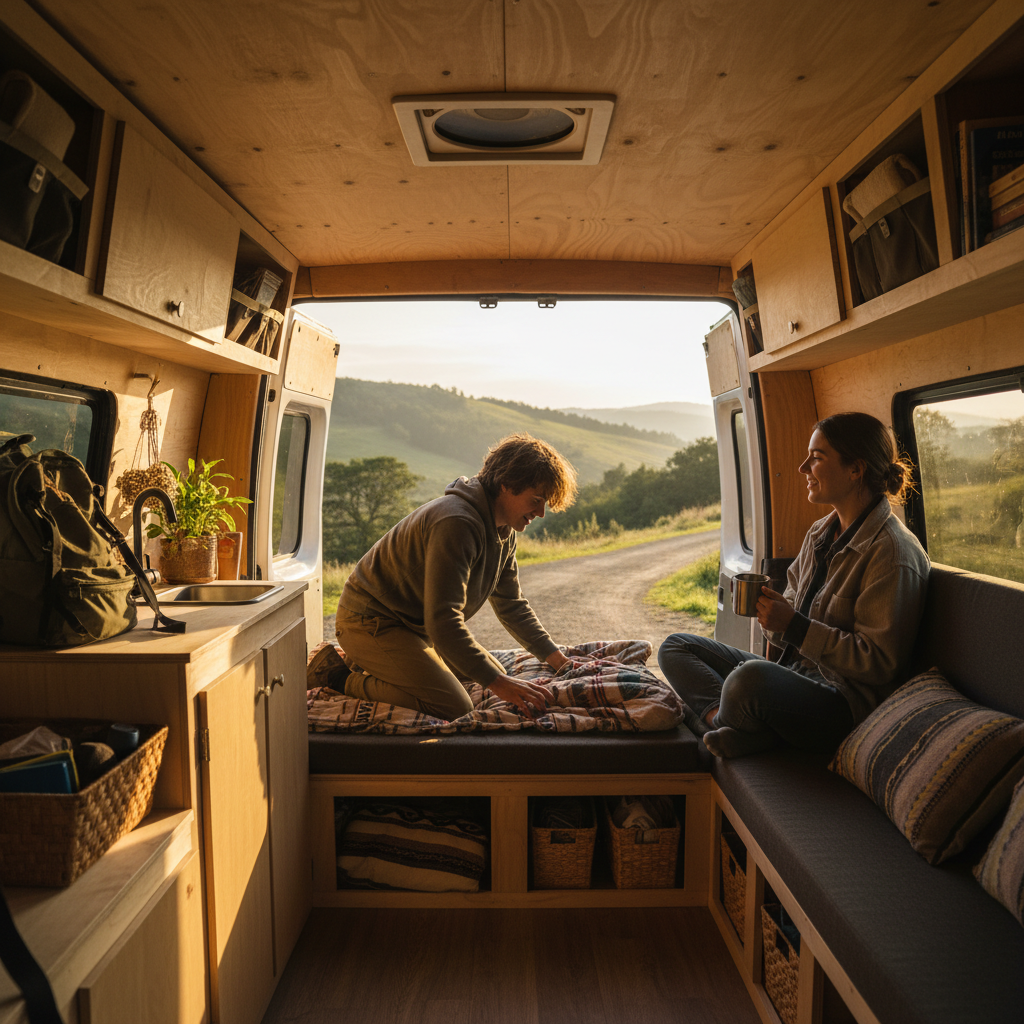
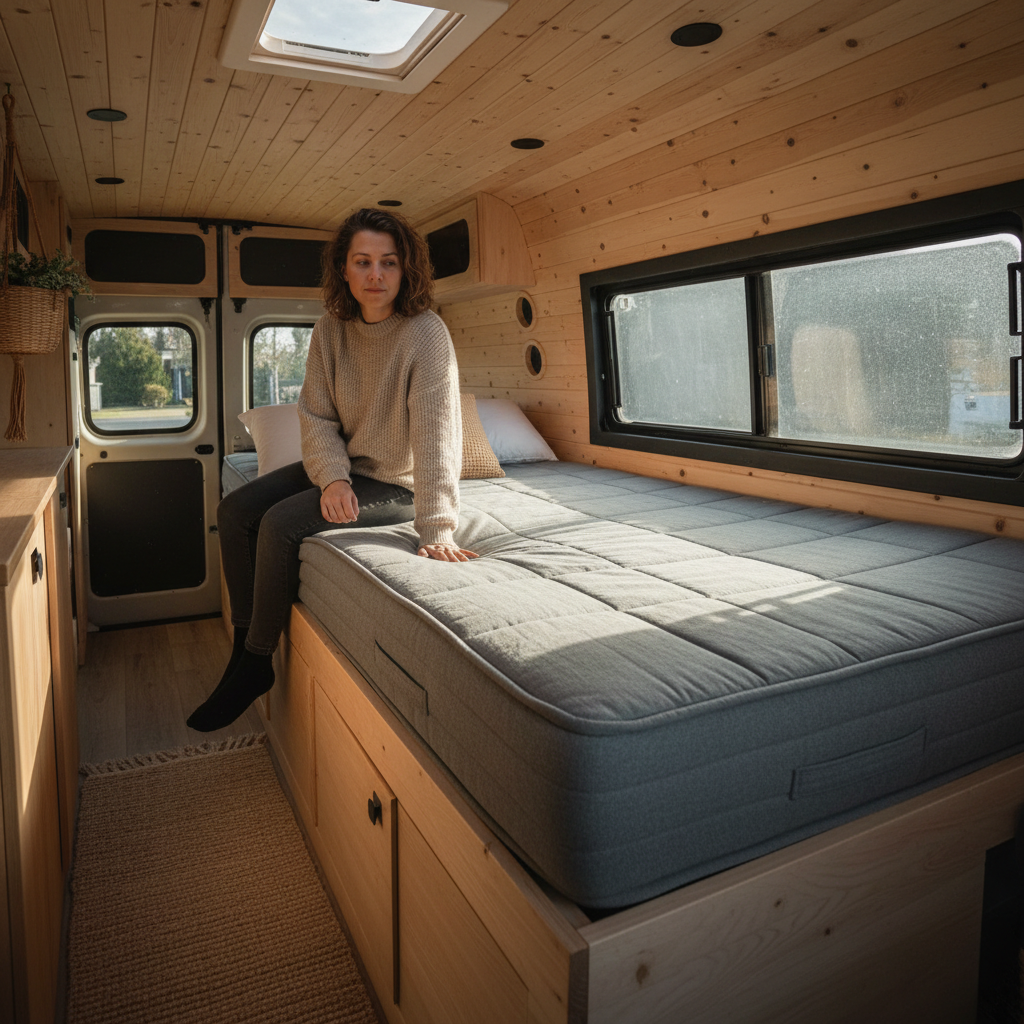
The bed platform is the biggest structural element in most van builds, and in a small van it has to do double duty. A platform built purely for sleeping with a solid base underneath it is a waste of what's often 30 to 40 cubic feet of interior volume. That space is your tier-two storage engine.
Two approaches dominate here. The first is a full drawer system: two or three drawers on full-extension slides that pull out from the side door or rear. This gives you excellent access to everything in the bed base without moving the mattress, but drawer builds add weight (drawer slides, face frames, and proper wooden boxes can add 40 to 60 pounds) and they're expensive to do correctly. The second approach is a lift-top or hinged section: part of the platform top lifts to reveal open bin space below. Cheaper and lighter, but you need to move bedding to access it, which matters at 6 AM when you're trying to get hiking gear without waking your partner.
I'd start with a hybrid: one shallow pull-out drawer on the side-door side for tier-two cooking gear, and lift-top access on the rear half for bulkier tier-two camping equipment. That's a common guideline among experienced builders, and it balances cost, weight, and access better than either pure approach alone.
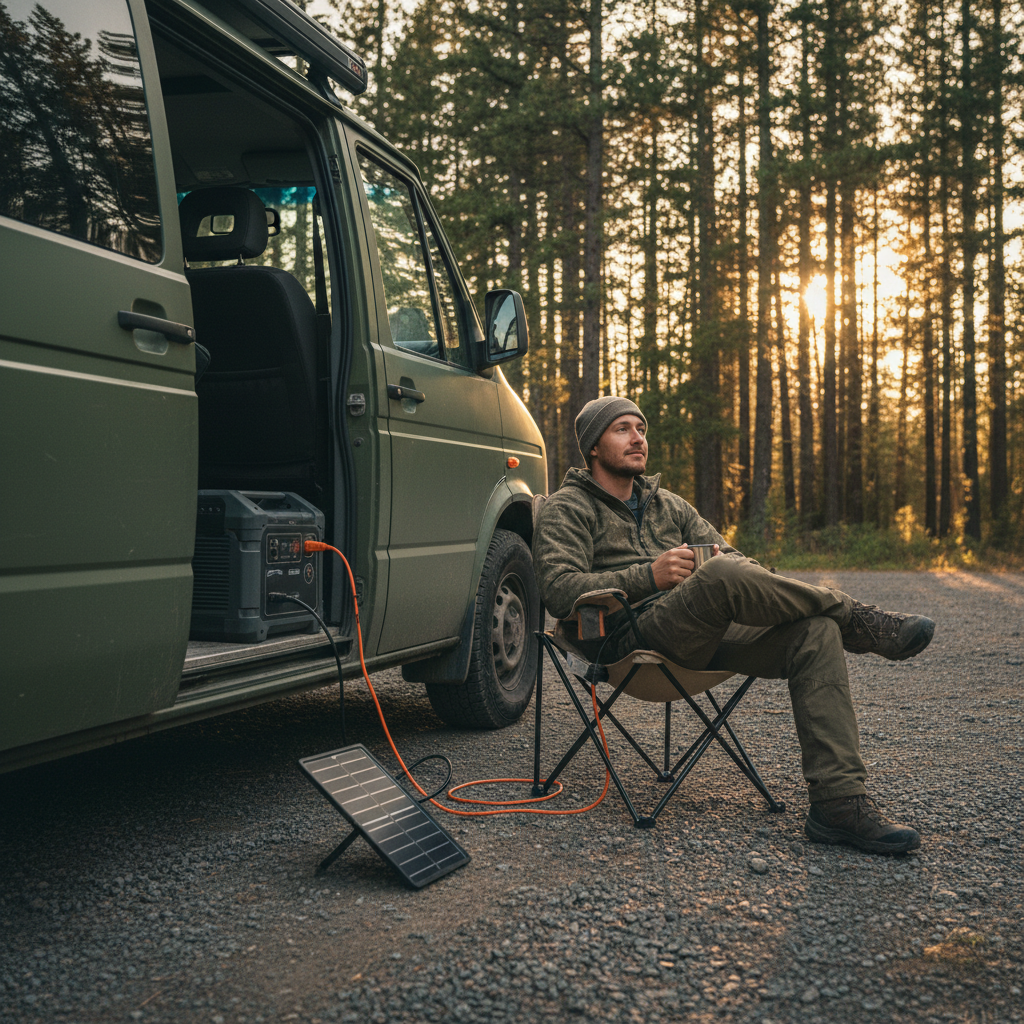
The bed platform is also where gear-specific accommodation pays off. A trough routed into the platform edge keeps trekking poles from rolling. A notched cutout holds a portable power station in place without straps. These details take an hour to plan and prevent hours of annoyed searching on the road. Don't skip them in the build rush.
Gear-Specific Challenges: Wet, Dirty, and Long
Three gear categories cause disproportionate organizational pain in small vans: wet gear, dirty gear, and long gear (skis, paddles, surfboards, poles). Each needs a dedicated answer, not just a bigger bin.
Wet gear left inside a sealed van grows mold fast. The standard solution is a ventilated wet bag hanging from the rear door or a dedicated drainage zone near the side door with a small tray or rubberized mat underneath. Some builders install a short section of outdoor deck grating (the kind with gaps, not solid surface) as a wet-gear landing zone just inside the side door. Water falls through, gear sits elevated, and you don't track mud across your sleeping area. A small 12V fan directed at this zone speeds drying considerably on humid days.
Dirty gear, mainly muddy boots and used camp kitchen items, has the same solution: separation. Boots go in a dedicated boot bag or a ventilated bin outside the main sleeping zone, ideally accessible from the side door without stepping inside. Used cookware goes directly into a dry bag until it can be washed, not loose in a drawer where the residue transfers to everything else.
Long gear is the hardest problem in a truly small van. A surfboard, a set of skis, or a pair of kayak paddles simply won't fit inside most converted cargo vans without consuming the entire floor or blocking the bed. The realistic options are a roof rack system (Thule and Yakima both make van-specific platforms, with prices typically starting around $400 to $600 for a base platform and crossbars), a rear hitch-mounted cargo carrier for gear that can handle weather exposure, or an external trailer for trips where you're carrying multiple activity categories simultaneously. Trying to shoehorn full-length gear inside a small van interior is a common guideline to avoid: it compromises the sleeping area, blocks emergency egress, and creates a projectile hazard in a hard stop.
But here's the access-sequence angle that actually changes the build decision: if your long gear (say, a pair of skis) is seasonal tier-three equipment, it doesn't need to live inside at all most of the year. A roof rack with a locking ski carrier handles winter trips; the rack stays on the roof without disrupting interior organization the rest of the year. The van interior gets optimized for your primary season's gear, not the exception.
When This System Doesn't Work
This framework assumes a single primary activity type (hiking, climbing, paddling) with occasional crossover. If you're genuinely multi-discipline, carrying full kit for three or four different outdoor sports simultaneously, a small cargo van is the wrong tool and no organization system fixes that. A larger van (a high-roof Sprinter or Transit versus a low-roof Transit Connect), a cargo trailer, or a roof-top tent truck setup gives you the volume that a 60-square-foot cargo area cannot. Recognizing that early saves both money and frustration.
The system also weakens for van-dwellers with two very differently sized people. Ergonomic reach zones differ significantly between a 5'2" person and a 6'3" person, and a layout optimized for one will consistently frustrate the other. Couples should plan the tier-one grab zones at a height accessible to the shorter person, even if that feels low to the taller one. It's the retrieval-frequency priority applied to human ergonomics.
And if you never address the organization system, just load gear in and figure it out later? You'll spend roughly the first 15 minutes of every outdoor activity digging. Over a two-week trip, that's two hours of trailhead archaeology instead of hiking. The lost time is annoying; the gear damage from repeated unpacking and repacking is worse.
Build the System in This Order
Get the sequence right and each decision informs the next. Get it wrong and you end up rebuilding.
- Sort gear into three tiers on your actual floor before touching any hardware. Not on paper. On the floor.
- Identify your single hardest gear challenge (wet, long, or dirty) and solve it first. It usually dictates side-door and rear-door layout.
- Design the bed platform with storage access in mind from the start. Add the drawer or lift-top decision before cutting platform material.
- Mount vertical storage last, after the floor-level system is fixed. Vertical items fill the gaps, they don't define the structure.
The sequence matters because vertical systems are easy to adjust; bed platforms and drawer systems are expensive to rebuild. Solve the hard constraints first, then fill vertical space around them.
One comparison worth making explicit: IKEA-based van builds (KALLAX units, LACK shelves) are a popular budget option and they work reasonably well for long-term van living with stable gear loads. They're a poor choice for active outdoor use. The particleboard doesn't handle moisture or vibration as well as plywood or aluminum, and the fastening options are limited. For outdoor-focused builds, marine-grade plywood or aluminum extrusion systems cost more upfront and hold up across seasons. That durability difference is decisive when your van is doing rough-road miles to trailheads every week.
Check load capacity, mounting point locations, and door clearance before you buy anything.
Practical Starting Point
If you're converting now or reorganizing an existing build, start with the tier sort this weekend. Everything else follows from knowing what you actually reach for, in what order, on a real trip. The hardware decisions get dramatically easier once the hierarchy is clear.
And if the tier sort reveals that your gear list has grown into three full activity categories with no overlap in timing, that's worth knowing before you spend $2,000 on a drawer system. The organization problem might actually be a van-sizing problem. Better to find that out with a pile of gear on your garage floor than at a crowded trailhead in the dark.