










Any van dweller who has peeled a sleeping bag off a cold metal wall in January knows the feeling: everything is damp, and it is not raining outside. Condensation in a camper van is one of the most complained-about problems on the road, and the standard advice to just crack a window misses why some vans stay dry while others stay soaked.
The core issue is psychrometrics, not ventilation alone. Warm, moist air from your breath, cooking, and wet gear meets cold metal or glass, drops below the dew point, and deposits water. Your van does not leak moisture in from outside. It generates it from inside, and that distinction changes every solution you choose.
Three variables actually drive the outcome: your interior moisture load, how fast that moisture exits, and how cold your van's surfaces get. Get all three wrong simultaneously and no single fix will save you. That tension between cheap-and-fast solutions and the system-level response your van actually needs is where most guides stall out, and it is exactly where this one starts.
Why Your Van Gets Wet: The Mechanism Behind Condensation
Metal is an excellent thermal conductor. On a cold night, your van's sheet steel skin equalizes quickly with outdoor temperature, which in many parts of the US can drop well below freezing from October through March. The interior air, warmed by your body heat or a heater, holds far more water vapor than the same air at 20°F. When that air contacts any surface below its dew point, the water precipitates out immediately.
A single person sleeping in a confined van exhales roughly a pint of water vapor overnight. Add cooking, wet boots, a dog, or a second person, and you can realistically put one to two gallons of moisture into a 70-cubic-foot space before dawn. That is not an estimate to scare you. It is the actual scale of the problem you are managing.
Or rather: the number that matters is not total moisture generated but moisture density, which is grams of water vapor per cubic meter of air. A well-ventilated 144-inch van can dilute that load fast enough to stay dry. The same moisture load in a tightly sealed 80-inch van with no airflow will cover every window by midnight. Ventilation rate and van volume interact, which is why one-size advice fails.
Insulation matters here in a specific way. Its job in a condensation context is not warmth for you. It is keeping van surfaces above the dew point. An uninsulated steel wall at 15°F will condense moisture even if your interior is only moderately humid. The same wall with closed-cell spray foam applied directly to the steel dramatically raises the surface temperature the air actually contacts. That framing misses something most guides get backward: you are not insulating your van to stay warm, you are insulating it to keep your walls dry.
The Three-Variable System: Moisture Load, Ventilation, and Surface Temperature
Treating condensation as a ventilation problem alone is the most common mistake. Ventilation is one lever of three. You need to manage all of them, and the priority order depends on your specific setup.
Moisture load reduction is the cheapest lever and should come first. Dry wet gear outside or in a storage box rather than inside the van. Cook with lids on pots to trap steam, and crack the roof vent whenever the stove is running. A propane or butane burner produces water vapor as a combustion byproduct, roughly 0.9 pounds of water per pound of fuel burned, so even a short cooking session adds meaningful moisture. If you have pets or multiple occupants, expect moisture load to scale accordingly and adjust your other controls up.
Ventilation means moving that moisture-laden air out before it deposits. A roof fan rated at 900 CFM or higher (the Maxxair 00-07500K and Fan-Tastic 6000 series are commonly used in the van build community) on exhaust setting pulls warm, humid air up and out while drawing drier outside air in through a cracked window or door. Running it even on low overnight keeps the air cycling. The key detail: run the fan on exhaust, not intake. You want the humid interior air pushed out, not cold outside air pushed in across your sleeping space.
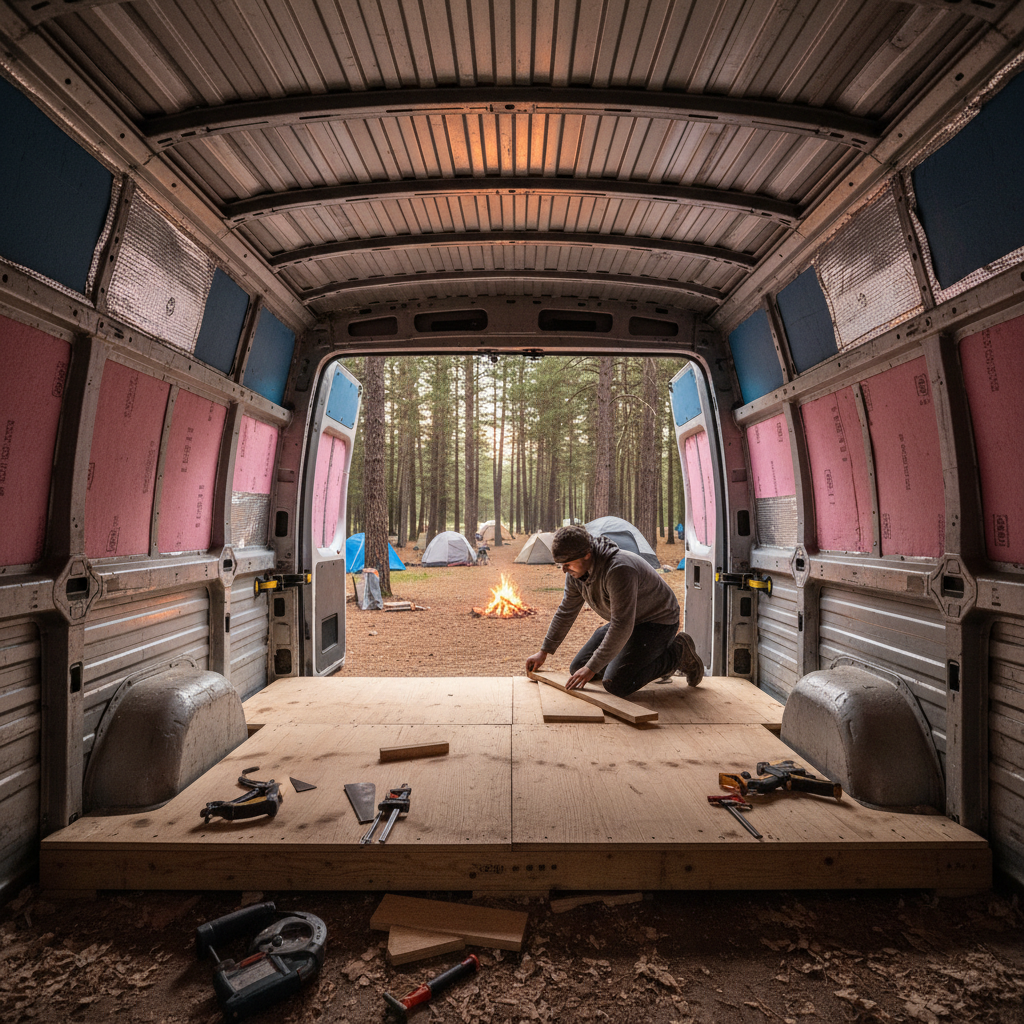
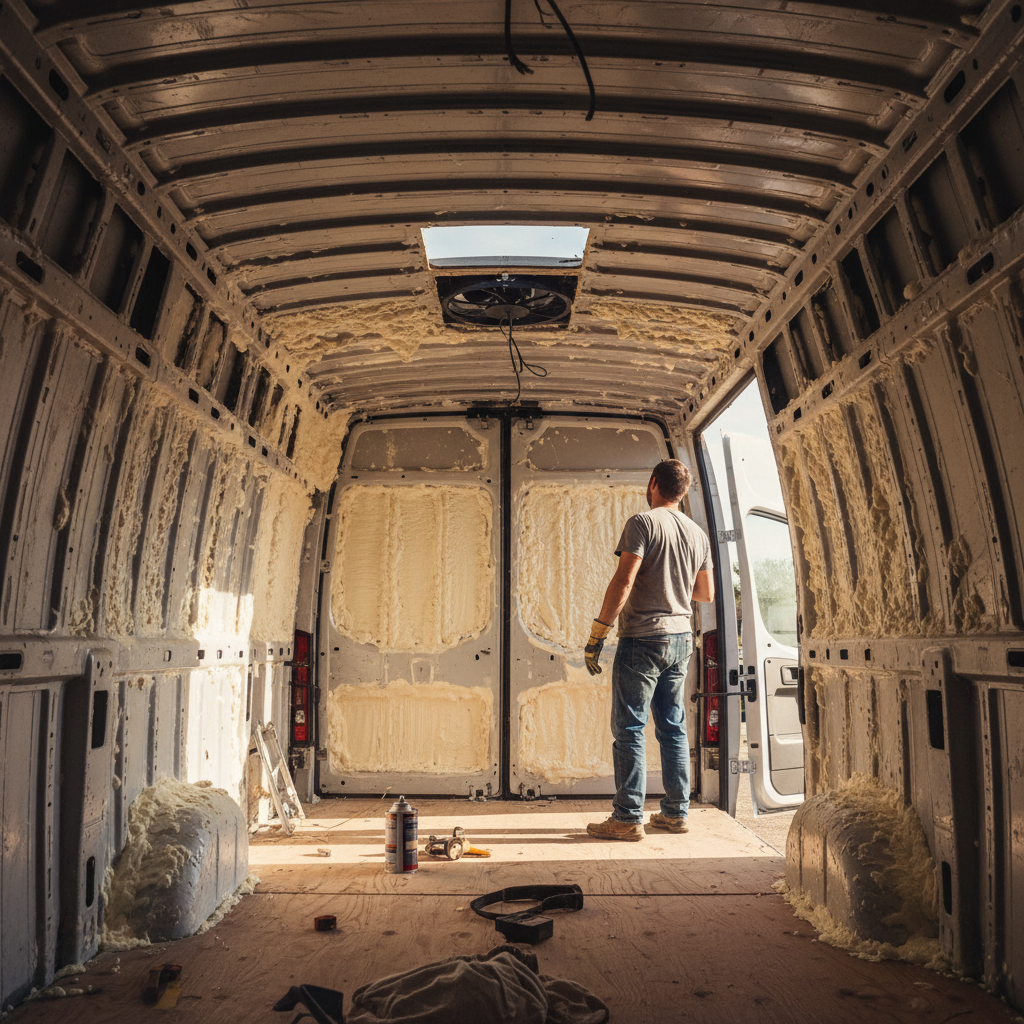
Surface temperature is where insulation earns its place. Closed-cell spray foam applied directly to the van's metal skin, with no air gap, is the standard recommendation for good reason. It bonds to the metal and eliminates the air gap where condensation would otherwise form. Two inches of closed-cell foam on walls and ceiling puts the thermal break close enough to the exterior that interior-facing surfaces stay above the dew point in most US cold-weather conditions. Open-cell foam, fiberglass batts, or Thinsulate installed with any gap between insulation and metal create a hidden condensation surface that you will not see until it is molding.
Here is a quick-reference summary of the three levers and their impact:
Three-Variable Control Summary
| Variable | Primary Action | Common Mistake | Priority |
|---|---|---|---|
| Moisture load | Lid cooking, dry gear outside | Cooking uncovered, wet gear inside | First |
| Ventilation | Roof fan on exhaust, 900+ CFM | Fan on intake, windows only | Second |
| Surface temperature | Closed-cell foam direct to metal | Open-cell or air-gapped insulation | Third (structural) |
Getting all three into acceptable ranges is what separates vans that stay dry from vans that require towels every morning. Address one without the others and you will improve things modestly. Address all three and condensation becomes a minor, manageable issue rather than a daily chore.
Insulation Choices That Actually Prevent Condensation
Not all insulation performs equally against condensation, and the van build community has learned this the hard way over years of builds that looked great in October and grew mold by February.
Closed-cell spray polyurethane foam (ccSPF) has a permeability rating close to zero, meaning moisture vapor cannot pass through it to reach the cold steel. Applied at two inches, it delivers roughly R-12 to R-14 per inch depending on formulation. More importantly for condensation, it leaves no air gap. Spray it directly on clean, dry steel and the insulation becomes a vapor barrier and a thermal break simultaneously. This is the approach most experienced van builders default to for the structural panels.
Thinsulate (3M's SM600L acoustic/thermal product) is a legitimate alternative for curved sections and areas where spray application is impractical. It does not trap moisture the way fiberglass does, and it compresses into tighter spaces. But install it with even a small air gap between the material and the steel, and you have created a cold surface behind the insulation where condensation will collect invisibly. Butt it directly against the metal, and it performs well.
Fiberglass batts and rigid foam boards are the two materials that generate the most condensation complaints. Fiberglass absorbs moisture and holds it, creating a wet insulation layer that loses R-value and breeds mold. Rigid foam boards can work if every seam is taped with foil tape and there is zero air gap, but that level of precision is hard to maintain in a curved van body. I would start with ccSPF on the flat panels and use Thinsulate for the ribs and complex curves rather than fighting rigid foam into places it does not want to go.
Windows are your most persistent cold surfaces and no amount of wall insulation fixes them. Reflectix or custom-cut foam window coverings at night reduce the cold-surface area dramatically. They are not glamorous, but a van build that uses window inserts overnight will stay measurably drier than one that does not, regardless of how well the walls are insulated.
When Condensation Fixes Fail: Limits and Exclusions
The system described above works well for a solo traveler or a couple in a properly built van with dedicated insulation and a quality roof fan. It has real limits worth knowing before you invest in a full build.
If you are living in a van full-time with two or more people in a small cargo van, a 900 CFM fan running all night may not be enough ventilation to offset the moisture load. Two adults exhale roughly two pints of water vapor overnight. Add any cooking and the numbers overwhelm moderate ventilation systems. In that situation, a dehumidifier designed for small spaces becomes a practical tool, not a crutch. The Eva-Dry EDV-1100 runs on a USB power bank and can pull meaningful moisture from a small van interior overnight.
If your van has a water leak, condensation fixes will not help. Condensation forms on interior surfaces uniformly. A leak produces water in a specific location, often near seams, roof racks, or door seals. Check the edges of your windows and roof penetrations with a flashlight after rain before you blame condensation. Fixing insulation when you actually have a leak is a waste of time and money.
Condensation management also becomes harder below 0°F, which occurs regularly in mountain states and northern US winters. At those temperatures, even well-insulated vans can struggle to keep surface temperatures above the dew point with a single occupant's moisture load. A catalytic heater or diesel heater that genuinely warms the interior air, combined with ventilation, is necessary at those temperatures. Running a van on residual heat alone at minus 10 in Montana is a different problem than managing condensation in a 28°F North Carolina night.
This article is aimed at cold-night condensation control in a properly sealed van. It does not cover mold remediation if your van already has an active mold problem, and it does not address roof structure repairs for vehicles with compromised seals. Those are different problems with different solutions.
Daily Habits That Keep Condensation Under Control
The best insulation and fan setup in the world still requires some daily discipline. Vans are small spaces, and small behaviors have large effects on moisture.
Run your roof fan whenever you cook. Full stop. Even a two-minute boil adds steam to an enclosed space. Crack a window on the opposite end of the van to create cross-ventilation rather than just exhausting air from one point. When you wake up, wipe down any windows or surfaces that collected overnight moisture before they evaporate back into the air. That moisture will just recondense the next night if you leave it.
Keep wet gear out of the sleeping area. Wet boots, jackets, and towels are a pain to deal with in a small van, but a single soaked hiking jacket hanging overnight can raise interior humidity enough to undo most of your ventilation efforts. A small storage box in the cab or a sealed bag keeps moisture sources contained.
A cheap humidity monitor (a hygro-thermometer from any hardware store, typically $10 to $15) is genuinely useful here. Target interior relative humidity below 60 percent during cold nights. Above 70 percent, condensation on cold surfaces is almost guaranteed regardless of other measures. Watching that number tells you whether your ventilation is keeping pace with your moisture load, and it lets you intervene before the walls get wet rather than after.
Check the number tonight before you go to sleep. If it reads above 65 percent with the fan running, your moisture load is exceeding your ventilation rate and something in the three-variable system needs adjustment.
Putting It Together: A Practical Condensation Control Plan
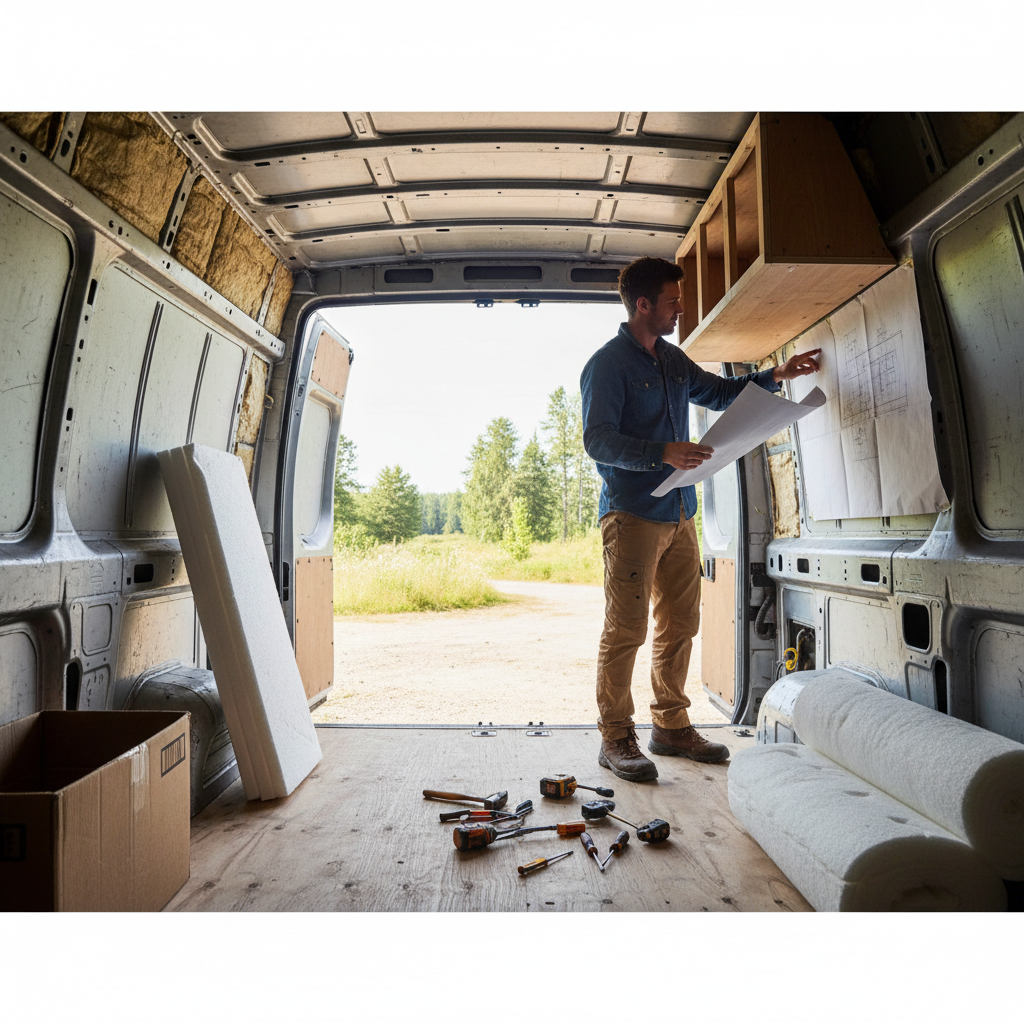
If you are doing a new build, insulate first. Apply closed-cell spray foam directly to the steel on all flat panels, use Thinsulate in curves and ribs, and tape every seam. Install a roof fan rated at 900 CFM or higher before you finish the interior. Those two decisions made at build time are worth far more than any number of aftermarket fixes later.
If you already have a built-out van with a condensation problem, diagnose the system before you spend money. Check moisture load first, since it is free to change. Then check ventilation, since a fan upgrade costs $150 to $250 and is fully reversible. Insulation is last because it requires tearing out interior panels, and it only makes sense if load and ventilation are already managed.
Ignore condensation long enough and it migrates from a comfort issue to a structural one. Moisture trapped behind wall panels creates conditions for mold growth on wood framing, rust on metal surfaces, and degraded insulation R-value, meaning your heating costs rise as your van gets damper. That chain of consequences is the actual cost of doing nothing: not just damp sleeping bags but a van that progressively becomes harder and more expensive to fix.
The real insight here is that condensation in a van is a systems problem, not a single-fix problem. Address moisture load, ventilation rate, and surface temperature together, and most vans become reliably dry overnight, even in hard winter conditions. Chase just one lever and you will be wiping windows for years.