Van-dwelling cooks across the US figure out pretty quickly that a single burner and a 12-quart pot can handle almost everything they ate at home. The catch is that almost. One pot meals for camper van cooking live or die on three variables most people don't think about until they're parked at a dispersed BLM site with no water hookup: BTU output from your stove, water availability along your route, and the gap between how long a meal takes to cook versus how long your propane actually lasts.
That tension is real and worth sitting with before you start building a recipe list. A 1-pound propane canister delivers roughly 21,000 BTUs total, and a simmering bean stew might burn through 6,000 BTUs per hour. Do the math on a 90-minute braise and you're most of the way through a canister before dinner's done. This isn't a reason to eat cold food. It's a reason to choose your recipes with stove efficiency in mind, not just flavor.
This guide is for van dwellers cooking most of their meals on the road, not weekend campers with a full cooler and a campsite with electricity. If you've got a 120V induction burner running off shore power, you don't need this advice. If you're running a two-burner propane setup and refilling tanks at hardware stores, you do.
Why One Pot Cooking Works in a Van (and Where It Breaks Down)
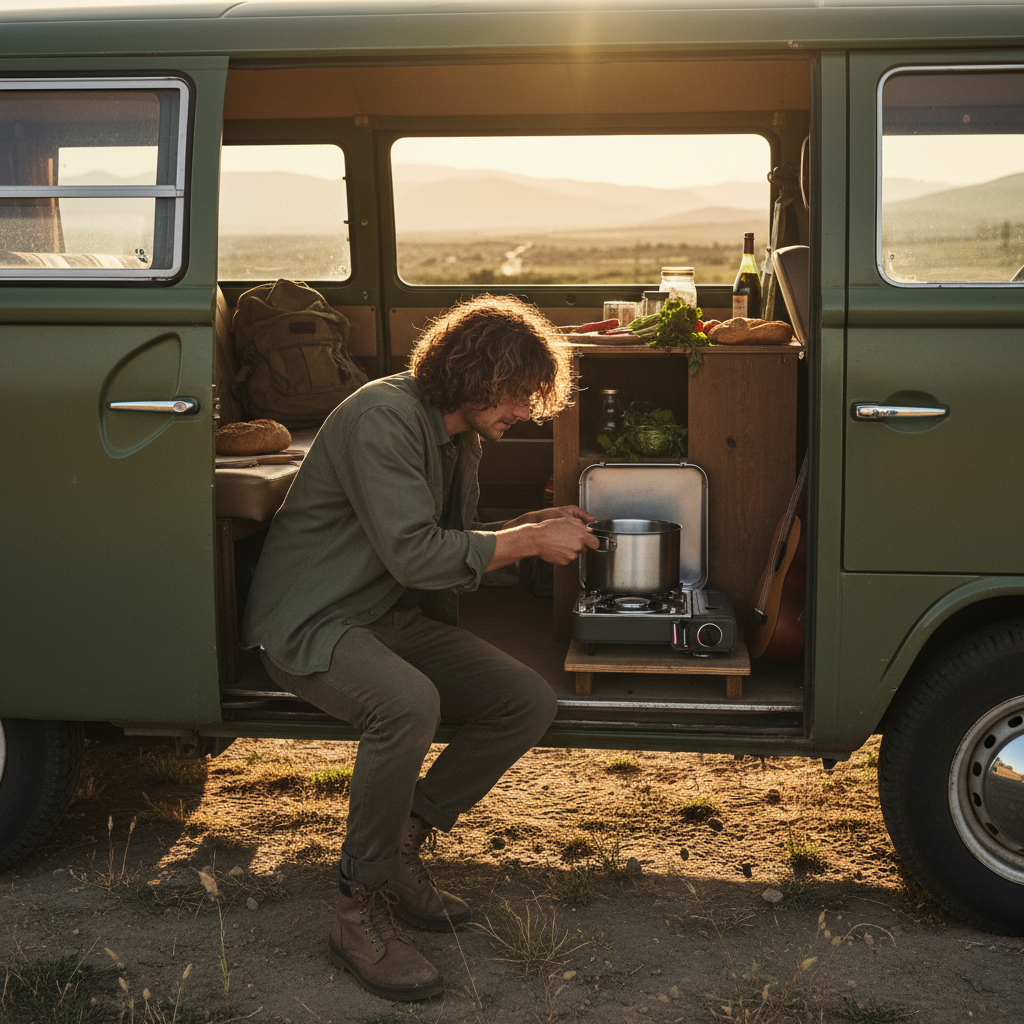
The reason one pot cooking maps so well onto van life isn't convenience for its own sake. It's thermal efficiency. A lidded pot concentrates heat, shortens cook times, and reduces the propane burn that would otherwise go into heating a second pan simultaneously. That matters when your fuel supply is finite and your next refill might be 80 miles away at an Ace Hardware or Tractor Supply.
But the category label hides a real distinction that most recipe roundups skip over. There's a difference between a one pot meal that takes 20 minutes of active simmering and one that requires 45 minutes of sustained heat. The first works on any stove; the second depends entirely on your BTU floor. Cheap single-burner camp stoves often top out around 7,500 BTUs, which is enough for boiling water and reheating but not enough to maintain a proper braise without scorching the bottom of your pot before the interior cooks through.
Or rather: the BTU number alone isn't the problem. The problem is BTU output at low settings. Many budget camp stoves have poor simmer control. They run hot or they run off. For longer-cook meals like lentil soup or chicken thighs, that's a genuine issue, not a minor inconvenience.
The fix is either a stove with real simmer capability (the Camp Chef Everest 2X and the Kovea Alpine are both well-regarded for low-end control) or a recipe set that relies on residual heat. The latter is underrated in van cooking circles. Bring water to a boil, add your grains or legumes, kill the flame, wrap the pot in a towel, and let retained heat finish the job over 20-30 minutes. Experienced van cooks call this retained-heat cooking; it cuts propane use on grains and legumes by 50 to 70 percent compared to sustained boiling, a practical heuristic based on the physics of insulated cooking rather than an officially measured standard.
The Meals Worth Building Your Rotation Around
Not every one pot meal pulls equal weight in a van context. The ones worth anchoring your weekly rotation share a few traits: they use shelf-stable or refrigerator-optional ingredients, they're forgiving if your water situation means you can't rinse as thoroughly as you'd like, and they finish in under 30 minutes of active heat.
Here's where I'd start, because these five categories cover the most ground per propane dollar.
Red lentil dal. Red lentils don't need pre-soaking, they cook in 15-18 minutes at a steady simmer, and they're among the most calorie-dense shelf-stable options you can carry. Add a can of diced tomatoes, garlic powder, cumin, and whatever fresh onion you've got left, and you have a meal that holds well in a cooler for two days and tastes better reheated. The retained-heat method works perfectly here: simmer 8 minutes, kill the flame, lid on, done in another 12.
Shakshuka. One pan, 20 minutes, high protein. Canned crushed tomatoes, eggs cracked directly into the sauce, a lid to steam the eggs through. This is the meal that convinces most van beginners that cooking on the road doesn't require sacrifice. The only water you need is what's already in the can.
Pasta with oil, garlic, and whatever protein you have. Aglio e olio is a van staple for a reason. It requires one pot, minimal water (use just enough to cook the pasta, don't drain it all), and about 20 minutes. Add canned tuna, a fried egg, or white beans depending on what's in the cabinet.
Black bean and rice bowls. Use quick-cooking rice (jasmine or basmati, not converted) and canned black beans. The rice and beans can cook together if you account for the liquid ratio from both the rinse water and the bean liquid. Season with smoked paprika and lime juice from a squeeze bottle, which survives van storage far better than fresh citrus.
Coconut curry with chickpeas. One can of full-fat coconut milk, one can of chickpeas, curry powder, garlic, and spinach if you have it. This is a 15-minute meal that feels like effort. The coconut milk does most of the flavor work so you don't need a complex spice kit.
A word on what this list is not: it's not covering elaborate backcountry dehydrated meals or multi-day meal prepping that requires a full-size oven. Those are different problems for a different setup.
Building a Van Kitchen That Actually Supports One Pot Cooking
The meals above only work if your kitchen setup doesn't fight you. And a lot of van kitchens do exactly that, not because of bad design but because people spec their kitchen around what looks good rather than what they'll actually cook.
The four things that matter most: pot quality, stove BTU range, water capacity, and counter space. In that order.
A good 4-quart stainless pot with a tight-fitting lid is more important than a fancy stove. Thin aluminum pots conduct heat unevenly, which causes scorching on high-output stoves and cold spots on low ones. Stainless or enameled cast iron (the lighter Lodge pieces, not the full Dutch ovens) gives you consistent heat distribution. Cast iron is heavy, though. If you're weight-conscious about your van build, stainless with a thick base is the better call.
For stoves, a two-burner propane setup running off a 1-pound canister or a refillable 1-lb adapter is the most common van arrangement. If you're using a portable butane stove (the kind with the flat canisters), know that butane loses pressure below about 32°F. At elevation or in a cold-weather van build, that's a real limitation. Propane performs reliably down to around -44°F, which is why it dominates for year-round van living.
Water is where most van kitchens make life harder than it needs to be. One pot cooking actually reduces your water demand compared to boiling pasta in a large pot and discarding the water. But you still need a minimum of two gallons per day for cooking and basic cleanup. A 7-gallon fresh water tank mounted under a counter is the practical floor for a solo van dweller cooking daily. Less than that and you'll be rationing in ways that push you toward processed food.
Counter space: you need one clear surface roughly 18 inches wide to set a hot pot down safely. That's it. Don't overthink it.
| Stove Type | BTU Output | Cold Weather Performance | Best For |
|---|---|---|---|
| Single-burner propane canister | 7,500-10,000 | Good to 0°F with insulated canister | Solo van, budget build |
| Two-burner propane (Camp Chef Everest style) | 20,000+ total | Good to 0°F | Full-time van living, two people |
| Portable butane stove | 7,500-15,000 | Fails below 32°F | Fair-weather travel, backup only |
| 12V induction (vehicle power) | Equivalent to 6,000-7,000 | No fuel concern, needs alternator or battery bank | Solar-heavy builds, stationary cooking |
The stove choice shapes your recipe options more than anything else in your kitchen. A butane setup in a Pacific Northwest winter van isn't a minor inconvenience; it's a cooking system failure. Propane is the default for good reason, and for full-time van dwellers refilling at U-Haul locations or propane dealers is straightforward in virtually every US state.
Stocking a Van Pantry Around One Pot Meals
The pantry strategy that actually works for van cooking is different from what most camping guides recommend, because most guides assume a weekend trip with a supplemental cooler. A van pantry needs to sustain you between grocery stops that might be 3-5 days apart in less populated areas.
Build your shelf-stable core around these categories: dried legumes (lentils, canned beans as backup), whole grains (jasmine rice, quick oats, pasta), canned proteins (tuna, sardines, chickpeas, white beans), canned tomatoes in multiple forms (crushed, diced, paste), and a compact spice kit.
The spice kit is worth a specific call-out. Most van cooks overpack spices and end up with 30 half-empty jars rattling around. The reality is that seven spices cover 80 percent of one pot meals: kosher salt, black pepper, smoked paprika, cumin, curry powder, garlic powder, and red pepper flakes. That framing misses something, though: dried herbs like oregano and thyme do real work in tomato-based dishes and pasta meals that pure spices can't replicate. Add those two and you're genuinely equipped.
Oils: olive oil for cooking and finishing, coconut oil if you do a lot of curry-adjacent meals. Skip fancy infused oils; they go rancid faster and take up shelf space you don't have.
For refrigerator-optional fresh ingredients, think about what survives without cold storage for 3-4 days: whole onions, garlic heads, hard squash, apples, and citrus all do fine. Eggs in an insulated bag survive 3-4 days without refrigeration in moderate temperatures, which is useful to know if your van build doesn't include a 12V fridge yet.
Ignore any van cooking guide that tells you to rely primarily on fresh produce from roadside stands. It's a lovely idea. It's not a reliable daily cooking strategy when you're moving through Utah's canyon country in July with no farm stands for 200 miles.
When One Pot Cooking Gets Hard (and What to Do About It)
One pot cooking in a van breaks down under a specific set of conditions, and it's worth naming them directly so you can plan around them rather than hit them mid-trip.
The first is altitude. Above 8,000 feet, water boils at around 197°F instead of 212°F. That drop matters for dried beans and grains. Dried black beans that cook in 45 minutes at sea level can take 90 minutes or more at high altitude, burning through propane and patience simultaneously. The fix is to rely on canned beans above 6,000 feet and save the dried bean projects for lower elevations. This is a genuine planning consideration if you're doing van travel in the Colorado Rockies, the Sierra Nevada, or similar high-altitude routes.
The second hard condition is extreme cold. Cooking inside a van in winter requires ventilation, and ventilation in cold weather means heat loss. If you're parked in sub-20°F temperatures, the propane you're burning to cook is also fighting ambient heat loss. Meals that require sustained simmering become genuinely expensive in fuel terms. Retained-heat cooking and insulated cooking bags (a Wonderbag or similar product) become more valuable here, not just convenient.
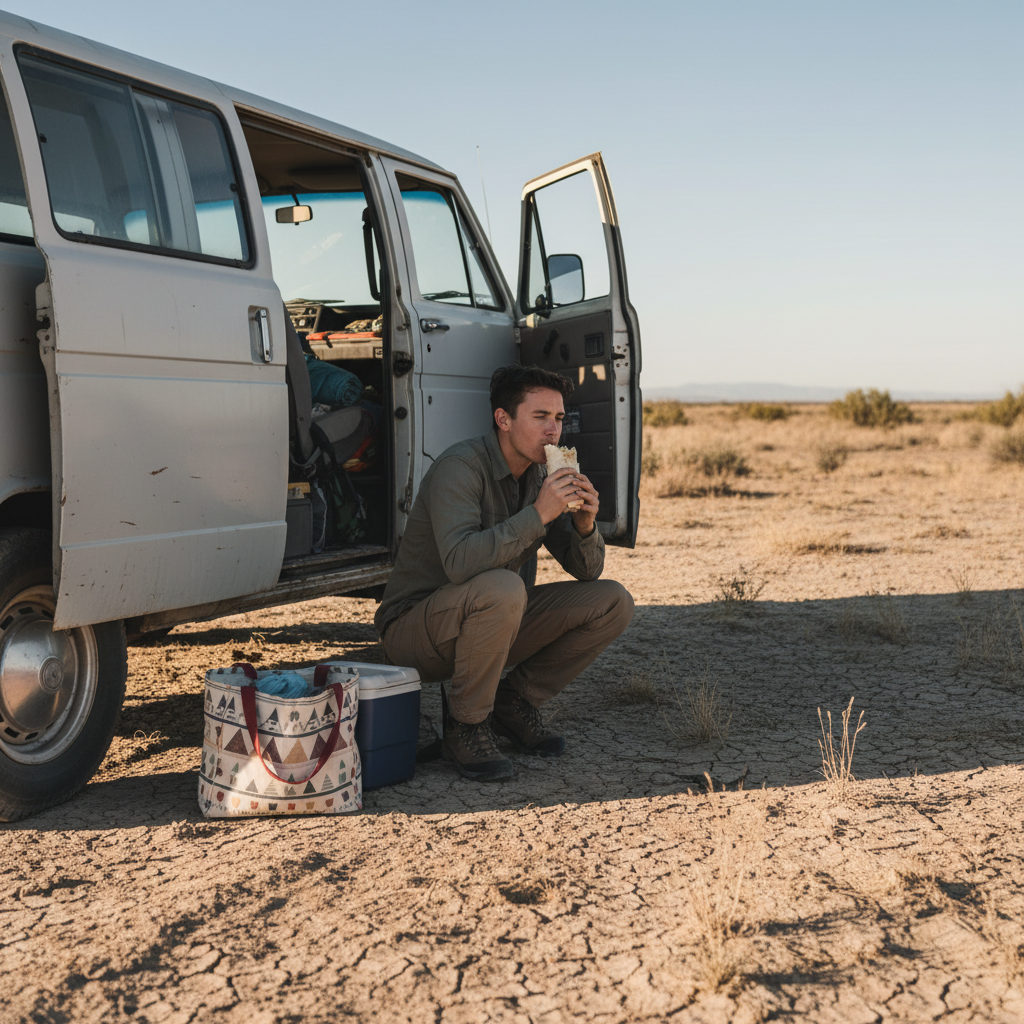
The third condition is water scarcity. If you're dry camping in the desert Southwest for multiple consecutive days and water conservation is critical, some one pot meals are smarter than others. Shakshuka uses almost no additional water. Lentil dal uses one cup of liquid beyond what's in the can. Pasta, by contrast, requires significant water and produces starchy gray water you need to dispose of responsibly, not just dump on the ground. Know your Leave No Trace obligations for gray water disposal; the guidelines from Leave No Trace Center for Outdoor Ethics specify dispersal at least 200 feet from water sources and campsites.
If you skip the altitude and cold planning, you won't ruin your trip. But you will run out of propane at an inconvenient time. That's the cost of not accounting for these variables.
Making Van Cooking Feel Like Cooking, Not Survival
The gap between people who eat well in their van and people who subsist on instant noodles and gas station snacks isn't gear or budget. It's the decision to treat van cooking as real cooking instead of an inferior substitute for a home kitchen.
That sounds obvious. It's not, apparently, because the most common mistake I see in van cooking setups is that people buy every piece of gear except the thing that makes food taste good: an actual cooking fat that isn't cooking spray, a finishing acid (vinegar or lemon juice), and a way to add texture at the end. Crispy fried onion from a can. Toasted pumpkin seeds. Hot sauce. These aren't luxuries; they're the difference between a bowl of red lentils that tastes like dinner and one that tastes like camping food.
Batch cooking is the other half of this. One pot of dal or curry feeds two people for two nights if you make enough. That means one cook session every two days instead of every day, which is a meaningful reduction in propane use, cleanup water, and mental load. Cook once, eat twice. Not glamorous advice. Genuinely useful.
The bigger reframe is this: van cooking is not about replicating your home kitchen in a smaller space. It's about becoming a more efficient cook, which most home cooks secretly aren't.
And honestly? The meals you cook on a two-burner propane setup in a parking spot outside Moab tend to taste better than they have any right to. Hunger, fresh air, and a view do real work on your palate.
Getting Started Without Overthinking the Setup
If you're just starting out with van cooking or you're transitioning from weekend camping to full-time living, start with three meals in your rotation before you expand. Pick one 15-minute meal (shakshuka or lentil dal), one 25-minute meal (pasta aglio e olio or coconut chickpea curry), and one batch cook (a large pot of black beans and rice that stretches across two dinners). Cook each one three times before adding anything new. You'll learn your stove's actual simmer behavior, your water usage, and your propane burn rate on real meals rather than guessing at them in theory.
Before your first longer trip, check your propane supply, your water capacity, and your spice kit. Do it the day before you leave, not the morning of. Three things to confirm: your tank is at least 70 percent full, your water container is topped off, and you have canned beans as backup for any dried legume recipes. Running out of propane two hours from a refill point on a Sunday afternoon is a fixable mistake you only want to make once.
Don't buy a new stove until you've cooked 10-15 meals on whatever you have. Most people upgrade to solve a problem that isn't actually a stove problem.