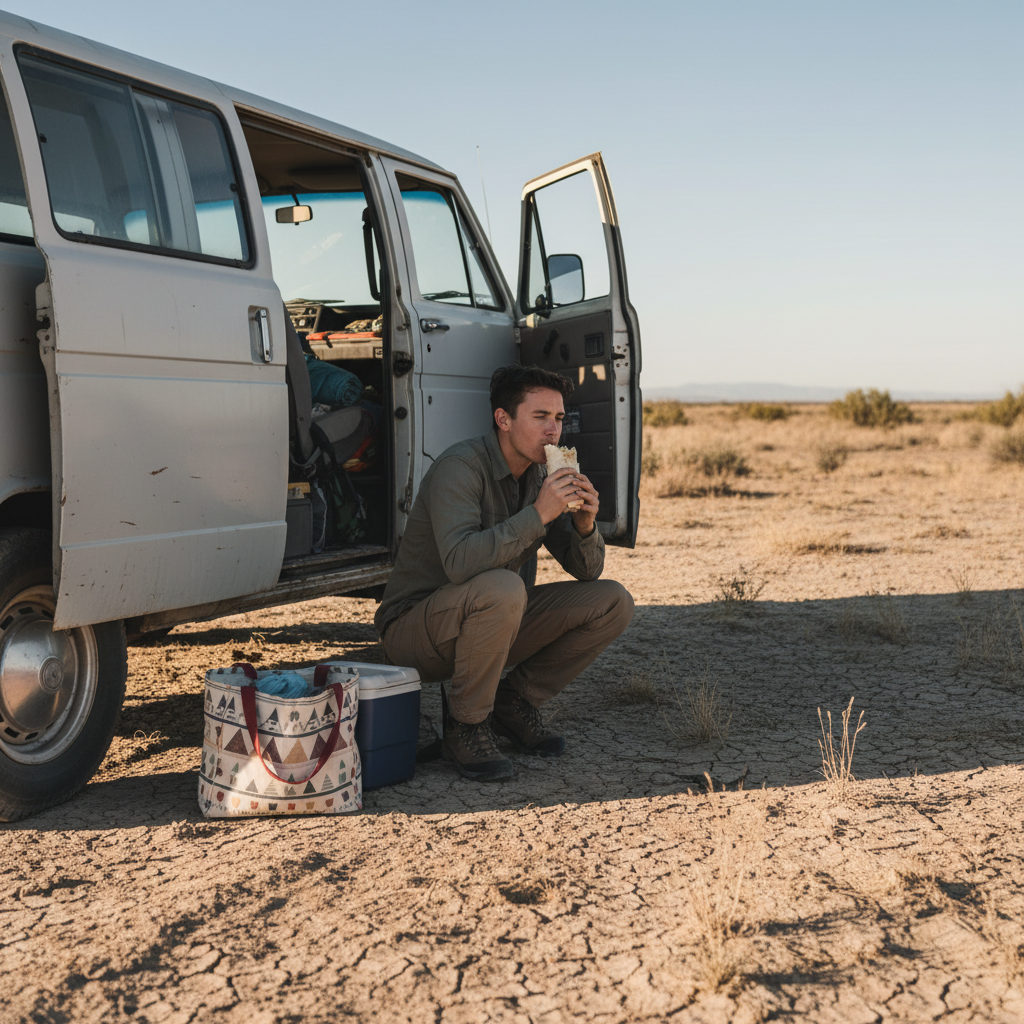
Experienced van campers will tell you to buy the biggest cooler you can fit before they discuss anything else, and there's a reason for that: thermal mass is the single variable that separates a weekend of good meals from a weekend of warm lunch meat. Keeping food fresh in a van over a long weekend isn't complicated, but it does require getting three things right from the start: ice management, load order, and where your cooler actually sits inside the vehicle.
The tension that catches people off guard is this: a van is a moving heat trap. Glass amplifies solar gain, metal floors conduct heat upward, and every time you open a door you flush cold air out. Your cooler isn't fighting ambient air temperature; it's fighting a microclimate that can run 20 to 30 degrees hotter than the outside air on a summer afternoon in the Southwest. Standard camping advice treats the cooler like a passive box. In a van, it needs to be treated like active infrastructure.
This guide is for people planning a Friday-to-Monday trip in a van, truck camper, or cargo vehicle without shore power. If you're running a 12V compressor fridge, the calculus is different and most of what follows won't apply to you.
Why Vans Kill Coolers Faster Than Campsites
The failure mode is almost always the same. Someone packs a decent cooler, throws in a bag of party ice from a gas station, and parks in a shady spot at camp. The ice is gone by Saturday afternoon. The food isn't spoiled yet, but it's getting there. By Sunday it is.
The mechanism behind this is straightforward. Bagged party ice from a convenience store is typically crushed or cubed ice with a high surface-area-to-volume ratio. It melts fast under any thermal stress, and a parked van in direct sun creates significant thermal stress. According to the FDA's guidelines on safe food storage, perishable foods should stay at or below 40°F (4°C). Once your cooler climbs past that threshold, the clock on food safety starts moving. You won't always smell when chicken or dairy has crossed into the danger zone.
Or rather: the real problem isn't just ice type. It's that most people don't pre-chill the cooler before loading it. A warm cooler shell absorbs heat from your ice before any food benefit occurs. Packing a room-temperature cooler is like pouring cold water into a hot pan and expecting it to stay cold. Fill your cooler with a sacrificial bag of ice the night before, drain it in the morning, then pack your real load. That single step, skipped by most people who haven't learned it the hard way, can add 12 to 18 hours of effective cooling time.
The other factor is vehicle placement. A cooler sitting on the metal floor of a cargo van in direct sun is sitting on a surface that can exceed 150°F on a hot day. Even a well-insulated cooler will hemorrhage cold under those conditions. Elevate it on a wood platform or a folded moving blanket. Reflective windshield shades matter more than most people expect: they can reduce interior temperatures by 20 to 30 degrees, which translates directly into ice retention.
Ice Strategy: Block Ice, Dry Ice, and the Layer Order
The cooler you own matters less than how you pack it. That said, ice type is the variable most guides gloss over.
Block ice lasts two to three times longer than crushed or cubed ice because it has far less surface area exposed to warm air and food contact. A single 10-pound block sitting in the bottom of a cooler with cubed ice layered on top is the standard field approach for a three-day trip. The block acts as a thermal anchor; the cubed ice fills gaps and handles the day-to-day temperature swings every time you open the lid.
Dry ice is a different tool. It works best for keeping food frozen, not just cold, and it requires handling precautions: bare-skin contact causes frostbite, and it off-gasses CO2, which can build up to dangerous concentrations in an enclosed van if you're sleeping in the vehicle. For a long weekend without a freezer requirement, dry ice is more trouble than it's worth unless you're bringing items that absolutely must stay frozen. I'd start with block ice plus cubed, every time.
Load order matters more than most people expect. Cold air sinks. Pack the items you need last at the bottom, the items you'll reach for first at the top. Raw meat goes in a separate zip-lock bag or a dedicated container at the very bottom, below everything else, so any drips don't contaminate produce or ready-to-eat food. The FDA recommends this separation explicitly in their guidance on cooler food safety. Produce, cheese, and grab-and-go items go on top.
- Pre-chill the cooler the night before with sacrificial ice
- Layer block ice on the bottom, cubed ice to fill gaps
- Raw proteins sealed and placed below everything else
- Items you'll reach for last go in first
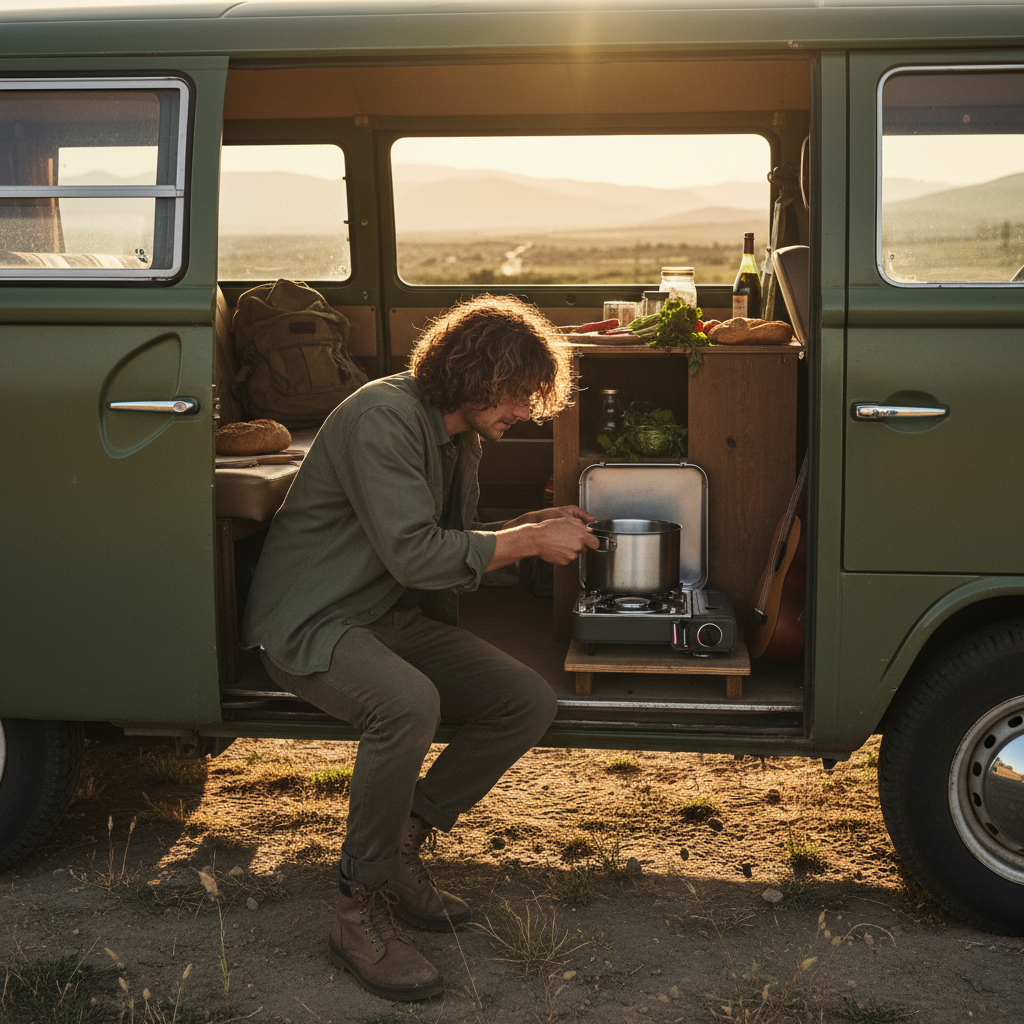
What to Pack and What to Leave Behind
Meal planning for a van weekend is mostly about eliminating fragile foods before you leave the driveway.
Eggs travel better than most people assume, especially if you crack them into a sealed container before departure rather than hauling the carton. Hard cheeses like cheddar and Parmesan hold up far better than soft cheeses like brie or fresh mozzarella, which are essentially on a countdown once the cooler temperature wavers. Deli meats are a common failure point: they don't have much buffer above 40°F, and opening and resealing a package multiple times speeds deterioration. Vacuum-sealed or individually portioned packs reduce that risk.
What genuinely doesn't belong in the van cooler for a long weekend: raw chicken breasts that will sit through multiple open-and-close cycles, glass jars of anything (breakage risk plus thermal mass problem), and anything requiring precise temperature control like raw shellfish. This guide isn't covering multi-week van life meal systems, full refrigeration builds, or car-camping setups with external kitchen stations. That's a different problem.
Shelf-stable foods deserve more respect than they typically get in camping planning. Canned fish like sardines, salmon, and tuna, plus nut butters, hard salami, crackers, and whole fruits like apples and oranges, can anchor an entire day's meals without touching the cooler. The less frequently you open the cooler, the longer your ice lasts. Structuring meals so that shelf-stable foods cover lunch means the cooler opens twice a day instead of four or five times, a meaningful difference over 72 hours.
The most common mistake I see is people over-relying on the cooler for everything. Treat it as a tool for items that genuinely require cold, not a catch-all for the entire food supply.
Keeping the Cooler Cold While You Drive and Camp
Where the cooler lives during driving hours is a decision most people don't make consciously. They put it wherever it fits. That's a pain when the ambient temperature in the cargo area spikes during a midday drive.
The back of a van in direct summer sun can reach temperatures that would concern you if you thought about them clearly: interior air temperatures of 120 to 140°F have been recorded in parked vehicles, and while driving mitigates some of that through ventilation, a cargo area without active airflow still gets hot. Keep the cooler out of direct sunlight during transit when possible. A moving blanket thrown over it isn't decoration; it provides genuine insulation against radiant heat from the roof and walls.
At camp, shade is the primary variable. A cooler parked in full shade versus full sun can lose ice at dramatically different rates. If shade isn't available, orient the cooler so the lid faces away from direct sun. Cracking windows and using a reflective shade on the windshield reduces the overall thermal load inside the vehicle, which helps everything, not just the cooler.
The better question is whether you should drain the cooler's meltwater as it accumulates. The answer depends on what you're storing. Melted ice water is actually colder than ice at 32°F, so if your food is in sealed containers or bags, the meltwater is working in your favor. If your food packaging will get waterlogged and degraded, drain it. For most setups, check once a day and drain only if the water level reaches the food.
If you skip all of this and treat the cooler as an afterthought, you'll likely be fine for 24 hours. By 48 hours you'll have warm food. By 72 hours you'll have a decision to make about whether something is still safe to eat, and that's not a fun decision to make 200 miles from home.