Van builders will tell you the bathroom is the most contentious decision in any camper van conversion before they discuss layout, power systems, or insulation, and there's a reason for that.
A camper van bathroom for weekend trips isn't one thing. It's a spectrum that runs from a $30 portable toilet tucked under the bed to a fully plumbed wet bath with a cassette toilet and a propane-heated shower, and where you land on that spectrum should be driven by your specific camping habits, not by what looks good on YouTube builds.
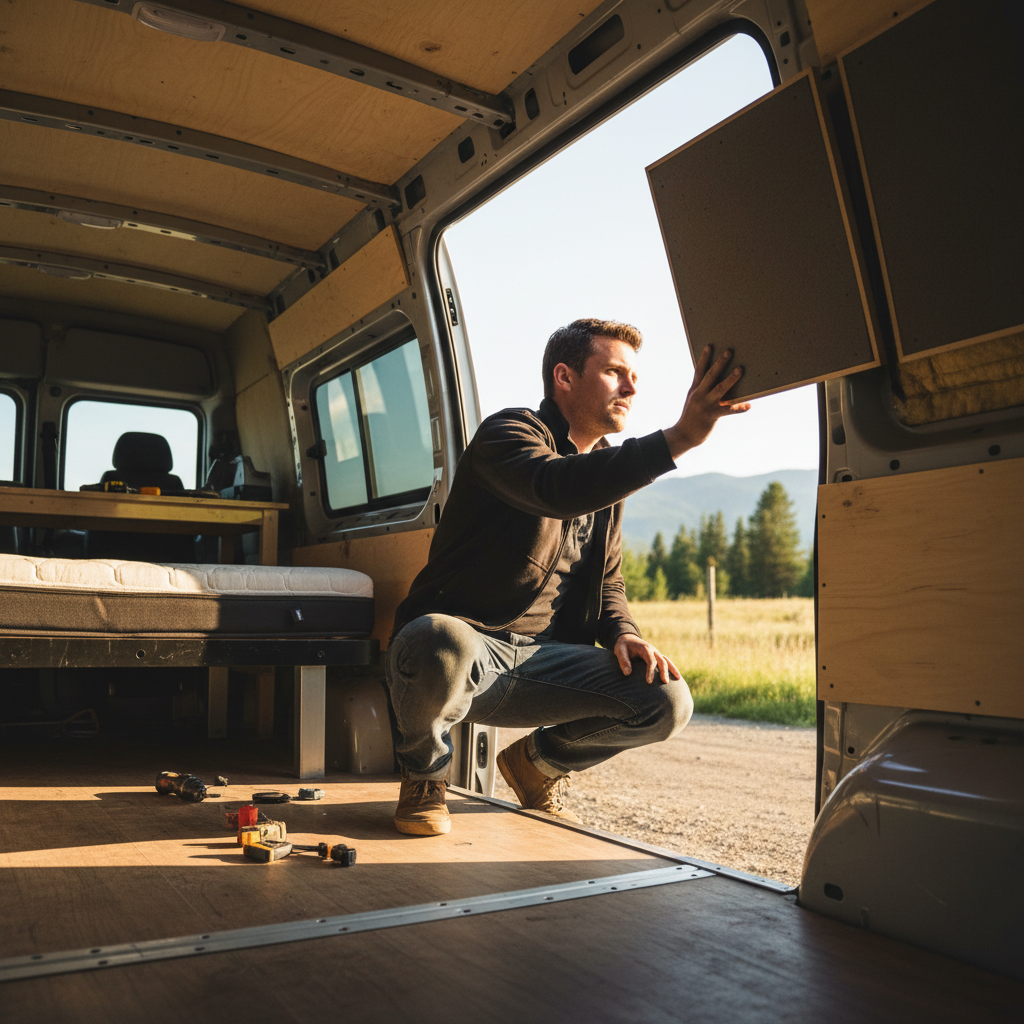
The variables that actually matter here are access to dump stations along your route, whether you're parking at developed campgrounds or boondocking on dispersed land, and how much floor space you're willing to sacrifice permanently. Sacrifice is the right word: unlike a kitchen or sleeping platform, a dedicated bathroom enclosure in a standard 144-inch wheelbase van takes roughly 18 to 24 square feet of usable floor area and that footprint never comes back.
Here's the tension most people don't resolve before they build: the setups that handle human waste most conveniently require the most infrastructure, but weekend trippers rarely have the trip volume to justify the build cost. A system that works beautifully for a full-timer crossing the Southwest becomes an expensive, space-eating liability for someone hitting the road two weekends a month.
The Four Main Setups and What They Actually Cost You
Before comparing options, it helps to set criteria. For weekend-trip use specifically, the relevant factors are: daily odor management without hookups, ease of emptying within a two-to-three day trip cycle, floor space consumed, and total build cost including the enclosure if one is needed. These four setups cover everything most weekend van trippers seriously consider.
| Setup | Floor Space | Build Cost (approx.) | Dump Station Needed? | Best Fit |
|---|---|---|---|---|
| Portable cassette toilet, no enclosure | Minimal (under bed storage) | $150 - $350 unit only | Yes, every 2 - 3 days | Campground-only trippers |
| Composting toilet, dedicated enclosure | 10 - 14 sq ft | $900 - $2,500 with build | No (solids bag out) | Boondockers, dispersed campers |
| Wet bath (cassette + portable shower) | 18 - 24 sq ft | $2,000 - $5,000+ | Yes | Couples, longer weekend loops |
| No fixed toilet, shower tent + portable | Zero permanent | $100 - $400 total | No (bag waste system) | Solo minimalists, short trips |
These ranges assume a DIY build on a standard extended cargo van. The cost spread within each category is wide because enclosure quality, ventilation, and whether you pay for labor drive the final number more than the toilet unit itself. A Thetford Porta Potti 365 runs around $130 retail; a Nature's Head composting toilet lists near $1,000 before any cabinetry.
Worth noting: campground shower access changes the math significantly. If you're booking sites at state parks or KOA-style campgrounds where bathhouses are available, your van's bathroom only needs to handle toilet duty. That frees you to skip the wet bath entirely and spend that 20-plus square feet on living space you'll actually use every hour of the trip.
Portable Cassette Toilets: The Default for a Reason
The cassette toilet is the most common weekend setup, and it earns that position. The mechanism is straightforward: waste collects in a sealed removable tank (the cassette) that you pull from an exterior hatch or lift from inside and empty at a dump station or RV sanitation site. No permanent plumbing. No vent stack. The unit itself stores under a platform bed when not in use.
For weekend trips with campground access, this is probably the right call. Dump stations are genuinely easy to find at most developed campgrounds, many Walmart locations in RV-friendly states, and Flying J and Love's Travel Stops. The cassette on a standard 2.5-gallon unit handles roughly 50 uses before it needs emptying, which covers two adults over a full weekend without stress.
The downside case is specific: if your trips are primarily boondocking on BLM or National Forest dispersed sites, a cassette toilet forces you to either carry a larger portable waste tank as a secondary container or cut your trip short when the cassette fills. Boondockers who ignore this end up improvising in ways that create Leave No Trace problems. That's not a setup failure, it's a planning mismatch.
Or rather: the cassette toilet doesn't fail at boondocking because of the toilet itself. It fails because boondocking often means three to five days with no dump access, and a 2.5-gallon cassette was designed around daily or every-other-day emptying cycles. The capacity ceiling is the constraint, not the technology.
Composting Toilets: When They're Worth the Space
A composting toilet separates liquids and solids at the moment of use. The liquid goes into a front bottle you empty (as diluted urine) anywhere you'd empty gray water. The solids mix with a carbon material like peat moss or coconut coir and break down aerobically in the main chamber. In normal weekend-trip use, the solids chamber on a Nature's Head or Air Head unit typically lasts two to three weeks for one person before needing to be bagged and disposed of in a trash receptacle.
That capacity is what makes composting toilets genuinely compelling for dispersed campers. You're not hunting for dump stations. You're not timing your trip around tank capacity. The tradeoff is real money and real space: the toilet unit costs roughly $800 to $1,000, a proper enclosure with a 12V vent fan adds another $500 to $1,500 depending on materials, and you're committing a permanent 10 to 14 square feet of floor plan to a room most weekend trippers enter twice a day.
The better question is whether you're building a weekend-trip van or a van that needs to handle occasional extended trips too. If the answer is the latter, a composting setup with a dedicated enclosure starts making economic sense over a two-to-three year ownership window. If your trips are genuinely capped at two to three days and you consistently camp at developed sites, you're paying a premium for dump-station independence you don't actually need.
Buyers who skip this analysis often end up with an expensive toilet eating a fifth of their van's interior. That framing misses something: the composting toilet debate isn't really about waste management. It's about how much your camping style depends on infrastructure you don't control.
Shower Options: The Honest Tradeoffs
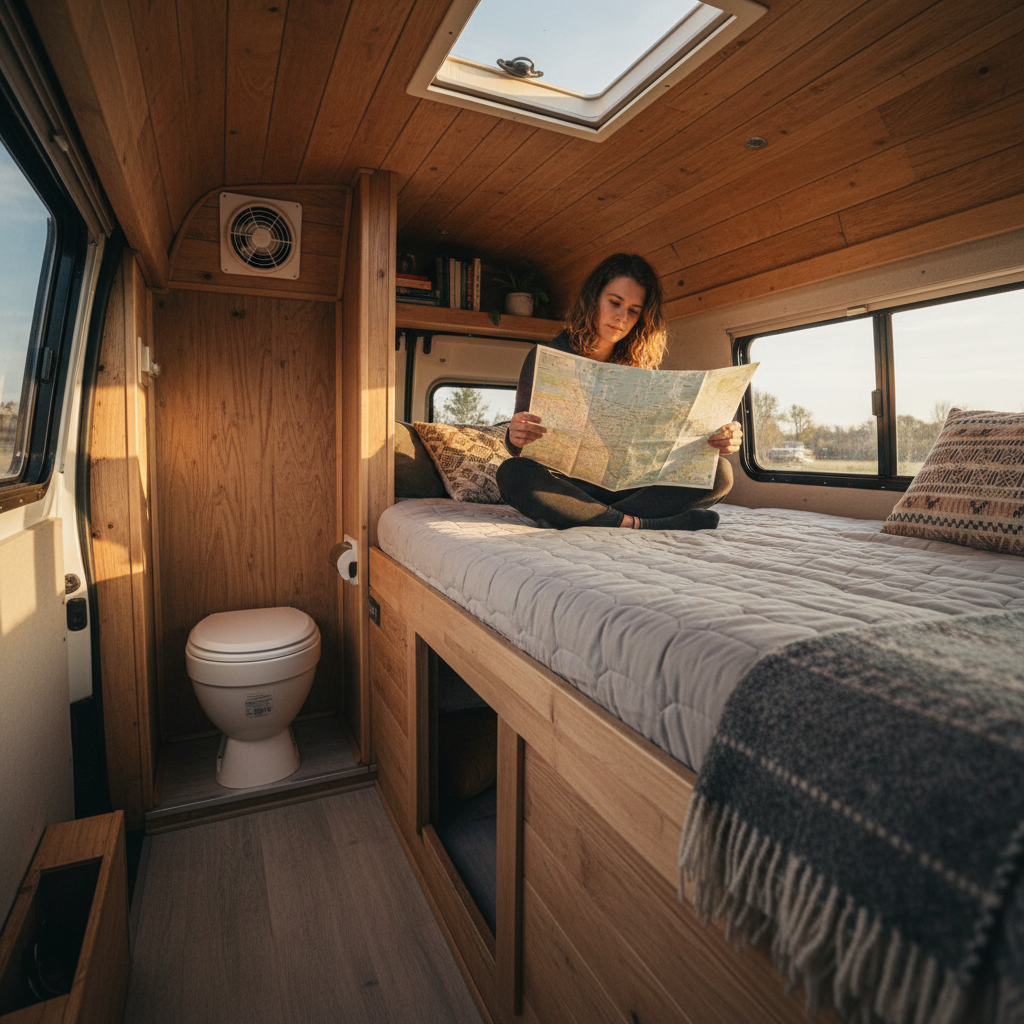
A fixed wet bath shower in a standard van is a compressed, utilitarian thing. The typical build gives you roughly a 32-by-32-inch space, a 5 to 7 gallon fresh water tank dedicated to the shower, and a gray water tank that needs emptying every two to three uses. It works. It also occupies a quarter of your van's interior permanently.
For weekend trips, the portable shower tent is the setup most experienced weekend van trippers quietly prefer once they've tried both. A quality solar shower bag (the NEMO Helio or similar pressurized camp shower) paired with a free-standing privacy tent gives you a real shower anywhere you have flat ground, costs under $200 combined, and packs into a duffel when you're not using it. Solar bags heat water adequately at summer temperatures; in cooler months, a propane camp shower heater like the Zodi or Coleman unit solves the cold-water problem for around $60 to $100 more.
What you lose with the exterior shower is convenience in bad weather and the ability to shower at trailhead parking areas without setting up gear. Those are real limitations. But for most weekend van trippers, bad-weather showers are an edge case, not a weekly occurrence. I'd start with the portable setup for the first season and build a wet bath only if you find yourself skipping showers because setup feels like too much work. A pain to deploy every time is a meaningful signal; inconvenient once a month is not.
The shower tent approach also avoids the gray water disposal problem entirely in most configurations, which matters on federal lands where gray water management rules vary by district and land management unit. Check BLM or Forest Service rules for your specific area before assuming gray water disposal is unrestricted.
Which Setup Fits Your Weekend Pattern
The setup that works isn't universal. It depends on three things you can answer before you build anything: where you camp, how long your trips run, and whether you're traveling solo or with a partner.
If you consistently book developed campgrounds with dump station access and bathhouses, a portable cassette toilet under the bed and an exterior shower tent is the most space-efficient and lowest-cost solution. You'll have the full floor plan for living, and the campground infrastructure covers what the van doesn't.
If you boondock on dispersed land for three-plus day runs, a composting toilet with a proper vent enclosure is worth the investment and the floor space. Pair it with a propane camp shower and you're genuinely infrastructure-independent. Without the composting setup in this scenario, you're either making dump station detours that break up the trip or improvising waste disposal in ways that damage the land and can result in citations on federal property.
Solo weekend trippers have the most flexibility. The no-fixed-toilet approach with a WAG bag system (widely available at outdoor retailers and required in some wilderness zones by permit) and an exterior shower covers the basics at minimal cost and zero permanent footprint. Two people traveling together need more defined infrastructure, particularly for toilet access at night, where fumbling with an exterior setup at 2 AM in the rain is a patience-ender.
Check the floor space math before committing to any fixed enclosure. In a standard 148-inch wheelbase van, total floor area runs roughly 60 to 65 square feet. A wet bath claims a third of that. Run that calculation against your sleeping platform, kitchen, and seating before you start cutting wood.
What Happens If You Skip the Planning
Van conversions that don't resolve the bathroom question before the build get retrofitted in ways that cost more than doing it right the first time. The most common outcome: a cassette toilet stored loose in the van with no dedicated home, no ventilation, and no privacy solution. It handles the basic need, but every use is awkward, odor control depends entirely on how often you empty it, and guests or partners find the arrangement off-putting enough to decline future trips.
The less visible consequence is trip range. Vanlifers who skip the bathroom planning question frequently report shortening trips or avoiding certain dispersed camping areas because they're uncertain about waste management. A weekend trip that gets cut from three nights to two because the cassette is full on Saturday afternoon is a real planning failure, not a minor inconvenience.
What you'll notice when you compare weekend van builds in forums and build logs is that the people who are happiest with their bathrooms are almost never the ones who built the most elaborate setups. They're the ones who matched the setup to their actual camping pattern. The elaborate wet bath in a three-weekend-per-year van is mostly there to look good in photos.
Pick the simplest setup that covers your real use case. Add complexity only if you've identified a specific gap the simpler option doesn't cover. That's not a compromise. That's the decision most experienced builders wish they'd made the first time.