Cargo van sitting in your driveway, half-empty and expensive to keep insured: that's where a lot of weekend conversion projects start. The question of what a basic van conversion costs doesn't have a single answer, and that's not a dodge. It genuinely turns on three variables most budget guides flatten into a single number: the van's existing condition, how seriously you take thermal performance, and whether you're building for two nights or twenty.
You can spend $800 and sleep reasonably well. You can spend $4,500 and still end up with a rig that sweats condensation on your sleeping bag by 3 AM if the insulation is wrong. The gap between those outcomes isn't money, it's sequencing: what you buy first determines what you're forced to buy later to fix it.
This guide doesn't cover full-time van life builds, solar-powered off-grid rigs, or conversions involving diesel heaters and composting toilets. Those are different projects with different budgets. This is for the person who wants a functional sleeping and storage platform for weekend use, built without a fabrication shop or a truck-sized credit card bill.
The Real Cost Breakdown: What You're Actually Buying
A basic weekend van conversion has five spending categories. Get the order wrong and you'll pay for things twice.
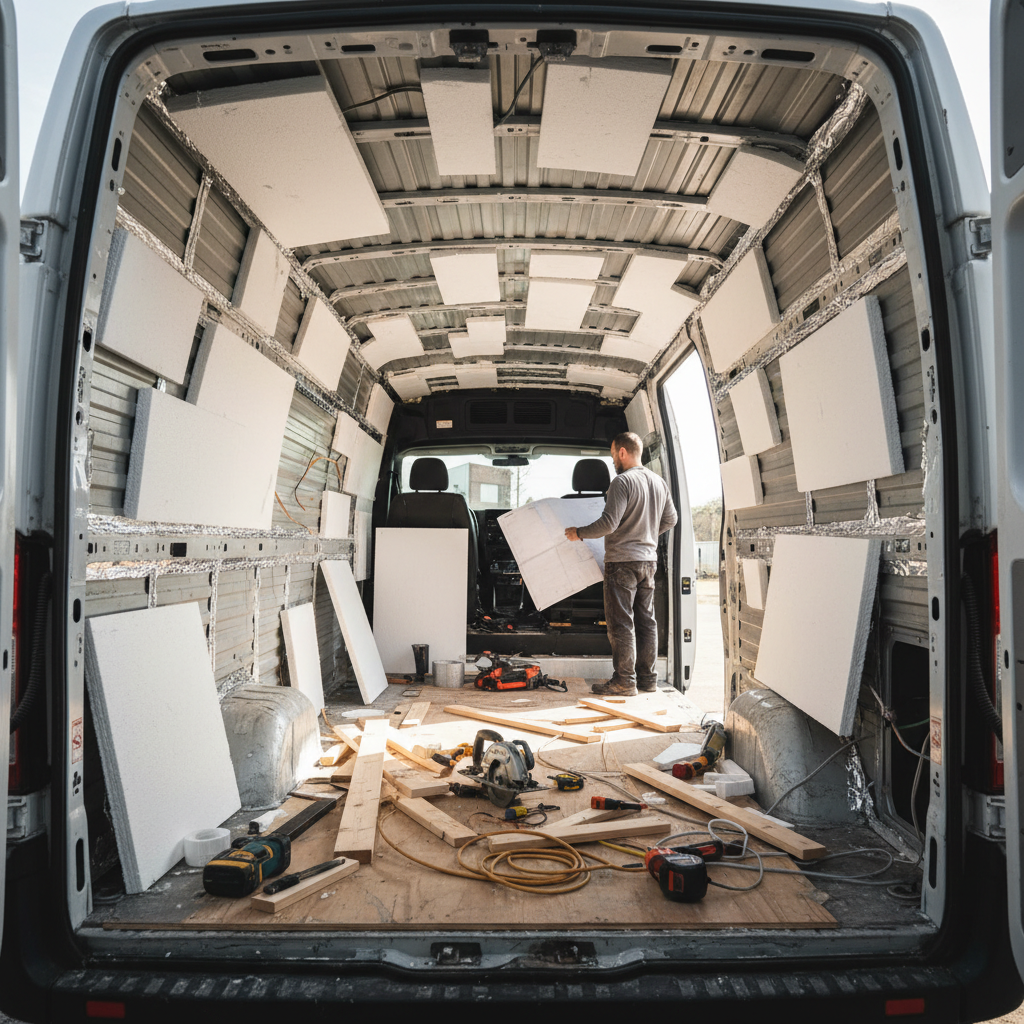
Insulation is the first and most consequential decision. Closed-cell spray foam gives you the best vapor barrier and R-value per inch, but a DIY can-applied partial job runs $150 to $300 in materials for a standard cargo van interior. Rigid polyiso board (typically R-6 per inch) costs roughly $60 to $100 per sheet and is the more common weekend-builder choice because it's cuttable, forgiving, and repositionable before you commit. Figure $200 to $350 in polyiso for walls, ceiling, and floor on a standard 136-inch wheelbase van. Skipping insulation entirely, or using only Reflectix as a primary layer, isn't a budget move. Reflectix has near-zero R-value without an air gap, and you'll spend the first cold night learning that. Insulation done right: $200 to $400. Insulation done twice: $400 to $800.
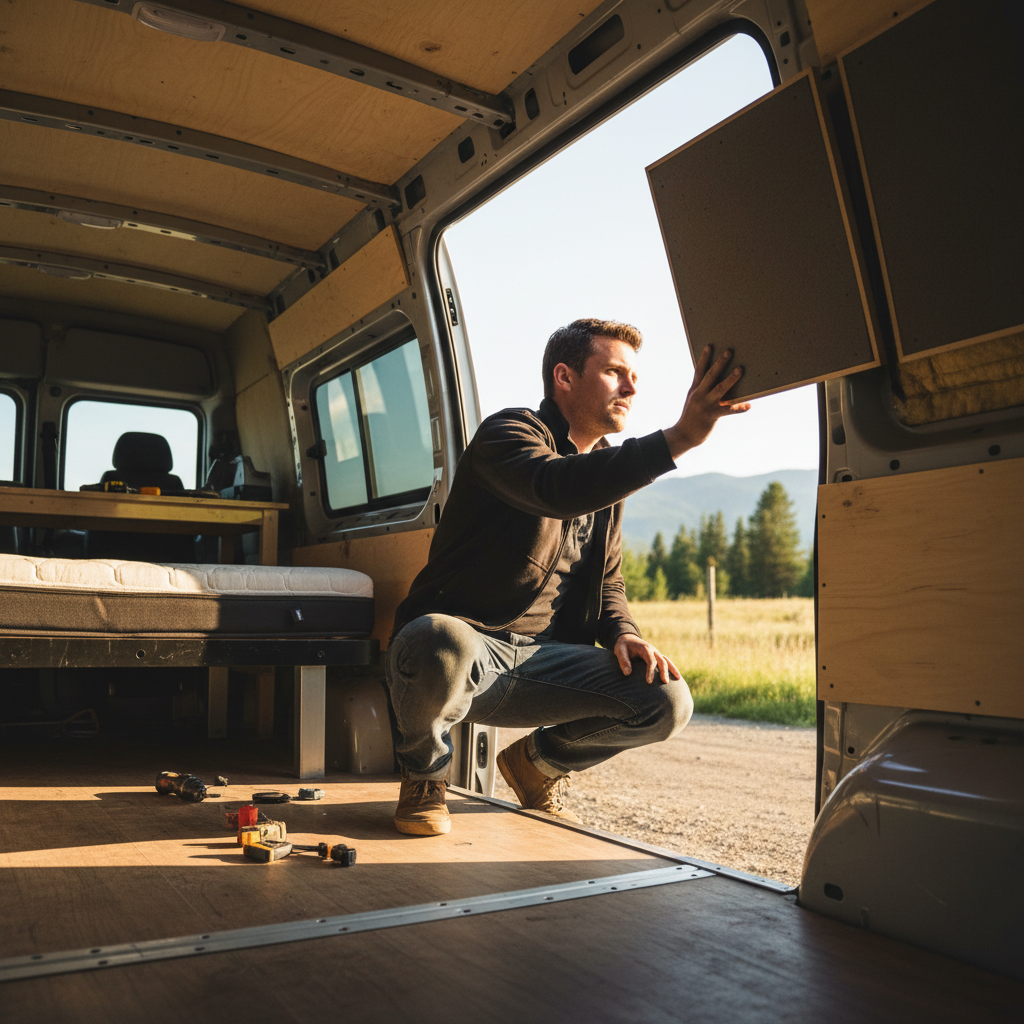
The sleep platform is the structural centerpiece. Most weekend builders use 3/4-inch plywood for the base and 2x4 or 2x2 lumber for legs. A full-length platform in a mid-size cargo van requires one to two sheets of 3/4-inch plywood (roughly $60 to $90 per sheet at current lumber prices) plus framing lumber and hardware. Budget $120 to $250 for a solid fixed platform. A sliding or hinged platform that converts to cargo space costs more in hardware and time, typically $200 to $350. The mattress sits on top. A 4-inch foam cut-to-fit runs $80 to $150 from a fabric or upholstery supplier, which is considerably cheaper than a standard mattress and easier to size precisely.
Electrical is where weekend builds diverge sharply from full-time rigs. A basic setup needs exactly two things: a way to charge devices and a way to have light. A 20Ah to 40Ah lithium battery, a basic battery management system, and a 12V to USB charging panel will run $150 to $300 depending on brand and where you source it. LED strip lighting adds $20 to $40. If you're relying on a shore power hookup at campgrounds, you can skip the battery entirely and use a simple power strip through an extension cord, which drops electrical to under $50. That's a legitimate choice for weekend camping at sites with hookups. It's not a choice for dispersed camping or parking lots.
Window covers and ventilation matter more than most first builds account for. A roof vent fan (the Maxxair and Fan-Tastic brands are the standard references here) costs $100 to $160 and requires cutting a hole in your roof, which is irreversible and slightly terrifying the first time. Budget builders often skip this and rely on cracked windows, which works in mild weather and fails badly in summer. Blackout curtains or DIY Reflectix window covers cost $30 to $80 in materials and make the van livable in parking areas. Don't skip window covers.
Storage and finishing round out the budget. Simple plywood shelving, a basic hanging rod, and a fold-down table surface add $80 to $200 depending on how finished you want it. Paint, edge banding, and wall cladding (usually thin plywood or a fabric-wrapped panel) add $50 to $150. You don't need any of this to sleep in the van, but you'll notice the difference by weekend two.
What You Actually Need vs. What Gets Added
Here's where most weekend build budgets go sideways: scope creep starts at the hardware store. You go in for lumber and leave with a camp stove mounting plate, a magnetic spice rack, and a 12V refrigerator you didn't plan for.
A genuinely functional weekend build requires: insulation (walls and ceiling at minimum), a sleep platform, basic lighting, and window covers. That's it. Everything else is a comfort upgrade, and comfort upgrades have a habit of multiplying.
Or rather: the real cost isn't the line items, it's the revision cycle. A builder who installs a platform, then realizes it blocks the wheel well and needs to be rebuilt, or who skips the vapor barrier and finds mold under the plywood two months later, spends significantly more than someone who planned those details first. Builders who've done this before will tell you to measure the wheel well clearance before you buy any lumber, and to put a moisture barrier under the floor platform no matter how dry the climate feels. Those aren't aesthetic choices. They're the decisions that separate a one-build project from a three-build project.
The honest total for a basic, functional weekend conversion on a van you already own: $600 to $1,200 for most builders working with standard cargo van dimensions, buying materials from home improvement stores and online suppliers. The low end assumes a warm climate (lighter insulation), campsite power hookups (no battery), and fixed platform. The high end assumes a colder climate, battery power, and a vent fan. Beyond $1,500, you're either working with premium materials, adding a kitchen setup, or both.
If you skip the build entirely and just throw a sleeping pad in the back with a battery lantern, you'll be comfortable for exactly one weekend before the lack of insulation, condensation on the metal walls, and absence of any organization starts to wear. That's not a plan, that's a test drive.
Where the Budget Fails: One Condition Worth Naming
A basic weekend conversion budget assumes you're working with a van that has a dry, rust-free interior and no mechanical surprises. That assumption breaks frequently.
Older cargo vans, particularly pre-2010 models bought specifically for conversion, often have floor rust, roof rust around factory cutouts, or water intrusion from deteriorated door seals. Finding any of these after you've started installing insulation means stopping, addressing the rust or leak source first, and then reinstalling. Rust treatment and resealing a single door frame typically runs $50 to $150 in materials if you're doing it yourself. A rusted floor section that needs patching or a panel replacement can cost $200 to $500+ at a shop, or a full weekend of work with angle grinder, patch panels, and POR-15 or similar rust encapsulant. None of that is in the $600 to $1,200 figure above.
The practical rule: before buying any conversion materials, spend two hours with a flashlight and a screwdriver handle (for tapping panels to find hollow rust spots) doing a proper interior inspection. Check the rear floor corners, the roof seams, and every door seal. If the van needs rust work first, budget that separately. Folding rust remediation into your conversion materials budget produces a project that stalls halfway through and sits in the driveway for three months.
Builders with a van that already needs bodywork are better off either pricing the repairs separately before committing to the conversion budget, or considering a newer used van that starts clean. The conversion math changes significantly if the platform underneath isn't sound.
DIY vs. Pre-Built Kits: The Realistic Comparison
Pre-built van conversion kits do exist. Companies like Wayfarer Vans and a handful of smaller fabricators sell modular platform and storage systems designed for specific van models. A basic platform-and-storage kit for a Ford Transit or Ram ProMaster runs roughly $800 to $2,000 depending on the configuration, not including installation.
That framing misses something. Kit pricing looks efficient until you account for what it doesn't include: insulation, electrical, window treatments, and the vent fan. A kit gets you a well-fitted platform and some shelving. You still have to do everything else. The total build cost with a kit often ends up $200 to $600 higher than full DIY for equivalent functionality, in exchange for a better-fitting platform and less cutting.
Kits make sense for two specific situations: you're not confident in your measuring and cutting skills (a poorly cut plywood platform is genuinely worse than a well-made kit), or you have very limited time and a van model the kit is designed for. Outside those conditions, full DIY at $600 to $1,200 beats a kit at $1,200 to $2,000+ for a first-time weekend build.
The alternative most builders don't seriously consider is a purpose-built rooftop tent on a cargo van. A decent rooftop tent runs $800 to $1,400 and requires a rack system ($300 to $600), but gives you a genuinely warm, insulated sleeping space without cutting any holes or building any platforms. If your primary use is weekend camping and you don't need the van's interior for sleeping storage or shelter, this comparison is worth running. I'd start with the rooftop tent math before committing to an interior conversion if you're primarily a fair-weather camper.
Putting the Budget Together Before You Buy Anything
A simple planning table is worth more than a detailed wishlist. Before purchasing anything, estimate these line items for your specific van and use case:
| Category | Minimum (warm climate, hookups) | Moderate (mixed climate, battery) |
|---|---|---|
| Insulation | $150 | $300 |
| Sleep platform + lumber | $150 | $250 |
| Mattress or foam | $80 | $130 |
| Electrical (battery + lighting) | $40 | $250 |
| Vent fan | $0 | $130 |
| Window covers | $40 | $70 |
| Storage and finishing | $80 | $180 |
| Fasteners, adhesive, misc. | $60 | $90 |
| Total estimate | $600 | $1,400 |
These figures assume DIY labor, standard home improvement store pricing, and no pre-existing van repair needs. The moderate column assumes a Fan-Tastic or Maxxair vent fan, a 30Ah lithium battery setup, and polyiso insulation on walls and ceiling. Neither column includes a cooking setup, which is a separate project with its own budget logic.
Check sq footage, wheel well height, and door seal condition before ordering anything. Those three things determine whether your measurements will work or whether you'll be making a second trip to the hardware store with different numbers.
What to Build First and Why the Order Matters
Sequence is probably the most undervalued part of a weekend van build. The order in which you install things determines what you can access and modify later without tearing everything out.
The correct order for a basic build: rust/leak remediation first (if needed), then insulation, then electrical rough-in (run any wires before wall panels go up), then floor platform, then wall panels or cladding, then storage and finishing. Installing wall panels before running wires is one of the more common mistakes that forces a partial teardown on the second build.
Put more precisely: the electrical rough-in isn't about the battery or the lights. It's about running conduit or wire chase along the wall framing so that if you ever want to add something, you don't have to remove the entire wall panel to do it. Even if you're starting with just LED strips, run a wire chase for two additional circuits. It costs almost nothing and saves significant grief later.
Budget an extra $50 to $100 for materials you'll discover you need mid-build: additional fasteners, a tube of construction adhesive, foam tape for sealing gaps around electrical penetrations. Every first-time builder hits this. It's not a planning failure, it's the nature of fitting custom geometry into a metal box.
The builds that stay under $1,200 are almost always the ones where the builder measured three times, bought materials once, and resisted adding features until the functional core was done. That discipline is harder than it sounds when you're standing in front of the 12V accessories aisle at an outdoor retailer.