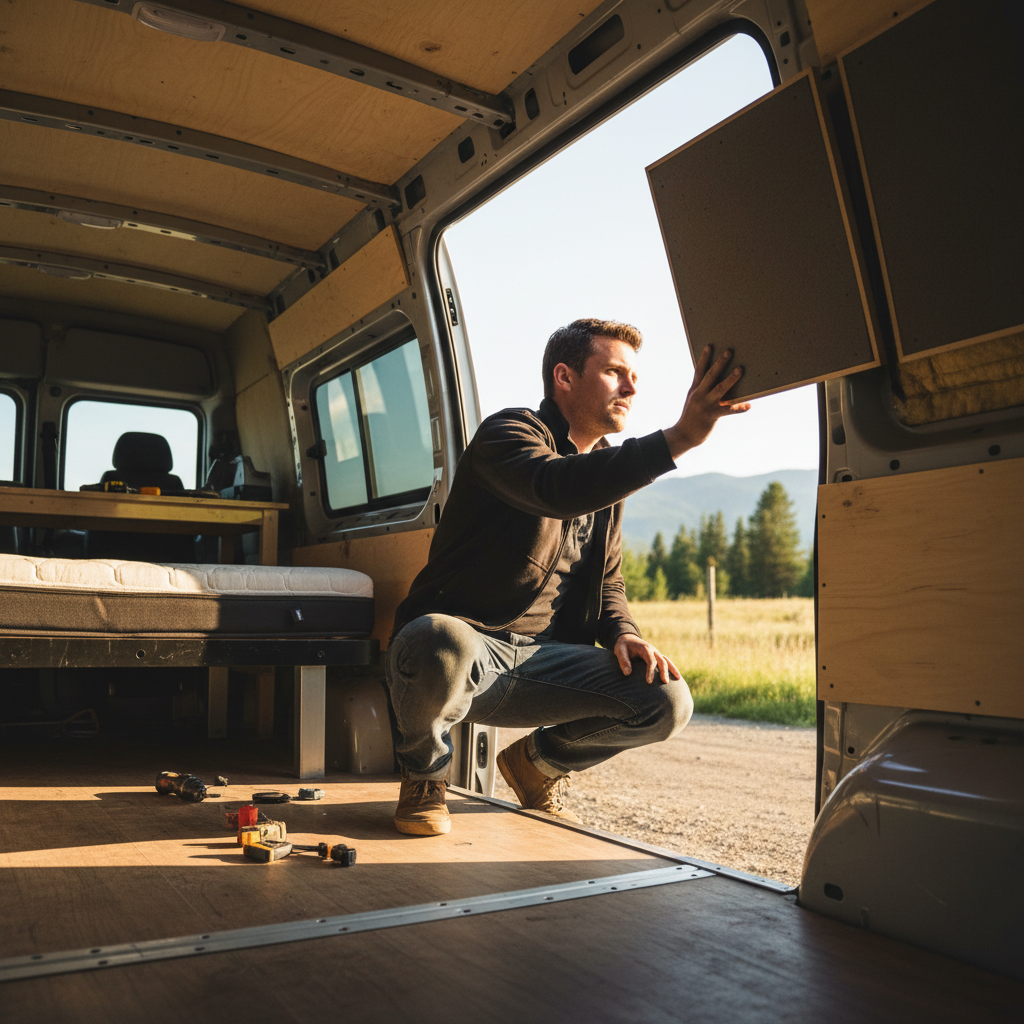
Van conversion builders will tell you to finalize your flooring before running any wiring or cabinetry, and there's a reason for that sequence. The flooring layer determines your finished floor height, which cascades into every cabinet toe-kick, every wall panel edge, and every bed frame measurement downstream. Get it wrong early and you're pulling things apart six months later.
Van flooring for a weekend camper isn't the same decision as flooring a tiny house or a cargo trailer. The constraints are tighter: subfloor flex, condensation from below, foot traffic concentrated in roughly 60 to 80 square feet, and the need to look good without adding meaningful weight. That last variable is one most flooring guides skip past entirely, and it's the one that bites people hardest.
The tension here is real. The flooring options that photograph best and feel most like a proper home tend to be the heaviest and least forgiving of moisture. The options that perform best in a van environment often look utilitarian out of the box. Bridging that gap is what this article is actually about.
This guide is for weekend builders putting together a camper van for road trips and occasional camping, not full-time vanlifers running solar arrays or contractors speccing commercial fit-outs. The advice changes for those audiences.
Why Van Flooring Fails (And What That Tells You About What to Buy)
The failure mode for most van flooring isn't wear. It's moisture migration from the metal subfloor below. Cargo van floors are steel, and steel sweats. Temperature differential between the road-cold undercarriage and the heated interior creates condensation on the underside of whatever you lay down. If your flooring system doesn't account for that, you'll find mold or warping within a year, sometimes faster in climates with cold winters and warm interiors.
The sequence that causes this is straightforward: bare steel floor, thin plywood subfloor laid directly on metal, flooring glued or clicked on top. No vapor management. No air gap. Moisture has nowhere to go, so it collects at the plywood layer. The plywood swells, the click-lock joints open, and the flooring lifts at the seams.
Or rather: the plywood isn't even always the weak link. In a lot of van builds, it's the flooring adhesive that fails first. Peel-and-stick vinyl tiles, popular because they're cheap and easy to cut, lose adhesion when the subfloor flexes or when temperatures swing hard in an unheated van sitting in a winter parking lot. Flex plus cold equals delamination. That framing misses something, though: even quality adhesive can't save a poorly prepped subfloor. The fix isn't better glue. It's a flatter, stiffer base.
So the practical lesson before you look at any trending style: your flooring is only as good as what's under it. A thin layer of rigid foam insulation (many builders use 1/4-inch or 3/8-inch XPS foam, sometimes called fan-fold foam) between the steel and plywood breaks the thermal bridge and gives moisture somewhere to manage itself. Without that layer, even premium luxury vinyl plank will underperform.
The Flooring Options Actually Worth Considering
Luxury vinyl plank (LVP) has become the default choice in van builds over the past several years, and the consensus is basically earned. It's waterproof at the plank level, it clicks together without adhesive, it handles temperature swings better than hardwood, and it comes in wood-look finishes that photograph like real oak or walnut. For a weekend camper where aesthetics matter and you want that warm, homey look, LVP is where most builds should start.
The specification that matters most is core thickness. Thinner LVP (around 4mm total) flexes with the subfloor and can cause click-lock joints to stress over time. Planks in the 6mm to 8mm range hold their shape better in a van environment. I'd start with 6mm as a floor (no pun intended) and go thicker only if your subfloor is particularly uneven. The added weight of thicker planks does add up across 70 square feet, so it's a real tradeoff, not just a spec upgrade.
Engineered hardwood comes up in build forums regularly. It looks beautiful and it's real wood, which has tactile warmth that vinyl can't fully replicate. But it's not waterproof, and the core will swell with humidity. For a weekend camper that sits unused and unheated through a Michigan winter or a humid Carolina summer, engineered hardwood is a genuine risk. Builders in dry climates like the Southwest report better outcomes, but it's a harder recommendation to make broadly.
Peel-and-stick vinyl tile earns a mention because it's everywhere in budget builds. It works fine for a few seasons if your subfloor is flat and your van stays in a mild climate. In practice, most people replace it within two years. That's not the worst outcome if you're learning van building and want to keep initial costs low, but go in knowing it's a temporary floor, not a finished one.
Rigid cork flooring is an option more builders should consider. Cork is naturally antimicrobial, provides a small but real insulation benefit, and feels surprisingly good underfoot for a weekend camper where you're standing and cooking. It's lighter than most LVP options. The knock against it is moisture sensitivity at the edges if not properly sealed, and it's harder to source locally than LVP at most big-box stores. Check specialty flooring retailers or order directly.
The Looks That Are Actually Trending Right Now
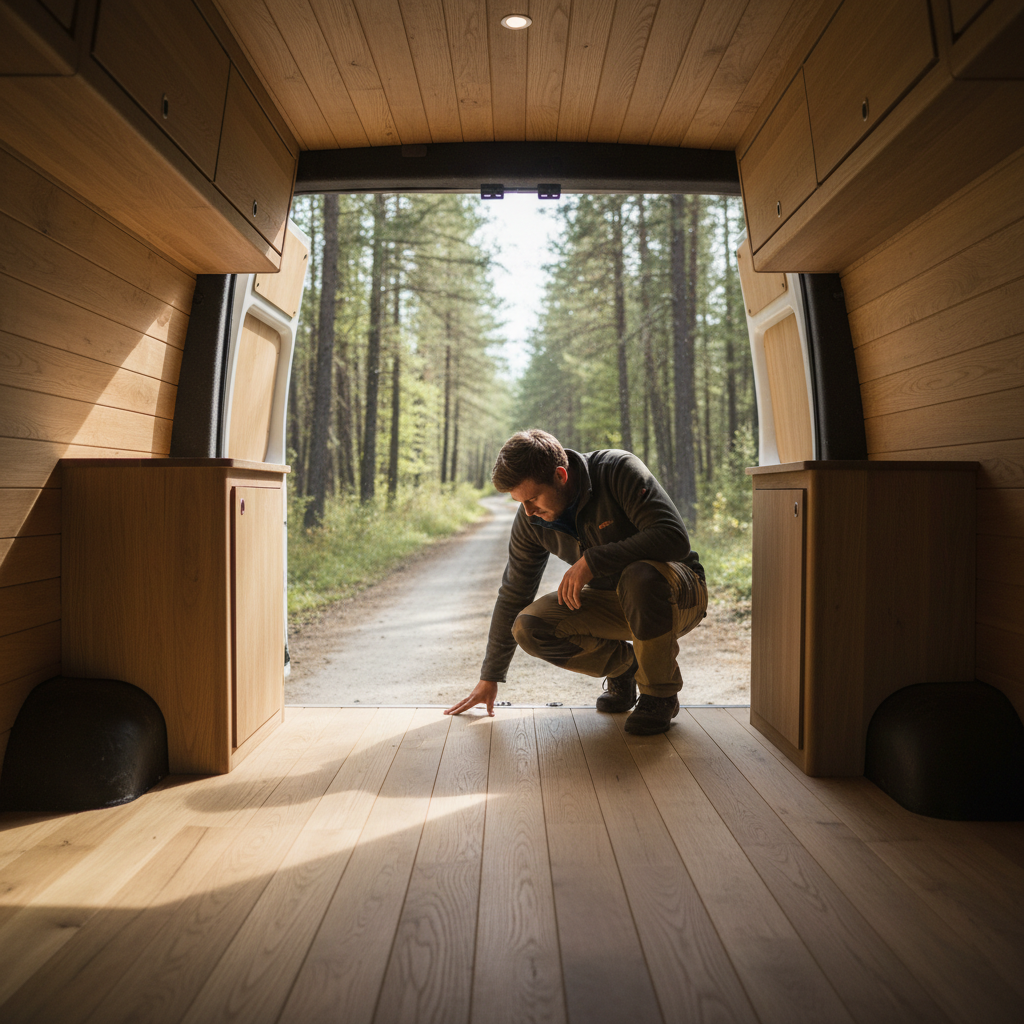
Wide-plank light oak is the dominant aesthetic in van conversion content at the moment. The appeal is obvious: it reads as warm and Scandinavian-influenced, it photographs well in natural light, and the lighter tones make a tight van interior feel more open. LVP in this style typically runs in the 5-inch to 7-inch plank width range, and the wider boards mean fewer seams in a small space, which is a practical benefit on top of the visual one.
Herringbone patterns have crossed over from home renovation into van builds. This is more commitment: you need to cut more pieces, waste more material, and spend more time on layout. But the result in a 10- to 12-foot cargo area is genuinely striking. If you're doing a herringbone pattern, use 4-inch wide planks rather than wider boards. The geometry reads better at smaller scale.
Dark walnut and espresso tones are popular with builders going for a cabin or overlander aesthetic. These look great paired with natural wood cabinetry and leather or canvas upholstery. The honest tradeoff is that dark floors show dust, pet hair, and debris more readily than light tones, and a weekend camper sees a lot of both. Worth knowing before you commit.
Whitewashed or gray-toned planks land somewhere between the light oak and the darker options. They're more forgiving of dirt than espresso tones and feel more coastal or cottage than the Scandinavian oak look. Popular in builds targeting warm-weather destinations.
What you won't see in well-executed builds anymore is carpet. Not because it can't look cozy, but because it holds moisture, harbors odors, and is genuinely difficult to clean in a space where wet gear, muddy boots, and spilled coffee are regular events. If you want texture underfoot, a removable area rug over LVP gives you that without the maintenance problem.
When LVP Isn't the Right Answer
If you're building a van primarily for wet outdoor activities, like kayaking, surfing, or mountain biking in wet conditions, reconsider LVP click-lock installation entirely. The issue isn't the planks themselves but the joints. Repeated soaking from wet gear, wet dogs, and tracked-in mud will eventually work water into click-lock seams, even on waterproof planks, because the waterproof rating applies to the plank surface, not the assembled joint.
For high-moisture use cases, a glued-down sheet vinyl or a commercial-grade rubber floor mat (the kind used in fitness facilities and commercial kitchens) is the smarter answer. Neither looks as homey as LVP, but both can be mopped, both handle standing water without structural risk, and both are easier to pull and replace when they eventually wear. A builder ignoring this distinction and installing click-lock LVP in a surf van will be back at square one within 18 months.
Budget also changes the calculus. If you're spending under $200 on the entire floor, peel-and-stick tile or a painted plywood floor (sealed with two to three coats of porch-and-floor enamel) is a legitimate choice. Painted plywood with a geometric stencil pattern is having a genuine moment in the DIY van community and costs almost nothing. It won't last forever, but it photographs well and can be redone. A floor doesn't have to be permanent to be good.
Laying It Down: The Practical Sequence
Clean the steel floor completely. Remove factory sound deadening if it's deteriorating, and treat any surface rust with a rust converter before anything goes on top. This step gets skipped constantly and it's a pain to fix retroactively.
Lay your insulation layer first. Fan-fold XPS foam (typically sold in 4x8 sheets, around 1/4 inch thick) cut to fit the floor gives you a thermal break and a slightly cushioned base. Tape the seams. Cut around any floor ribs rather than trying to float over them.
Lay 1/4-inch or 3/8-inch birch plywood over the foam. Fasten it with self-tapping screws into the van floor ribs, not into the foam. The plywood needs to be screwed to something solid. If you skip this and just float the plywood over foam, you'll have a springy floor that feels off and stresses whatever flooring goes on top.
Sand any high spots in the plywood, fill low spots with floor leveling compound if needed, and check flatness before you lay a single plank. LVP shows subfloor imperfections at the joints more than carpet does. And install your LVP starting from the most-visible wall and working outward. Don't start in the middle and work out, even if that feels geometrically tidy. Check sq footage, plank direction relative to the longest dimension, and door clearance before you cut your first piece.
If you ignore the subfloor prep and go straight to laying flooring, here's what happens: the planks telegraph every high spot in the steel floor, joints crack under point load, and within a season you're looking at a floor that's moving in three directions. The prep is 60 percent of the job. The pretty part at the end takes an afternoon.